Today it's Sunday (and I hope those of you reading this who are in the UK enjoyed a lie-in and remembered to turn your clocks back!) - time for this week's new challenge over at The Paper Players! It's the turn of the fabulous Ann to host this week and as it's the fifth Sunday of the month she has a fun TicTacToe challenge for you to work with:

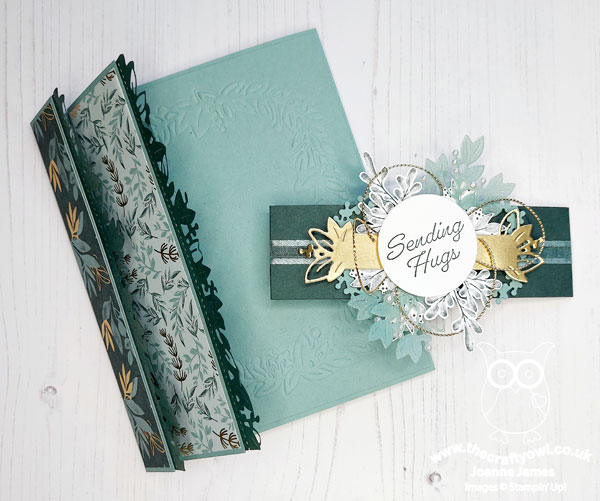
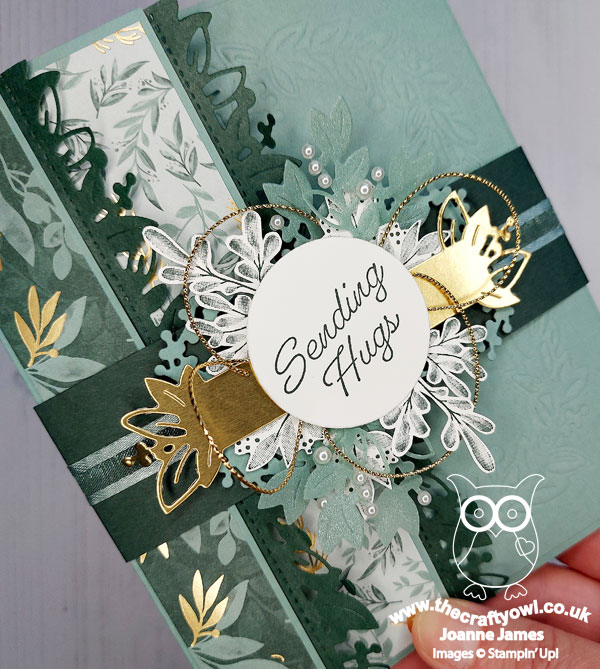
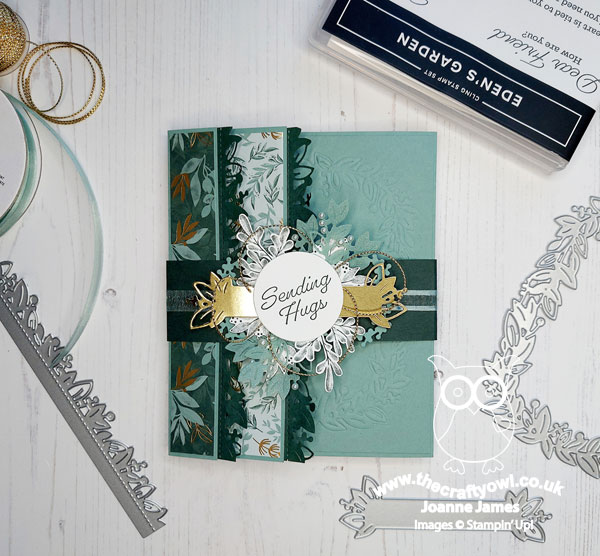
I have a very special card to share with you today! Lots of photos and news of an exclusive product pre-release that is happening this week on 2nd November, so time to buckle up and sit tight - here we go! I went along the diagonal of the TTT grid from bottom left to top right with foil/patterned paper/diecut for my card today, which is a fancy fold birthday card featuring the new Eden's Garden suite. Here's a first look at my card when closed and then I'll tell you a little more about the products in the Eden's Garden suite:

Here's the low-down on today's card:
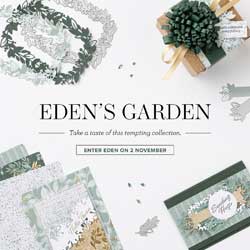
Eden's Garden - The Eden's Garden bundle, comprising the Eden's garden cling stamp set and Eden Dies, will be included in the January-June 2022 Mini Catalogue, however is being released for sale this week on Tuesday 2nd November, so this is the perfect opportunity to explore it before the official release.
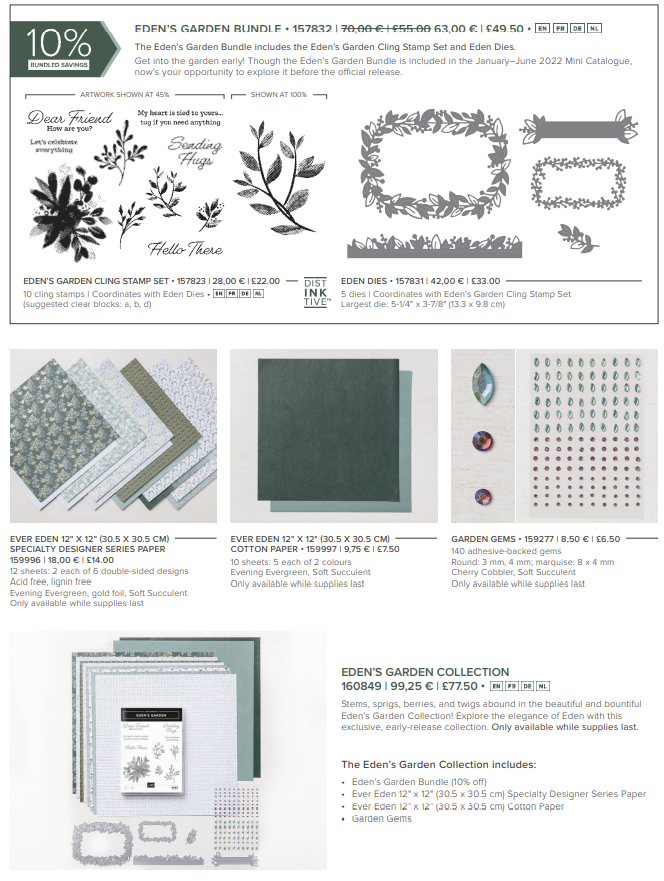
Pre-Release Exclusives - In addition to the bundle, for the duration of the pre-release only, you will also be able to order a number of additional exclusive products, that will be available only while supplies last. The other items in the Eden's Garden Collection pre-release include 12"x12" specialty designer paper, cotton paper and garden gems. Here's the flyer detail so that you can see it in more detail:
Eden's Garden Fancy Fold - Now you've had the detail, it's time to check out my card! As I mentioned above it's a fancy fold; the talented Elizabeth Price had made a couple of cards with a similar fold that I just loved and she coined it a 'hokey pokey' card, because the back side is in front, the right side tucks into the left and there's detail inside that could in fact be the front of the card. To explain this in more detail, here's another photo of the card closed:
When you remove the belly band that holds the folds in place, you can start to see how it opens, and you can see the embossed detail:
This is what it looks like fully open:
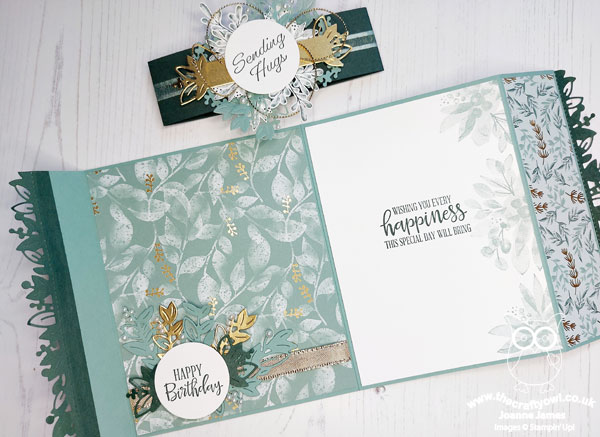
My card base is Soft Succulent and it measures 6" by 12" and is scored along the long edge at 1", 6" and 10 3/8". All of the papers come from the Ever Eden specialty designer series paper pack - beautiful, soft serene greens of Soft Succulent and Evening Evergreen with touches of gold foil detail. The sentiment on my belly band comes from the Eden's Garden stamp set, and I used each of the Eden's Dies in different ways on my project: the largest rectangle frame is embossed onto the front right panel of my card, with the smaller rectangle frame as the base for my belly band centrepiece, which also includes a banner piece in gold foil and some sprigs diecut from Soft Succulent shimmer vellum for added subtle sparkle and shine:
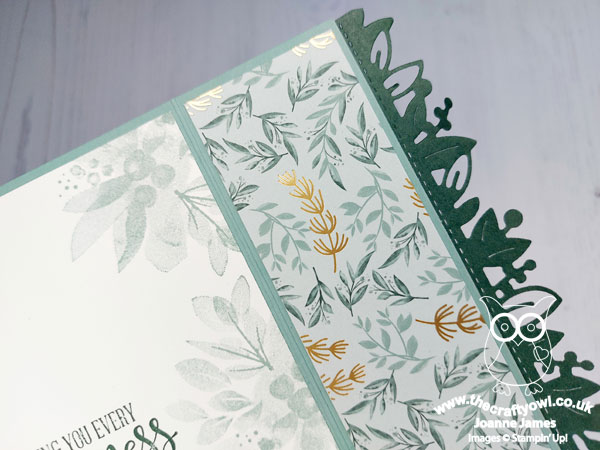
I used the edge border die to add detail to my fold out edges, cut in the beautifully soft Evening Evergreen cotton paper:
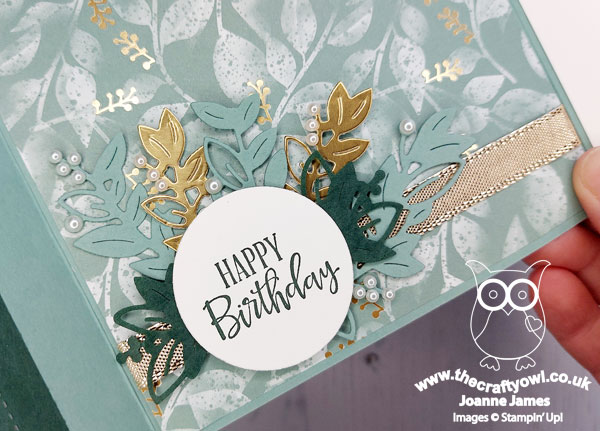
Inside my card, I used more of the paper and diecut foliage with another sentiment piece (this time from the 'Peaceful Moments' stamp set) for my pictoral panel and added some stamping of a repeating pattern using the main foliage image in the Eden's Garden stamp set:
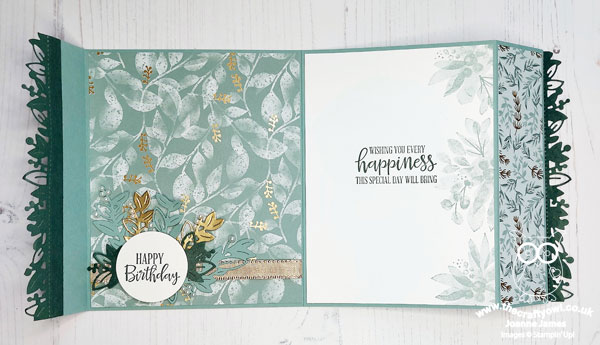
Here's the birthday sentiment embellishment in more detail:
The launch of the Eden's Garden pre-release coincide with my lovely Mums' birthday, so I thought this card would be perfect to send her my love and best wishes. For her version of the card, I also added another shortened banner to the outside panel, as show below:

The sentiment is from the 'A Wish For Everything' stamp set, which really does have a sentiment for every occasion:
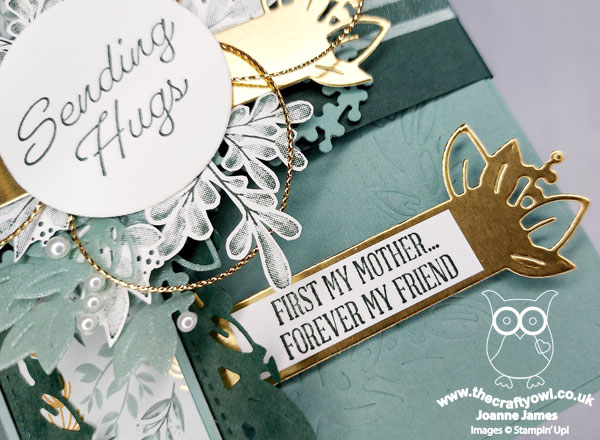
I thought I'd share this additional detail with you as it's useful to see how you can add in a more personal greeting with this kind of card. I'm safe to blog my card today as my Mum rarely reads my blog so won't see this ahead of time; she loves greens and is a big fan of a fancy birthday card though, so I know she will love it.
If you like the products in the Eden's Garden pre-release, do be sure to pop back Tuesday when these items will be available to order in the online store. the Eden's Garden bundle is also the focus for my online technique card class on Monday 6th December - do get in touch if you would like to join me, you would be more than welcome!
Here is the visual summary of the key products used on today's project for you to pin for easy reference:
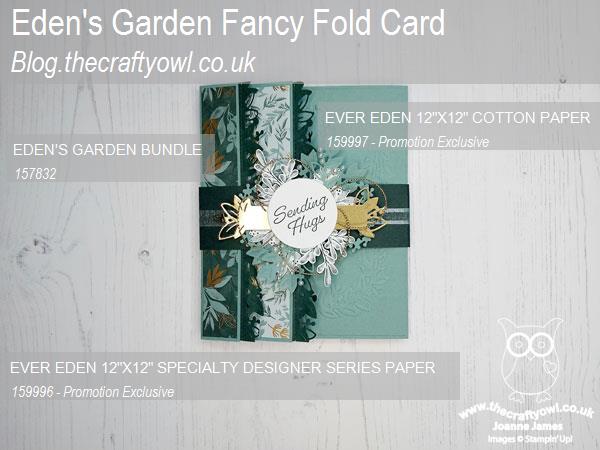
You can see all of my Product and 'How To' summaries on my 'How To - Tips and Techniques' Pinterest board in case you've missed any.
Before you reach for your ink and papers, check out what our amazing team has created to inspire you this week:
The Paper Players Design Team
Here's a quick recap of our challenge rules:
1. Create a new paper project
2. Upload your creation to your blog with a link back to us and provide a direct link to the post featuring your challenge submission.
3. Please link your card to no more than four challenges, TOTAL.
4. Have FUN!
You can see all of my 'How To' summaries on my 'How To - Tips and Techniques' Pinterest board in case you've missed any.
Enjoy your day; I will be out at hockey this morning as Rebecca is umpiring at a junior tournament and am looking forward to an afternoon cosying up indoors with the family before we are back to school tomorrow. I'll be back tomorrow with another project. Until then, happy stampin'!
Stampin' Up! Supplies Used:
To be updated on 2 November when these products are available for purchase.