
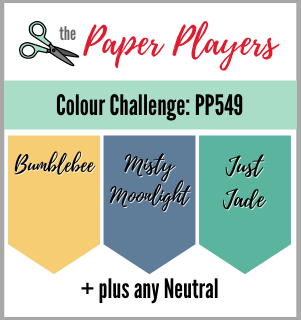
Today it's Sunday and time for this week's new challenge over at The Paper Players! Ann is hosting this week's challenge with a trio of colours chosen by the lovely Jaydee:
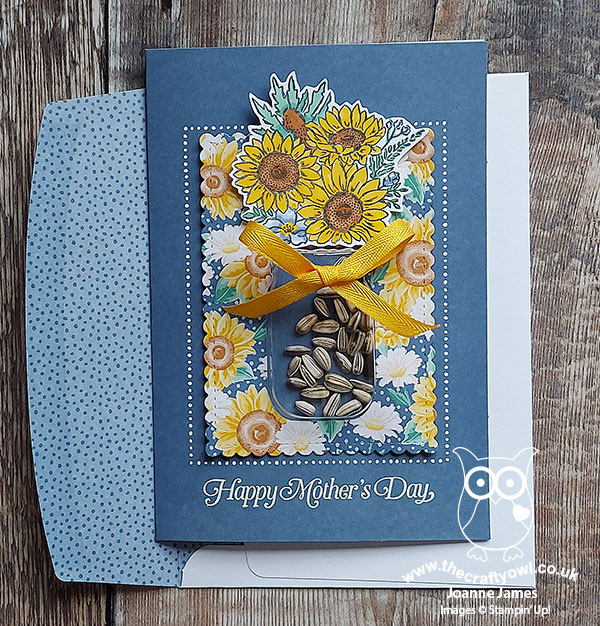
Now before you think I'm completely mad sharing a Mother's Day card in July, there is a reason I'm sharing this card today! I made this card back in February and when I went to make my card for today, Rebecca reminded me that we had made this card that featured Jaydee's colours and I hadn't blogged it, so although the papers are now retired, she wanted me to share it - so here it is:
Here's the low-down on today's card:
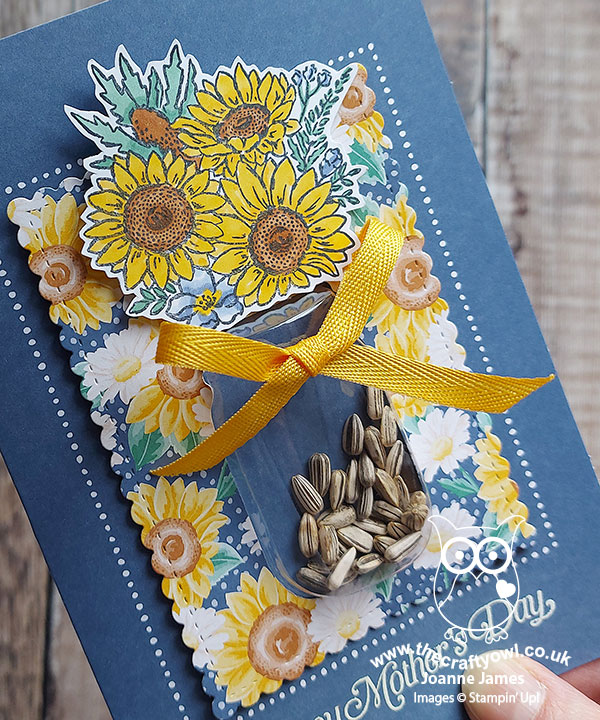
This super-simple shaker card was a Mother's Day project that I made with a group of local Brownie Guides that I work with. For ease, we used the (retired) in-colour Memories & More card bases, onto which we heat embossed a Mother's Day sentiment (from the retired 'Strong and Beautiful' stamp set). We used the jar punch to punch a jar shape out of a piece of (retired) Flowers of the Season designer series paper that we had cut out using a scalloped stitched die, then inserted a mason jar shaker dome into the aperture and filled it with sunflower seeds, before attaching it to the card base. We stamped and coloured some co-ordinating sunflowers from the 'Jar of Flowers' stamp set and added these with a dimensional to the top of our jar, before finishing our shaker jar with a Bumblebee ribbon bow.
The intention was that once Mother's Day had passed, the Brownies would then be able to remove their sunflower seeds from an opening in the back of the card, plant them and enjoy them in their gardens all summer long. The Mother's Day card that keeps on giving, you might say! I hope that their Mums are still enjoying their cards, several months on.
These mason jar domes are a great way to make an easy shaker card - have you used them in your crafting? What did you put in yours? Share with me in the comments below - I would love to hear your ideas!
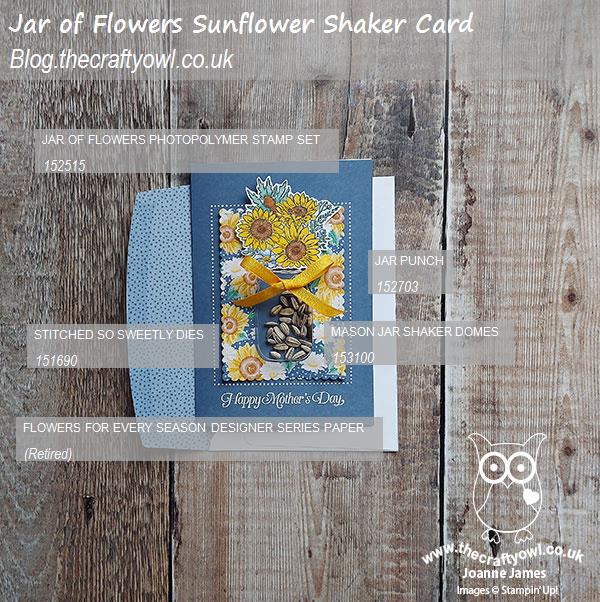
Here is the visual summary of the key products used on today's project for you to pin for easy reference:
You can see all of my Product and 'How To' summaries on my 'How To - Tips and Techniques' Pinterest board in case you've missed any.
 I'm also linking up today's card with the girls over at The Flower Challenge where they are asking us to add spots or stripes to our card - my DSP has spots and my floral panel has a dotty border :-).
Before you reach for your ink and papers, check out what our amazing team has created to inspire you this week:
The Paper Players Design Team
Here's a quick recap of our challenge rules:
1. Create a new paper project
2. Upload your creation to your blog with a link back to us and provide a direct link to the post featuring your challenge submission.
3. Please link your card to no more than four challenges, TOTAL.
4. Have FUN!
You can see all of my 'How To' summaries on my 'How To - Tips and Techniques' Pinterest board in case you've missed any.
Enjoy your day; I spent much of my day yesterday in the garden jet washing patios and paths, before catching the end of a thrilling Wimbledon ladies final. Today I will be getting my jobs out of the way in the morning before settling in for an afternoon and evening of sport: the men's finals at Wimbledon before I have to give way to the men of the house for football and the finals of the European Championship, England v Italy - wish me luck! I'll be back tomorrow with another project. Until then, happy stampin'!
Stampin' Up! Supplies Used: