Today it's Sunday and time for this week's new challenge over at The Paper Players! It's the turn of the fabulous Anne Marie to host this week and she has a fun theme challenge for us to work with:


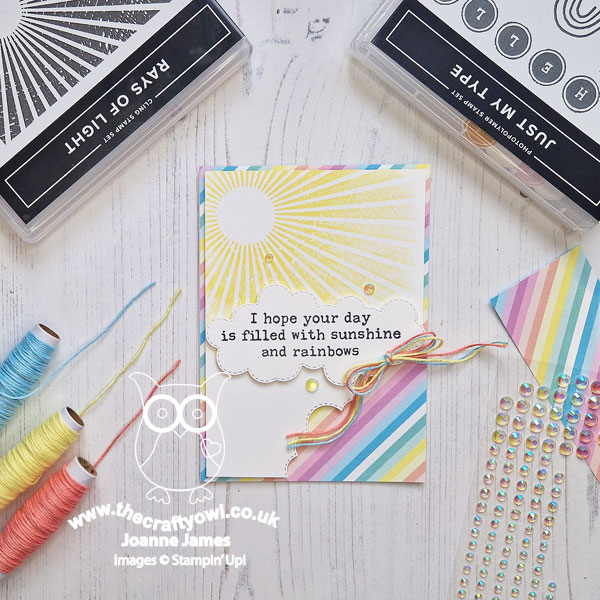
Sunshine and rainbows! You can take your inspiration from anything relating to sunshine, rain and rainbows with some great inspiration on our badge this week. I decided to take Anne Marie's theme quite literally and built my card around a sentiment from the 'Just My Type' stamp set that includes both elements - take a look:
Here's the low-down on today's card:
Saying Goodbye - It's that time of year when we are getting ready to say goodbye to lots of products in both the mini and annual catalogues and today's card is a celebration of some of my favourites: the 'Just My Type' stamp set that my sentiment hails from, the 'Rays of Light' background stamp that I used to create my sunshine shining through the clouds, the Basic Borders Dies that I used for my cloud cutaway, the Lighter Than Air rainbow-striped paper and the iridescent gems are all leaving us at the end of the month. Many of these will be available at a substantial discount from 9th April onwards and all will be available only whilst stocks last - so be sure to place your order in a timely manner if you don't want to miss out!
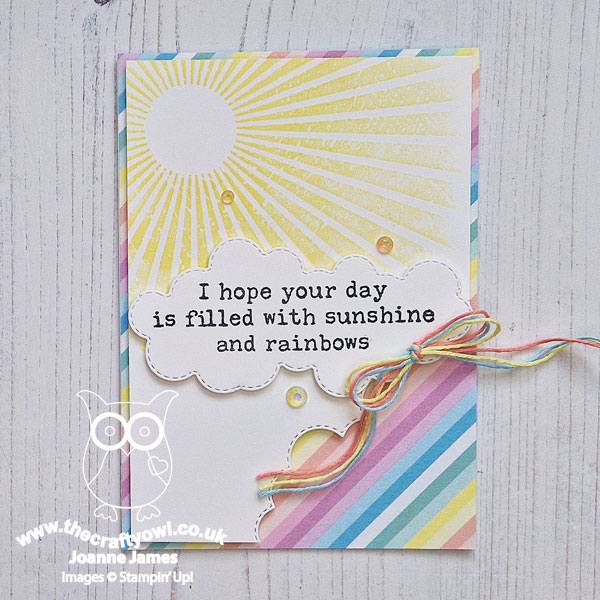
Lighter Than Air Rainbow Stripes - Instead of stamping a rainbow alongside my rays of sunshine, I decided to use a sheet of rainbow-striped pastel designer series paper from the Lighter Than Air pack. I made my stamped layer slightly smaller than my card base to give a rainbow border then used one of my Basic Borders Dies to create the cloud-shaped cut-away, revealing the detail of the paper in all of its striped glory. Since the team over at Time Out are asking us to feature stripes for their current challenge, I'm linking my card there too.
Borders and Clouds - Having used my cloud-shaped Basics Borders Die to create the corner cutaway to reveal more of my rainbow stripes, I decided that I wanted to put my sentiment into a cloud too. Since I didn't have a die large enough, I used my border die to create my own custom cloud:
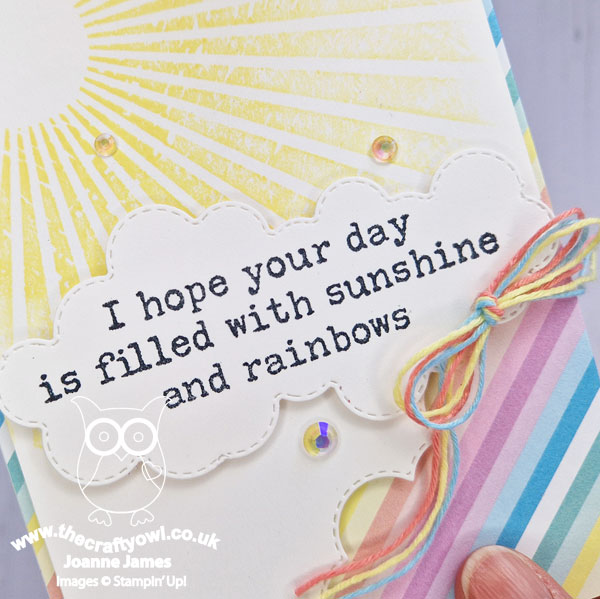
A triple coloured twine bow and a sprinkling of iridescent gems complete today's card.
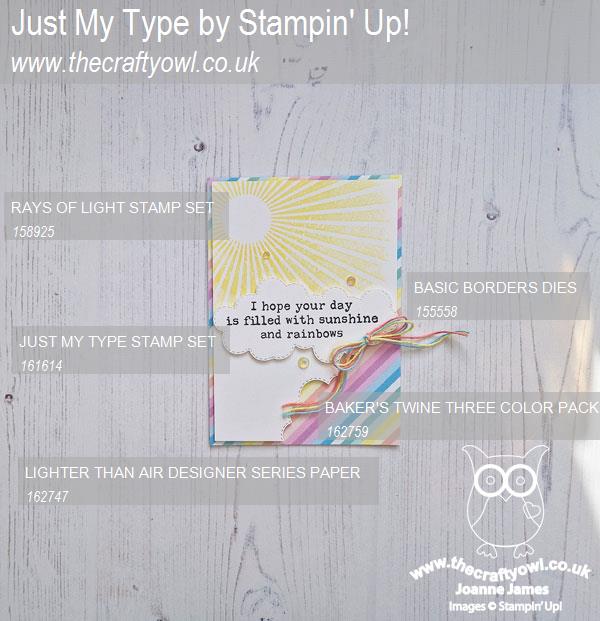
Here is the visual summary of the key products used on today's project for you to pin for easy reference:
You can see all of my Product and 'How To' summaries on my 'How To - Tips and Techniques' Pinterest board in case you've missed any.
Before you reach for your ink and papers, check out what our amazing team has created to inspire you this week:
The Paper Players Design Team
Here's a quick recap of our challenge rules:
1. Create a new paper project
2. Upload your creation to your blog with a link back to us and provide a direct link to the post featuring your challenge submission.
3. Please link your card to no more than four challenges, TOTAL.
4. Have FUN!
Enjoy your day; I am enjoying having the eldest of the James Juniors home from university so will be making the most of the next few days before she returns to her studies for the final term of the year - I can't quite believe her first year is almost done! I'll be back soon with another project. Until then, happy stampin'!
Stampin' Up! Supplies Used: