It's Sunday and time for the first challenge of 2017 over at The Paper Players! Did you spot our new look? Our fearless leader, the lovely Nance, has given us a refresh and makeover over the Christmas break and we are returning bright-eyed and bushy-tailed and raring to go! Our new guest designers are joining us too; a warm PP welcome to Crystal, Valentyna and Deanne - we are so happy to have you join us for the first part of 2017!
To kick off the new year, it's the turn of my good friend LeAnne to host this week and she has a timely theme challenge for us to work with:


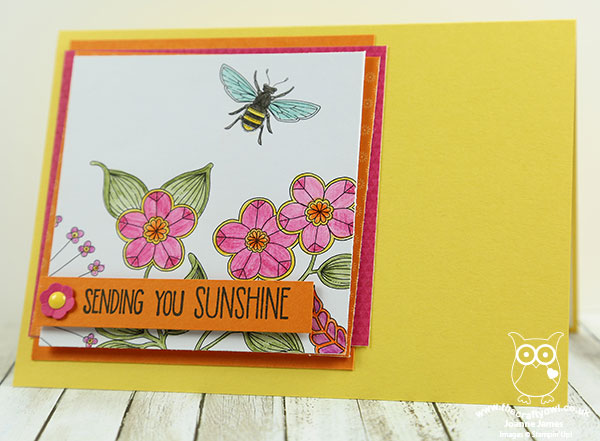
If your house is anything like mine, the festive season has generated much packaging waste and many opportunities for recycling. So this week's challenge is perfect! I took the opportunity to recycle a Christmas gift on my card today and used the sketch over at Fab Friday for my layout. Recycling Christmas gifts already?! It's not quite as bad as it sounds - take a look:
Here's the low-down on today's card:
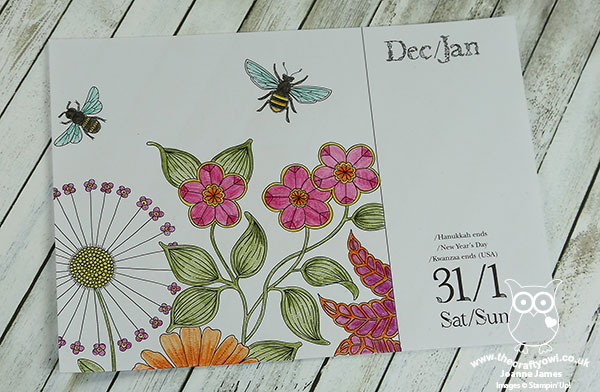
Join The Colouring Craze - One of my Christmas gifts was a page-a-day colouring calendar. Well, to be truthful I bought one for Rebecca and loved it so much I treated myself to one! The calendar comes in a pretty box that can be used to display our coloured pieces once completed. I decided that by recycling my pages, I could easily use them to create a birthday card. Here's my day one finished page before I trimmed it to fit my card:
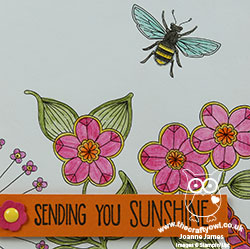
Effortless Blending - I coloured my page using Stampin' Up!'s new watercolour pencils and used a blender pen to seamlessly blend the colours and give a smooth finish as the paper was too thin to blend using an aquapainter. I also adhered my coloured piece to a piece of extra thick Whisper White for extra rigidity. I love that these pencils can be used in a number of different ways and am looking forward to trying other techniques with them too.
A Fiesta of Colour - I chose to inject some bright summer colour into my card today, using a card base of Daffodil Delight and a selection of papers from the Festive Birthday Designer Series Paper set for my layers behind the coloured-in panel. I love these clashing brights - here are my main colours in case you would like to save them for future project inspiration too:

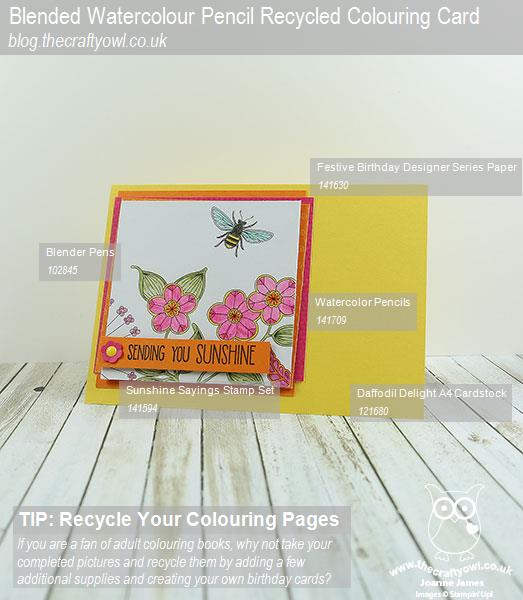
Here is the visual summary of the key products used on today's project for you to pin for easy reference:
You can see all of my Product and 'How To' summaries on my 'How To - Tips and Techniques' Pinterest board in case you've missed any.
I hope you like today's card; you could create the same effect using the new 'Inside The Lines' Designer Series Paper Sale-A-Bration gift (free with a purchase of £45 or more) - I will have a fun project for you using this paper later this week, so be sure to pop by and check it out.
Before you reach for your ink and papers, check out what our amazing team has created to inspire you this week:
The Paper Players Design Team
Here's a quick recap of our challenge rules:
1. Create a new paper project
2. Upload your creation to your blog with a link back to us and provide a direct link to the post featuring your challenge submission.
3. Please link your card to no more than four challenges, TOTAL.
4. Have FUN!
I look forward to seeing what you create with our fun theme this week. Enjoy the rest of your weekend as it will be over all too quickly; I'll be back tomorrow with another project; until then, happy stampin'!
Stampin' Up! Supplies Used: