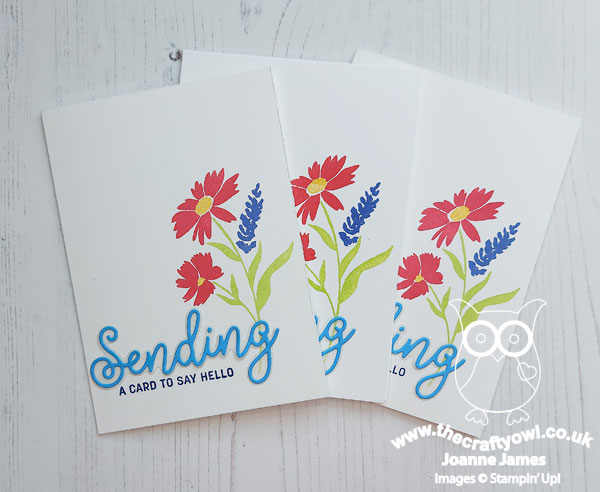
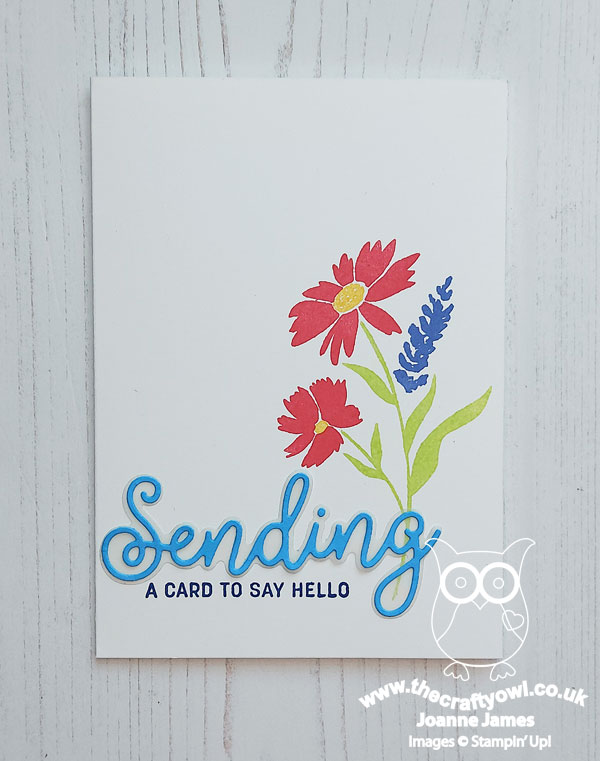
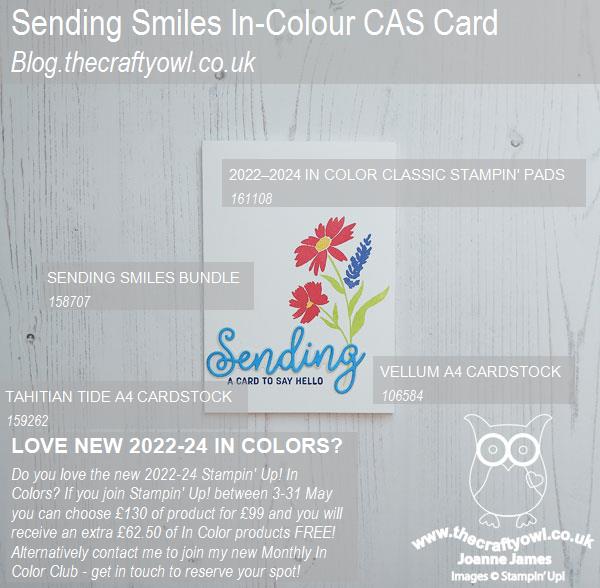
Today I'm sharing the card that I sent out with the paper copies of the new Stampin' Up! annual catalogue to my loyal customers. I used the new 'Sending Smiles' bundle and my card also features each of the new in-colours - take a look:
Here's the low-down on today's card:
Sending Smiles - I had lots of these cards to make, so purposely designed a fairly clean and simple, almost one layer (save the diecut sentiment) card. For this kind of mass production the Stamparatus is a must: I added flower stems, each set of petals and then the sentiment to separate platform plates, then without needing to move my card, stamped each colour in turn. Once all my card bases were stamped, I added my diecut sentiment; I added adhesive sheets to the reverse of my Tahitian Tide cardstock to speed up the gluing process and added some Tombo behind the vellum to attach it to the cardbase.
New In Colors - Let's take a look at those new 2022-24 In Colors:
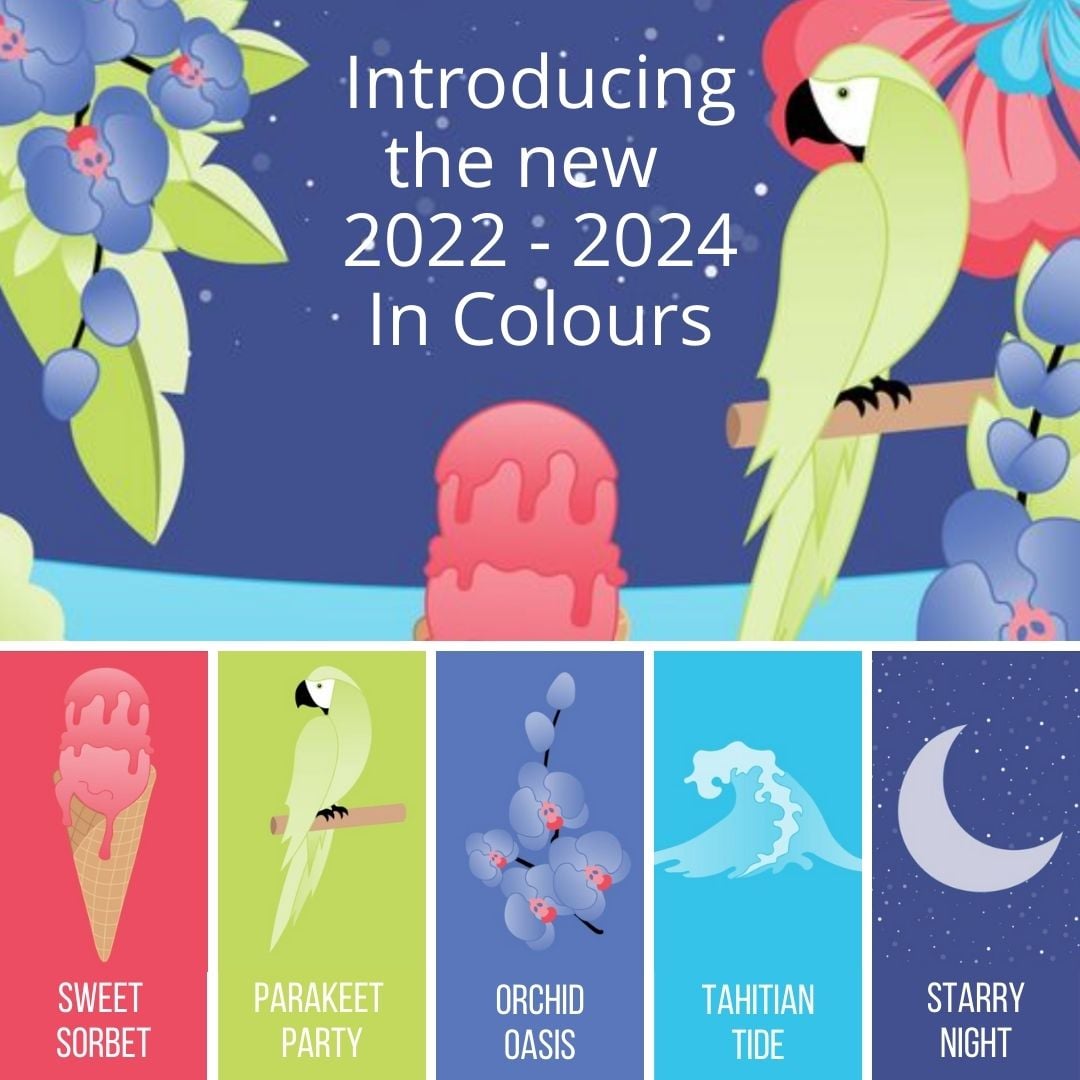
Whilst the In Color collections aren't designed to be used together, the colours in this collection compliment each other beautifully, don't you think?
Want Them All? - Would you like to add these colours to your ink collection? Stampin' Up! have made that even easier for you this month. Between 3-31 May, when you join Stampin' Up! as a new demonstrator, you receive not only £130 of product for £99, but you will get an additional £62.50 worth of In-Color products FOR FREE!

You will receive a full set of in color ink pads, a mixed pack of in color cardstock, in color designer series paper and a pack of in-color grid paper in your FREE product bundle. Your kit is sent postage-free and there are a range of ongoing benefits, from product discounts to training and most of all the opportunity to grow a business that works for you and have fun and build friendships as part of the wider Stampin' Up! community.
If this isn't for you, then you might like to consider joining my new In Color Club.
2022-24 In Color Club Details
To help you spread the cost and gradually grow your new in-colour collection, I am offering an in-colour club (UK customers only). It begins this month and runs for the next 5 months, up to and including September. Each month, you will receive a collection of products for one of the colours, with each month featuring a different colour. You will be sent a reminder on the 1st of the month, and your in-color club invoice will need to be paid by the 15th of the month in order that items can be ordered in good time.
Each month, you will receive:
- 1/2 pack of A4 cardstock (12 sheets)
- 1/2 roll of 1/8" (1cm) In Color Metallic Woven Ribbon
- 1 ink pad
- 1 ink refill
- 1 Stampin' Write Marker
- 30 In Color Matte Decorative Dots
- Eight 6”X6” In Color DSP sheets
- Four sheets 6" x 6" In Color Glimmer paper
- In Color Baker's Twine
- A hand stamped card featuring your in-colour of the month
Since all of the colours are also available as Stampin' Blends, there is the option to add on a Stampin' Up! Blends Marker Combo Pack each month for an additional £8.50.
Details:
Basic Pack Cost: £31.65 plus postage and packaging (Royal Mail 2nd Class Signed For) every month May through September. If you are local, you can avoid the cost of shipping and arrange to collect.
Payment can be made by Paypal or bank transfer (or cash/cheque for local customers).
If you would like to join my new colour club this month, then you can email me to sign up here.
Here is the visual summary of the key products used on today's project for you to pin for easy reference:
You can see all of my 'How To' summaries on my 'How To - Tips and Techniques' Pinterest board in case you've missed any.
I am also linking my card up over at The Alphabet Challenge where they are currently on 'B is for Blooms' as we go back through the alphabet once more.
Enjoy your day and I'll be back tomorrow with another project. Until then, happy stampin'!
Stampin' Up! Supplies Used: