Happy Monday everyone! Today I'm sharing a card that uses the sketch layout over at Hand Stamped Sentiments that showcases four out of the 5 new in-colours - perfect for the challenge over at Colour Inkspiration CI#122 too:


I decided to start the week with some #simplestamping using a set that is perfect for the beginner stamper and the banner on the HSS layout was the ideal place to showcase it - take a look:
Here's the low-down on today's card:
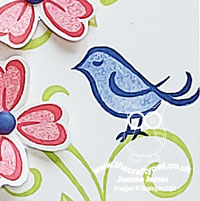
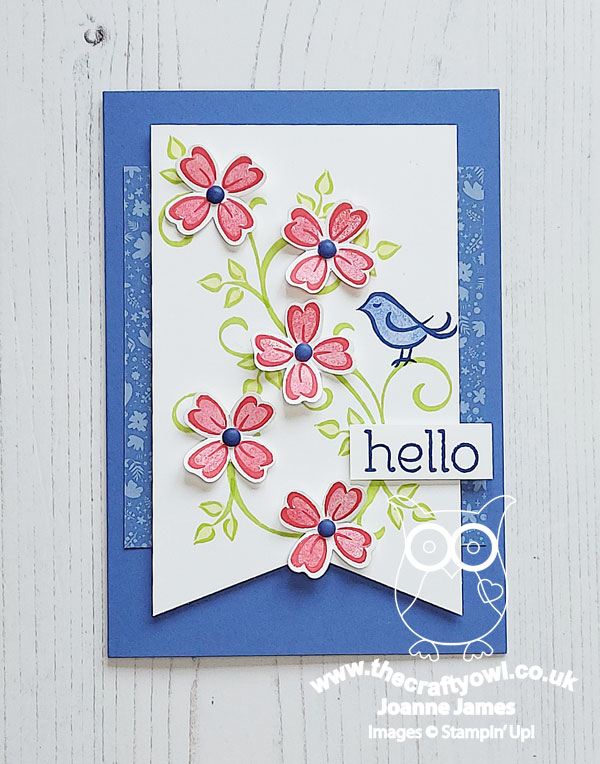
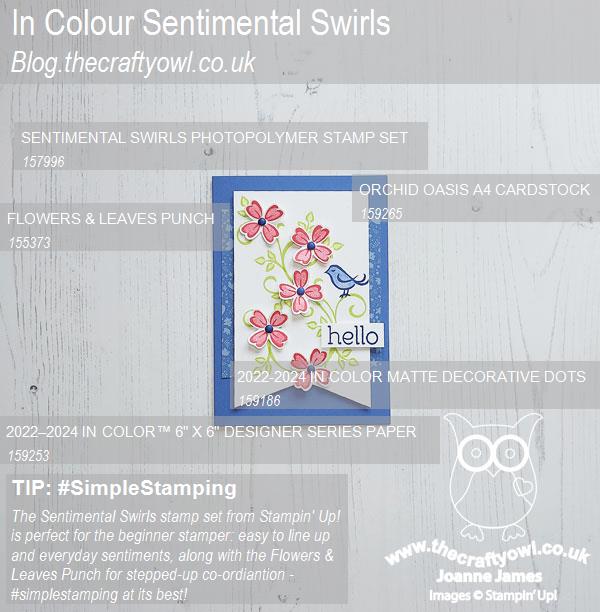
Sentimental Swirls - The 'Sentimental Swirls' stamp set was inspired by our very first £1m sales achiever in the UK, Sam Hammond. It comprises a basic swirl, with additional swirls, leaves, flowers, a bird, a butterfly and some simple, sentiments perfect for the most popular types of cards - birthdays, thank yous and general hellos. The set has endless creative possibilities and as it's photopolymer, it's really easy to line up the images or the infills. I created a leafy swirl that fills my banner and stamped a bird onto one of the vines, before adding my flowers and sentiment separately. I also added a little extra decoration to the inside of my card:

Step It Up With Punch Co-ordination - Sentimental Swirls is great for one layer stamping, but it's also easy to step up your designs by using the Flowers and Leaves punch from the annual catalogue, which punches out one of the flowers in the set. That's what I did on my card, adding some Orchid Oasis enamel dots to the centres and curving the petals slightly with my bonefolder before adding my flowers to my card:
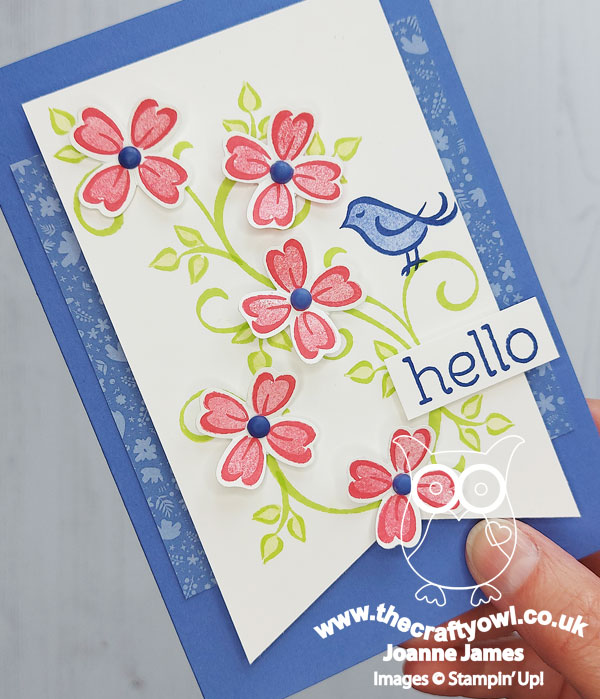
I used a panel of in-colour designer series paper in a floral design behind my banner for a touch of extra detail.
An Added Extra - I also used this set for some thank you cards to pop in with some recent customer orders and for the bag tags. The smaller flower in the set also co-ordinates with the flower of the (now retired) Strawberry Builder Punch - you can see that on the tags below:
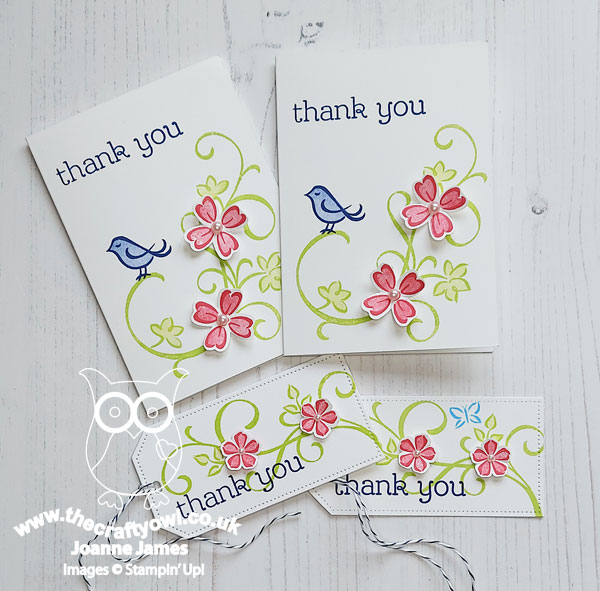
So if you already have this punch in your collection, you will have even more creative possibilities available to you with this set.
Here is the visual summary of the key products used on today's project for you to pin for easy reference:
You can see all of my 'How To' summaries on my 'How To - Tips and Techniques' Pinterest board in case you've missed any.
Sentimental Swirls is such a great set for simple cards that can be easily stepped up by adding in a punch (or two). It's in the January-June mini catalogue and whilst I've had it since I made my pre-order, I haven't shown it on my blog until now - which is a shame, as it's a great set that didn't carry over to the new annual catalogue, so you only have until the end of June to get your hands on it. The good news though is that on Wednesday this stamp will hit the Last-Chance list so you will be able to pick it up for just £14.70 - that's a 30% discount on the catalogue price, bargain!
I love the way that the in-colours coordinate so well together too; today's card features all of them except Tahitian Tide (you can glimpse a butterfly in this colour on one of my tags if you need a quick fix!)
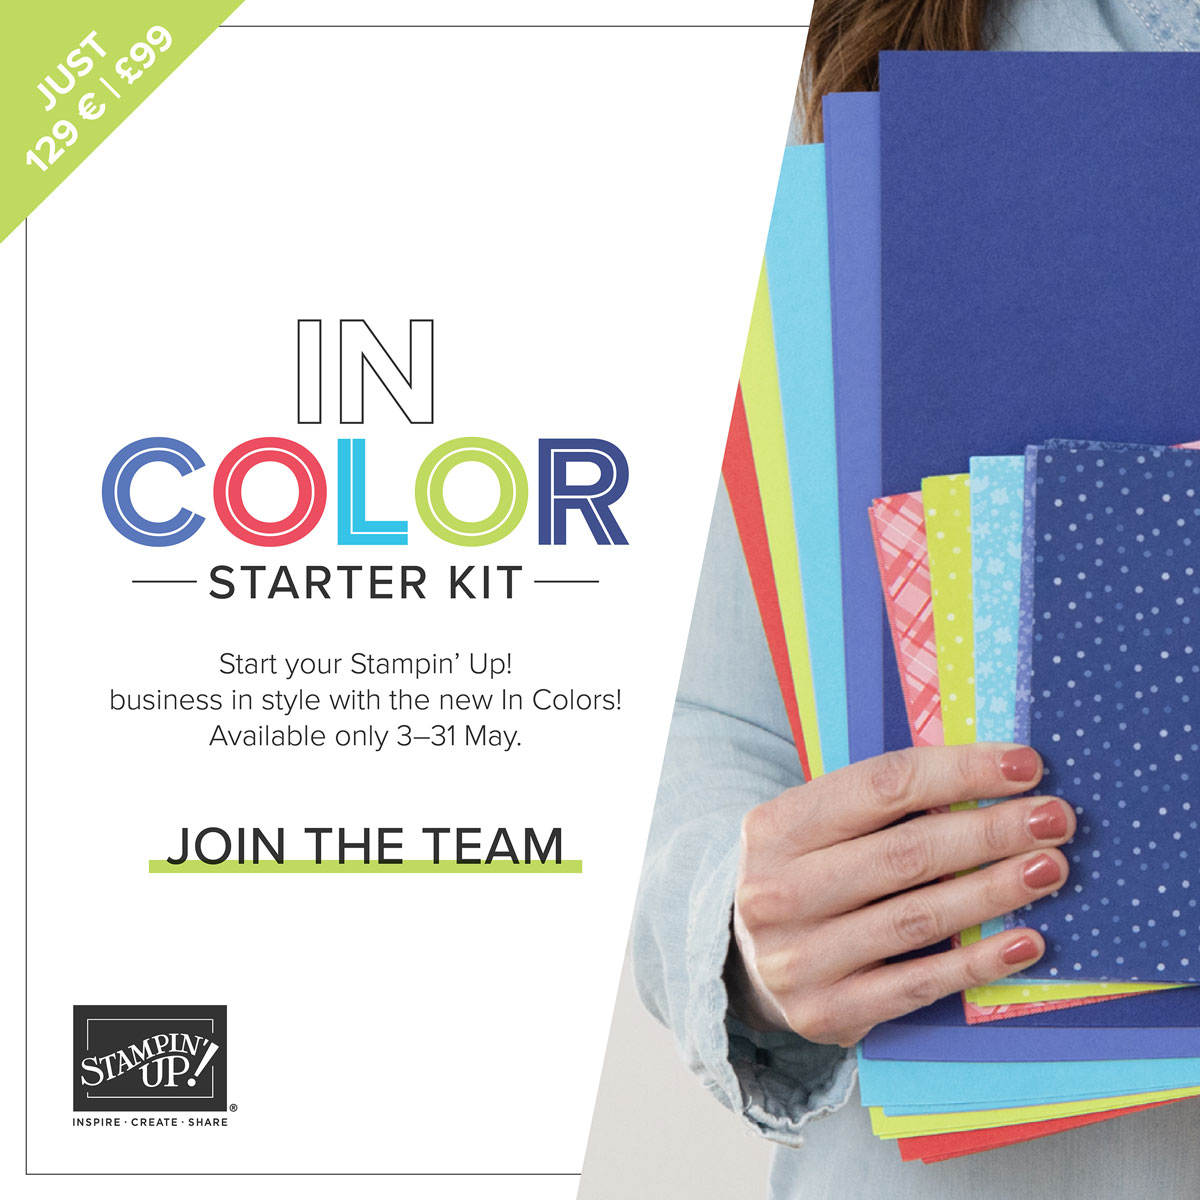
A quick reminder that the current joining promotion that features an in-color kit in addition to the £130 of product of your choice - and all for £99 - closes tomorrow. Read all about it here if you'd like a reminder - I would love to welcome you to my team. Alternatively, I still have places left in my current in-colour club - details on the same link above.
Enjoy your day and I'll be back tomorrow with another project. Until then, happy stampin'!
Stampin' Up! Supplies Used: