Today it's Sunday and time for this week's new challenge over at The Paper Players! It's the turn of the fabulous Claire to host this week and she has a fun theme challenge for you to work with:


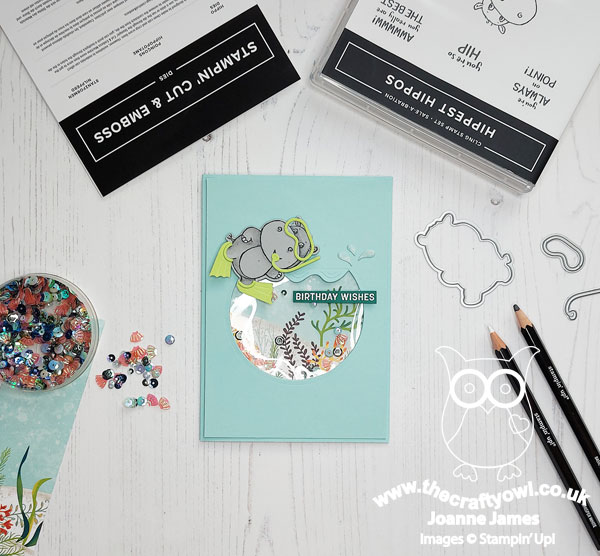
Claire's board has a distinctly beachy theme this week, so I went across the middle with diecut, blue and patterned paper and yes, you've guessed it - I decided to create another shaker card featuring my favourite Sale-A-Bration stamp set, Hippest Hippos - this time a more clean and simple version than the one I shared with you a few days ago (you can see that card here if you missed it). Time to check out today's card:

Here's the low-down on today's card:
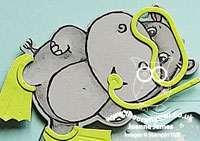
For today's challenge I used up a little more of the (retired) Whale of A Time designer series paper to create an underwater paradise for my snorkelling hippo. This time I cut a partial circle for my frame and used the wave die from the Hippo dies to create the 'surface' of the sea for my hippo to swim along, placing my hippo outside my shaker element rather than inside as on my previous card. Once again I added a pair of handcut customised fins, along with snorkel and mask to my hippo - this time in bright Parakeet Party green:

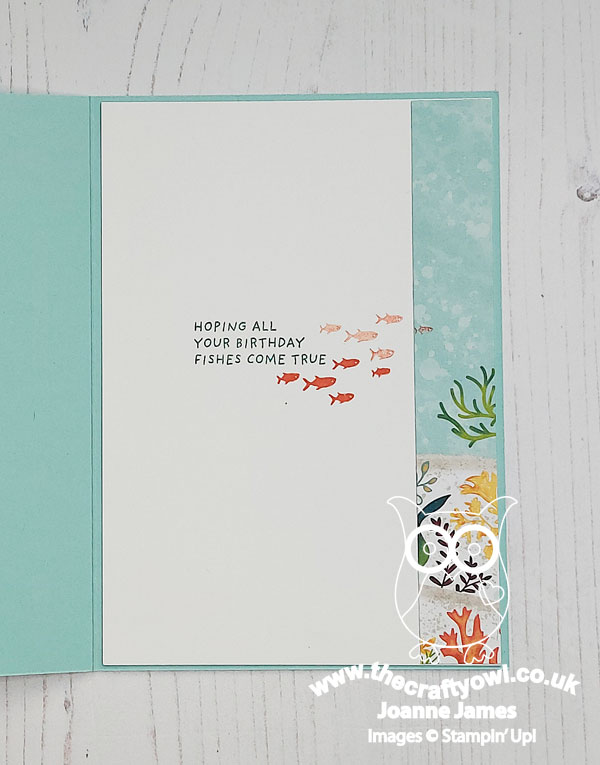
For this card, my shaker element is a flat 'pocket' shaker - a great way to reduce bulk and a great way to introduce a shaker element to an otherwise clean and simple card. Not forgetting the inside, I used the 'Whale Done' stamp set for some co-ordinated stamping and added a strip of left over designer paper:
Today's hippo's underwater apparel was inspired by my own snorkel, mask and fins which are also bright green in colour - just to make sure Jason doesn't lose me as I'm floating around the Caribbean. I've not done that for a while - happy memories!
Here is the visual summary of the key products used on today's project for you to pin for easy reference:
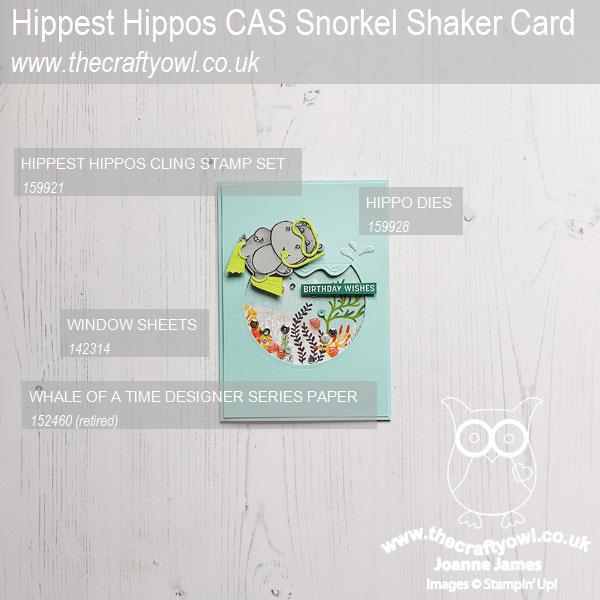
You can see all of my Product and 'How To' summaries on my 'How To - Tips and Techniques' Pinterest board in case you've missed any.
I'm also linking today's card up over at Sparkles Monthly Challenges for a second entry into their shaker cards challenge and over at Just Add Ink for another 'Under the Sea' card. Finally I'm linking up over at Addicted to CAS where the theme is 'nautical' - I'm pretty sure I've met that brief, I just hope they think my card is sufficiently clean and simple!
Before you reach for your ink and papers, check out what our amazing team has created to inspire you this week:
The Paper Players Design Team
Here's a quick recap of our challenge rules:
1. Create a new paper project
2. Upload your creation to your blog with a link back to us and provide a direct link to the post featuring your challenge submission.
3. Please link your card to no more than four challenges, TOTAL.
4. Have FUN!
Enjoy your day; I'll be back tomorrow with another project. Until then, happy stampin'!
Stampin' Up! Supplies Used: