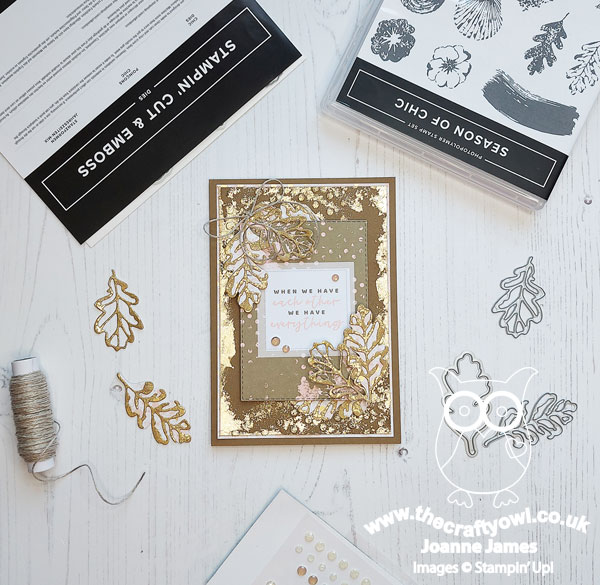
Hurrah it's Friday! Today I have my card for the new challenge over at Festive Friday where the challenge that we are celebrating this week is 'International Owl Awareness Day' which is on Friday 5th August.
Remember the fun thing is that at Festive Friday you do not need to actually celebrate the occasion; your goal is to simply use three or more items from the inspiration list on your project. This week I was tempted to go with an owl theme for obvious reasons, but my search for an inspirational quote took me in a completely direction. I ended up using inspirational quote, texture and brown and this is what I came up with:
Here's the low-down on today's card:
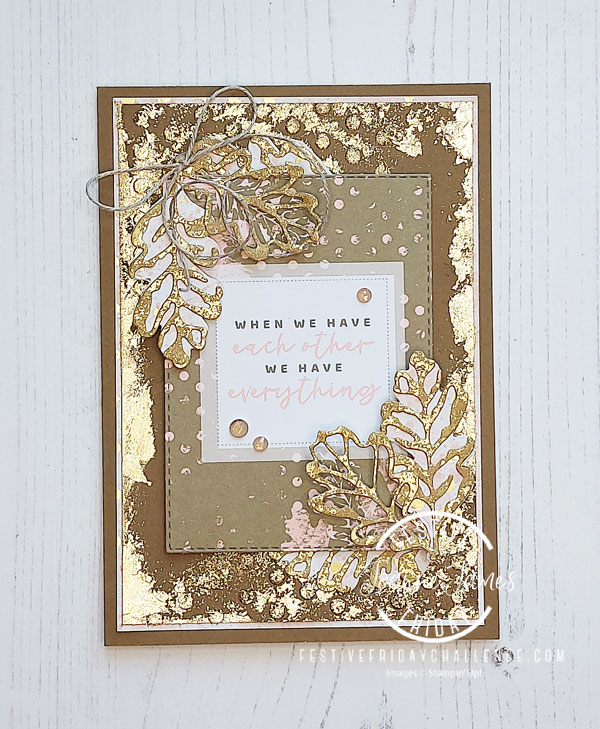
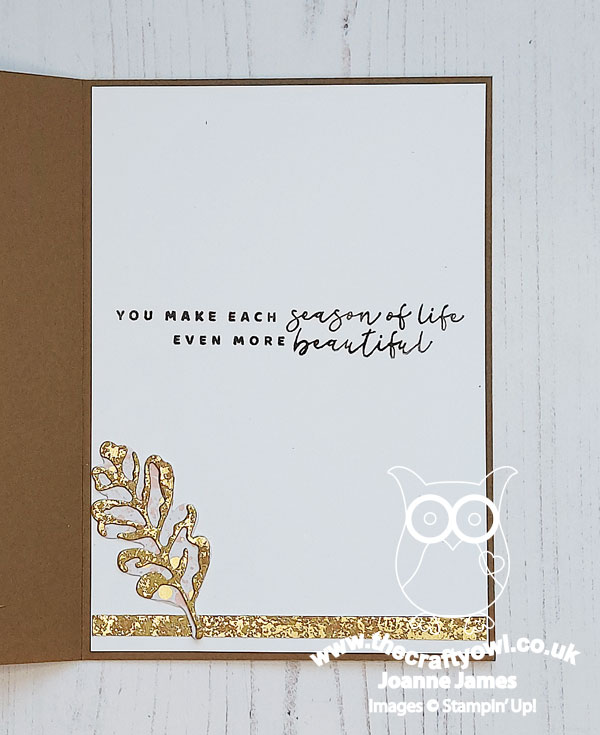
Memories and More - The starting point for today's card was the quote on the front of my card. One of the best places to look for inspirational quotes is a Memories and More card pack - and that's where I found this one, in the Texture Chic card pack. I thought these words would make a lovely card for an anniversary, or a much-loved friend to let them know how much they mean to you. I added a stitched edge by running the card through my diecutting machine and then set about incorporating other elements from the Texture Chic Suite into my design.
Texture, Texture - There is an abundance of texture on today's card: the beautiful Texture chic designer paper is used for both a mat layer and for the base layer to my leaves (which I cut out of the middle of the mat layer to be economical!), then there is the stunning distressed gold speciality paper that I used for the top layer 'skeleton' leaves. I decided that my Soft Suede mat was too plain, so picking up the pattern on the quote card, I partially embossed it on opposing corners with one of the (retired) Checks and Dots embossing folders, then applied heat and stick powder and gold Gilded Leafing to these areas and the panel edges to add to tie in with the other gold elements. You do lose some of the definition of the embossing I think, but it does add tons of textural detail:
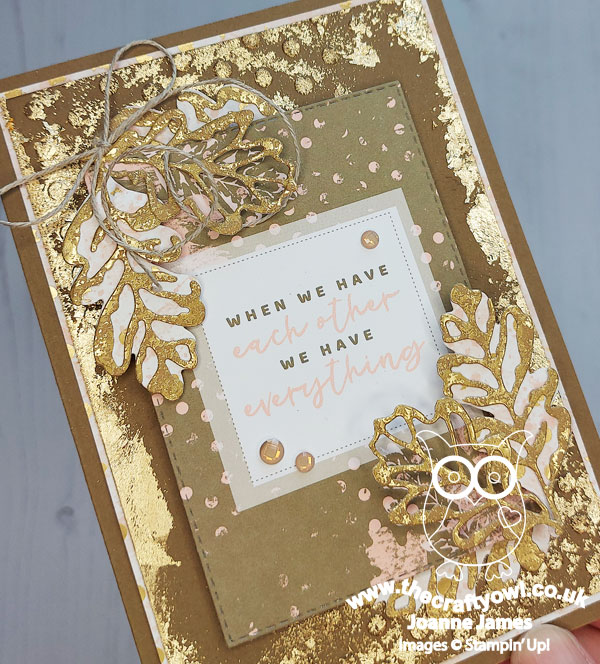
Some linen thread and Elegant Faceted Gems also add texture to the front of my card.
Seasons of Chic - Having used the Chic Dies to cut the leaves to decorate the front of my card, I used the co-ordinating 'Season of Chic' stamp set for my inside sentiment, along with some extras for decoration:
I rarely make this sort of card, which is quite shabby chic in it's look and feel and contrasts to my usual clean and layered style, but it just sort of evolved and I'm actually quite happy with how it turned out; it's always fun to step out of one's comfort zone once in a while!
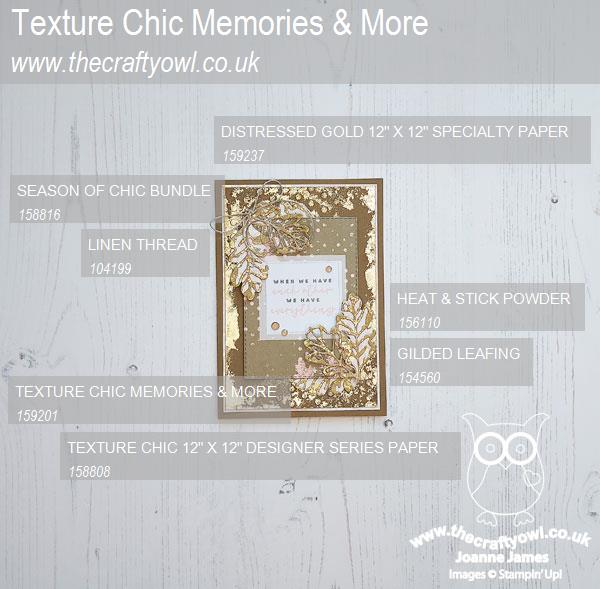
Here is the visual summary of the key products used on today's project for you to pin for easy reference:
You can see all of my 'How To' summaries on my 'How To - Tips and Techniques' Pinterest board in case you've missed any.
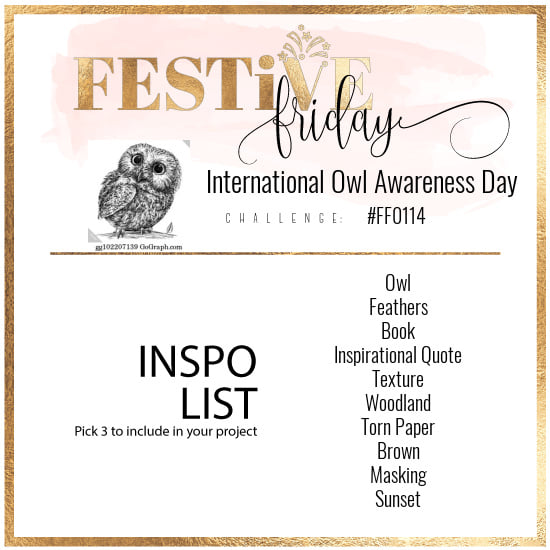
How does our board inspire you? I can’t wait to see what YOU create! For more inspiration, be sure to visit the rest of the Festive Friday Challenge Design team:
Ann Schach
Beth McCullough
Sharon Hashimoto Burkert
Melanie Hungerford
Helen Jennings
Stephanie Lanzalotto
Melva Peters
Jaydee
Diane Evans
Joanne James
Enjoy your day and I'll be back tomorrow with another project. Until then, happy stampin'!
Stampin' Up! Supplies Used: