
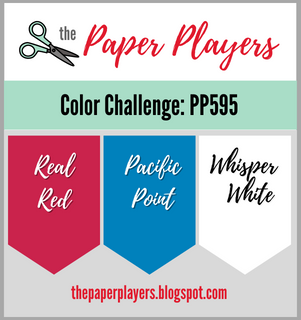
Today it's Sunday and time for this week's new challenge over at The Paper Players! It's the turn of the fabulous Claire to host this week and she has a patriotic colour challenge for us to work with:
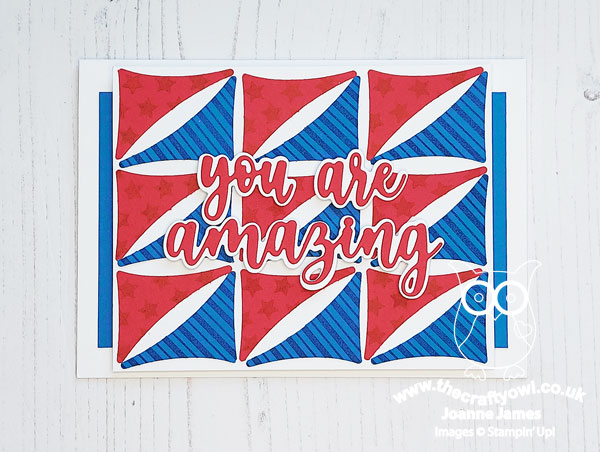
I started out today's card not wanting to use anything other than Claire's trio of chosen colours, but also not wanting to create a patriotic Fourth of July card, since living in the UK we don't celebrate American Independence Day so I don't have much cause to send this kind of card. I did end up going a little rogue - take a look at my card below and you'll see what I mean:
Here's the low-down on today's card:
All About The Background - I had seen a great Instagram post recently by the talented Melody Hyde where she used the Sailboat Builder punch to create a fun background (you can see that card here) so decided I would have a go at creating something similar. I punched a whole bunch of red, white and blue sails, then decided to create a pattern using the red and blue ones. How fun is that?!
Patriotism Of Sorts - Having laid out my background, it did look a little plain so I decided to experiment with some tone-on-tone stamping. I did end up using both stars and stripes, creating my patterns using a tiny star from the 'Penguin Place' stamp set (available again 1st July) and some stripes using an old retired set called 'Your Presents'. Now before the eagle-eyed amongst you point out that my stars and stripes are the wrong way around for the American flag: I know - I stamped a whole bunch of sails, with red stars, blue stars, red stripes and blue stripes and decided this was the pattern combo I liked best - and since I wasn't setting out to create a 4th July card, that was fine. When I came to write up my post though I did have second thoughts and I did wonder if I should have gone with blue stars and red stripes, for fear that my American readers might question my patriotic allegiance or flag knowledge - but I'm hoping my explanation is sufficient to prevent me from a barrage of patriotic fury! Or even a different pattern altogether!! Of course, if you wanted to use this idea to create a stars-and-stripes 4th July card, be my guest - and do share your version with me!
Anyway, back to the card - you can see the detail of my tone-on-tone stamping below; I really like the resulting effect:
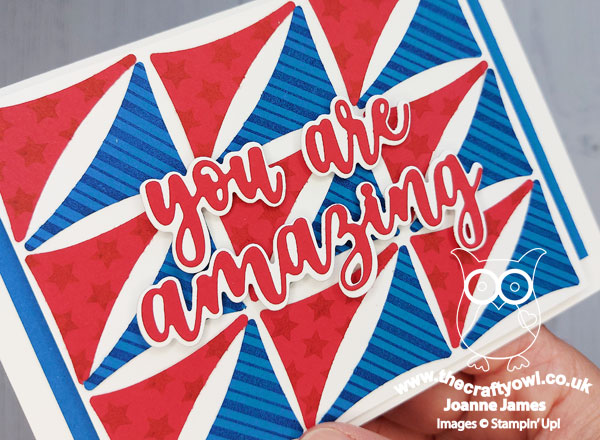
Amazing Thanks - I finished my card with a simple 'you are amazing' die cut sentiment using the Amazing Thanks Dies - I can use this card as a card to celebrate any kind of achievement. The sentiment also works well if you do want to use a similar layout and idea for a truly patriotic card to celebrate the achievements of those who fought for the independence of the USA from the British Empire all those years ago - you just need to switch those stars and stripes!
So what do you think? I love the way the Sailboat Builder Punch is used in such an unexpected way to create a fun background. Do you have any other punches that you use in interesting ways? Do leave me a comment below - I would love to hear your ideas!
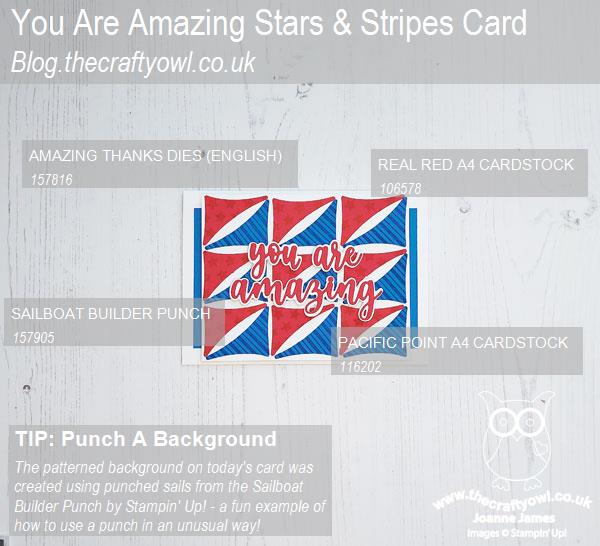
Here is the visual summary of the key products used on today's project for you to pin for easy reference:
You can see all of my Product and 'How To' summaries on my 'How To - Tips and Techniques' Pinterest board in case you've missed any.
Before you reach for your ink and papers, check out what our amazing team has created to inspire you this week:
The Paper Players Design Team
Here's a quick recap of our challenge rules:
1. Create a new paper project
2. Upload your creation to your blog with a link back to us and provide a direct link to the post featuring your challenge submission.
3. Please link your card to no more than four challenges, TOTAL.
4. Have FUN!
Enjoy your day; we will be having some early birthday celebrations today, as the eldest of the James Juniors turns 17 this week but since it's a super busy school week, we are spreading out the celebrations and going with a 'little and often' rather than 'one and done' approach! I'll be back soon with another project. Until then, happy stampin'!
Stampin' Up! Supplies Used:
