Today it's Sunday and time for this week's new challenge over at The Paper Players! It's the turn of the fabulous Anne Marie to host this week and she has a clean and simple challenge for you to work with:

With GCSE exam results announced here in the UK last week, I have had the need for lots of exam congratulations cards, including some for boys, so today's clean and simple masculine challenge gave me the perfect opportunity to come up with another quick and easy-to-replicate design - take a look:
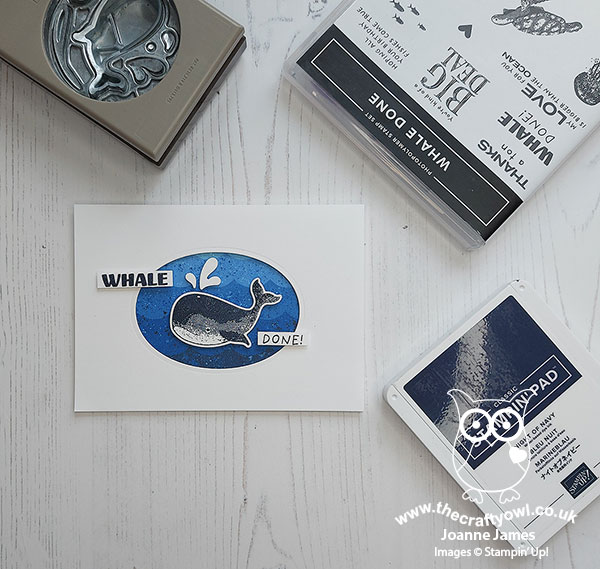
Here's the low-down on today's card:
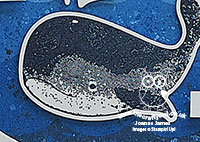
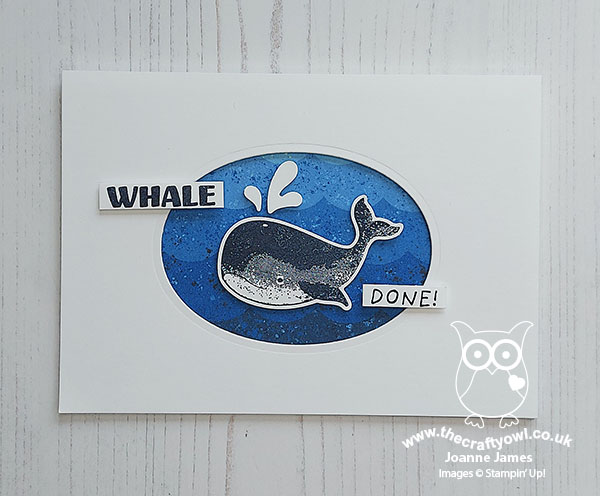
I used Jen Timko's fabulous sketch over at Freshly Made Sketches this week for my layout and kept things simple by creating only in 'shades of blue', in keeping with the colour challenge over at Less Is More. I used a piece of retired Whale Of A Time designer series paper featuring ombre blue waves inside my oval aperture, and added a Night of Navy stamped whale and sentiment from the 'Whale Done' stamp set. I kept my card base white and didn't add any additional embellishments in order to preserve that all-important 'white space' and masculine feel:
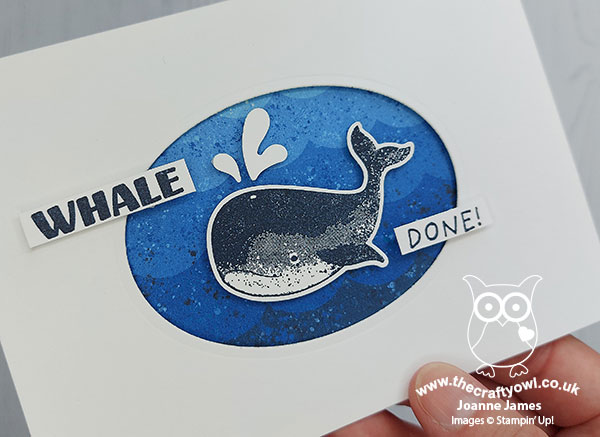
Super simple and not at all girly - this whale has been getting lots of use lately! Perfect to send congratulatory wishes. This week was a big one for the James family: my nephew received A Level results and Rebecca received her GCSE results. Both of them had worked very hard and did very well, with a full set of A*s and As between them, so we had lots to celebrate. More importantly, they both achieved everything they need to move on to the next stage of their education, which is the most important thing. This year has been tough for all those in examination years and I think all GCSE and A Level students should be mighty pleased with their achievements at all levels.
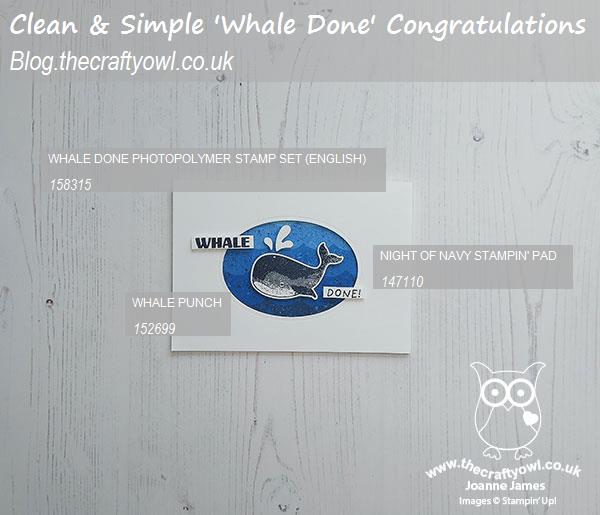
Here is the visual summary of the key products used on today's project for you to pin for easy reference:
You can see all of my Product and 'How To' summaries on my 'How To - Tips and Techniques' Pinterest board in case you've missed any.
Before you reach for your ink and papers, check out what our amazing team has created to inspire you this week:
The Paper Players Design Team
Here's a quick recap of our challenge rules:
1. Create a new paper project
2. Upload your creation to your blog with a link back to us and provide a direct link to the post featuring your challenge submission.
3. Please link your card to no more than four challenges, TOTAL.
4. Have FUN!
You can see all of my 'How To' summaries on my 'How To - Tips and Techniques' Pinterest board in case you've missed any.
Enjoy your day; no big plans here, so hoping I'm lucky enough to squeeze in some crafting! I'll be back tomorrow with another project. Until then, happy stampin'!
Stampin' Up! Supplies Used: