Have a Fun Night In With A Lots of Happy Card Kit

by Joanne James22. January 2018 20:00

I've started the week with one of the James Juniors home from school with the dreaded lurgy, so no time to craft 'from scratch' today. Days like this are perfect days to work on a kit though, where all the hard work and prep is done for you. So today I'm sharing not one card but 5 - yes the five different all-occasion card designs that feature in the fabulous new 'Lots of Happy Card Kit' - take a look:


Here's the low-down on this kit:

Lots of Happy, Lots To Love - There's lots to love in this all-inclusive kit: with 4 each of 5 designs, you can create a total of 20 all-occasion cards using the included 'Lots of Happy' stamp set and then colour these using the Watercolour Pencils that are also included in the kit. two of the four pencils that are included are exclusive to this kits and not available with the standard pencil set. Here are each of the 5 designs individually:


A Fun Night In - The Lots of Happy Card Kit is perfect for a fun night in with friends - if ever you needed an excuse to get together on a wintry afternoon or evening and have some fun, this is it! No skill or previous experience necessary, so whether you consider yourself a crafter or a complete novice that just loves to send beautiful handcrafted cards, this kit is for you! The theraputic benefits of colouring are well-known (you can read all about that in my previous post here) - add some refreshments - tea and cake or wine and nibbles, either works! - and a fun night is guaranteed! If you would be interested in hosting a fun evening with friends, do get in touch - I would love to help you to host a night to remember! What's more if you invite 7 friends to participate during Sale-A-Bration - each kit costs £31.50 each - as the hostess you can get your kit for FREE!

And There's More - This fabulous kit also has a refill available, so if you enjoyed it the first time around, you can reuse your stamp set, block, ink and pencils and create even more cards! A refill costs just £19 - that's less than £1 per card, bargain!

Also the lovely people at Stampin' Up! have also produced a video showing this kit in more detail if you'd like a closer look:

Here is the visual summary of the key products used on today's project for you to pin for easy reference:


You can see all of my 'How To' summaries on my 'How To - Tips and Techniques' Pinterest board in case you've missed any. 

I know I often say this when a new kit comes along, but this really is a good one - the end results are so contemporary and pretty, I love it! Contact me to get one for yourself today!

I'll be back tomorrow with another project. Until then, happy stampin'!


Stampin' Up! Supplies Used:

Table built using Product Table Builder by The Crafty Owl - Independent Stampin' Up! Demonstrator.

Clean And Simple Panda Love Notes For The Paper Players PP377

by Joanne James21. January 2018 09:00

It's Sunday and time for this week's new challenge over at The Paper Players! It's my turn to host this week and I have a topical clean and simple challenge for you to work with:


It's almost February and with Valentine's Day around the corner love is definitely in the air, so what better time to send a little love note or two to the one you love? I have a super clean-and-simple card to share with you this week that is also perfect for this week's challenge over at Less Is More - take a look:


Here's the low-down on today's card:

Love You Panda - I couldn't resist using another of these cute little pandas on my card today - this time it had to be the one proudly holding his own little love note, perfect for my theme! I simply stamped him in black, coloured in the heart on his envelope and surrounded him with bright pink love hearts, from the Heart Happiness set. Inside I stamped my sentiment, also from the 'Party Pandas' stamp set, along with another spray of hearts:

And that's it - super simple, super cute!

The Perfect Note - I used one of the new Whisper White Narrow Note Cards for my one-layer love note today - they measure 6.4cm x 11.4cm, small and narrow and the perfect size for a note to tuck into a pocket, lunch box or gift package. 

Painted With Love Envelope Liners - My little note card was so quick and easy to put together, I decided to add another surprise pop of colour with an envelope liner on the flap of my envelopes. I simply punched a whole bunch of circles out of the Painted With Love Specialty Designer Series Paper using my 2" circle punch and adhered them to the inner flap of my envelope. 

I love my little note card so much, I made a whole bunch of them - I used a selection of papers and stamped my pandas both horizontally and vertically, with hearts in each of the colours that feature in the Painted With Love paper - here's a shot of a bunch of them together:


These are perfect for me to slip into the James Juniors' blazer pockets for a surprise note at school; we are also going to make a whole bunch more for the children to share with their friends too - it's nice to let your besties know they are loved too! They really are so simple to make - it's taken me longer to write this blog post that to actually make all of these cards!

Here is the visual summary of the key products used on today's project for you to pin for easy reference:


You can see all of my Product and 'How To' summaries on my 'How To - Tips and Techniques' Pinterest board in case you've missed any. 

Before you reach for your ink and papers, check out what our amazing team has created to inspire you this week:

Here's a quick recap of our challenge rules:
 
1.  Create a new paper project
2.  Upload your creation to your blog with a link back to us and provide a direct link to the post featuring your challenge submission.
3.  Please link your card to no more than four challenges, TOTAL.
4.  Have FUN!

Don't forget the theme is clean and simple this week - so minimal layers and embellishments and lots of white space. I can't wait to see what you create and look forward to visiting your blogs this week! Enjoy the rest of your weekend as it will be over all too quickly. I'll be back tomorrow with another project; until then, happy stampin'!


Stampin' Up! Supplies Used: 

Table built using Product Table Builder by The Crafty Owl - Independent Stampin' Up! Demonstrator.

Epic Celebration Meets Bubble And Fizz Bright Birthday Card

by Joanne James17. January 2018 22:00

Today I'm sharing another card made using some of the items you can earn for free with a purchase of £45 or more during Stampin' Up!'s Sale-A-Bration promotion that I made with the ladies in my card class last week - take a look:


My card uses 3 of the currently available Sale-A-Bration items - can you spot them all? Here's the low-down on today's card:

An Epic Celebration - The trainers or 'sneakers' on my card today come from the Epic Celebration stamp set - perfect for discerning teens, both male and female. I stamped mine in Archival Grey ink and highlighted areas of my shoes and the sentiment with a chalk marker to accentuate some of the detail against the Bermuda Bay background. 

Bubbles and Fizz, Stars and Stripes - My background paper is another Sale-A-Bration freebie, the Bubbles and Fizz designer series paper. It has some great bottle patterns, but also great neutral patterns in bold, bright colours. I used one piece and cut a strip that I flipped over to give a fun 'stars and stripes' combination. 

Shimmer Ribbon - I covered the join of my two papers with some shiny satin Basic Grey ribbon - yes, my third free gift! This pack of three ribbons in different widths on page 9 of the Sale-A-Bration catalogue is easily overlooked, yet the gorgeous shimmer makes them worth a second glance, not to mention the fact that they co-ordinate so beautifully with the designer series paper! 

My card was inspired by this one made by Amy Koenders, with a few subtle differences - thanks for the inspiration Amy! Here is the visual summary of the key products used on today's project for you to pin for easy reference:


You can see all of my 'How To' summaries on my 'How To - Tips and Techniques' Pinterest board in case you've missed any. 

Enjoy your day and I'll be back tomorrow with another project. Until then, happy stampin'!


Stampin' Up! Supplies Used:

Table built using Product Table Builder by The Crafty Owl - Independent Stampin' Up! Demonstrator.

Sale-A-Bration 2018 And The New Spring-Summer Catalogue Is Here!

by Joanne James3. January 2018 08:00


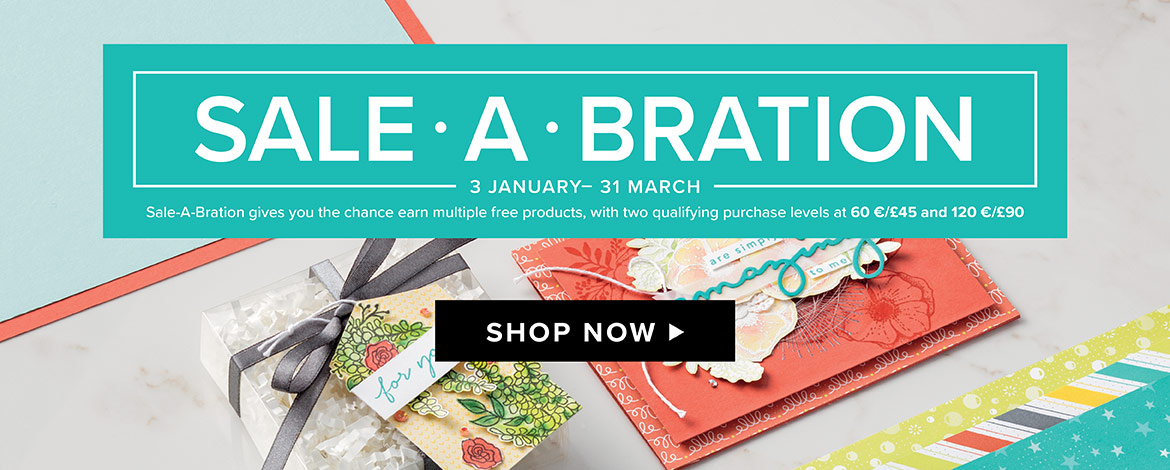
It's time to shake off the January blues, today is THE day - yes, the highlight of the Stampin' Up! calendar, Sale-A-Bration is here! No more sneak peeks - the catalogue is available, the shop is live and from now until 31st March the benefits are yours for the taking. You can click on the catalogue on the right hand side of my blog page to access the Sale-A-Bration leaflet to download a copy or click on the icon above or on the right to go directly to my online shop to place an order - we are LIVE!


So what is Sale-A-Bration? For anyone who hasn't come across it before, it's Stampin' Up!'s annual promotion that is loaded with offers whether you shop, join or host:


Earn a free Sale-A-Bration product for every £45 you spend between 3 January and 31 March. This year for the first time there is also the opportunity to earn even bigger rewards with a £90 purchase. It's the perfect time to purchase those products you've had on your wish list and earn more products for free! 


It’s the best time of year to join Stampin’ Up! During Sale-A-Bration, you can become a demonstrator for just £99 and choose £30 more of FREE products for your Starter Kit. Plus, the kit ships for free! There is plenty of choice and flexibility, whether you want to be a hobby demonstrator and just use your discount to enable you to purchase craft supplies more cheaply, or alternatively would like to build a flourishing direct sales business and sell supplies to others - it's entirely up to you. In addition, you can choose two free stamp sets of your choice (except for bundles, kits or Sale-A-Bration items) - that could be worth as much as another £90 to you!


Earn an additional £20 in hostess credits when you host a party and have party sales of £200 or more (this also applies to individual orders). So for party sales of £200, that makes a whopping £40 of Stampin' Rewards - more freebies! What's more, you can even apply your Stampin' Rewards to a Starter Kit and become a demonstrator yourself - I would love to welcome you to my team!

If you would like to host a party, real or virtual, please do get in touch; my diary is filling up but there are still lots of slots available and I would love to share these great benefits with you. If you've ever thought about becoming an SU! demonstrator, now is a great time to do so - I would love to have a no-obligation chat with you about joining my team and the benefits.

As if that wasn't enough, today also sees the launch of the new Spring-Summer catalogue - full of gorgeous new products:


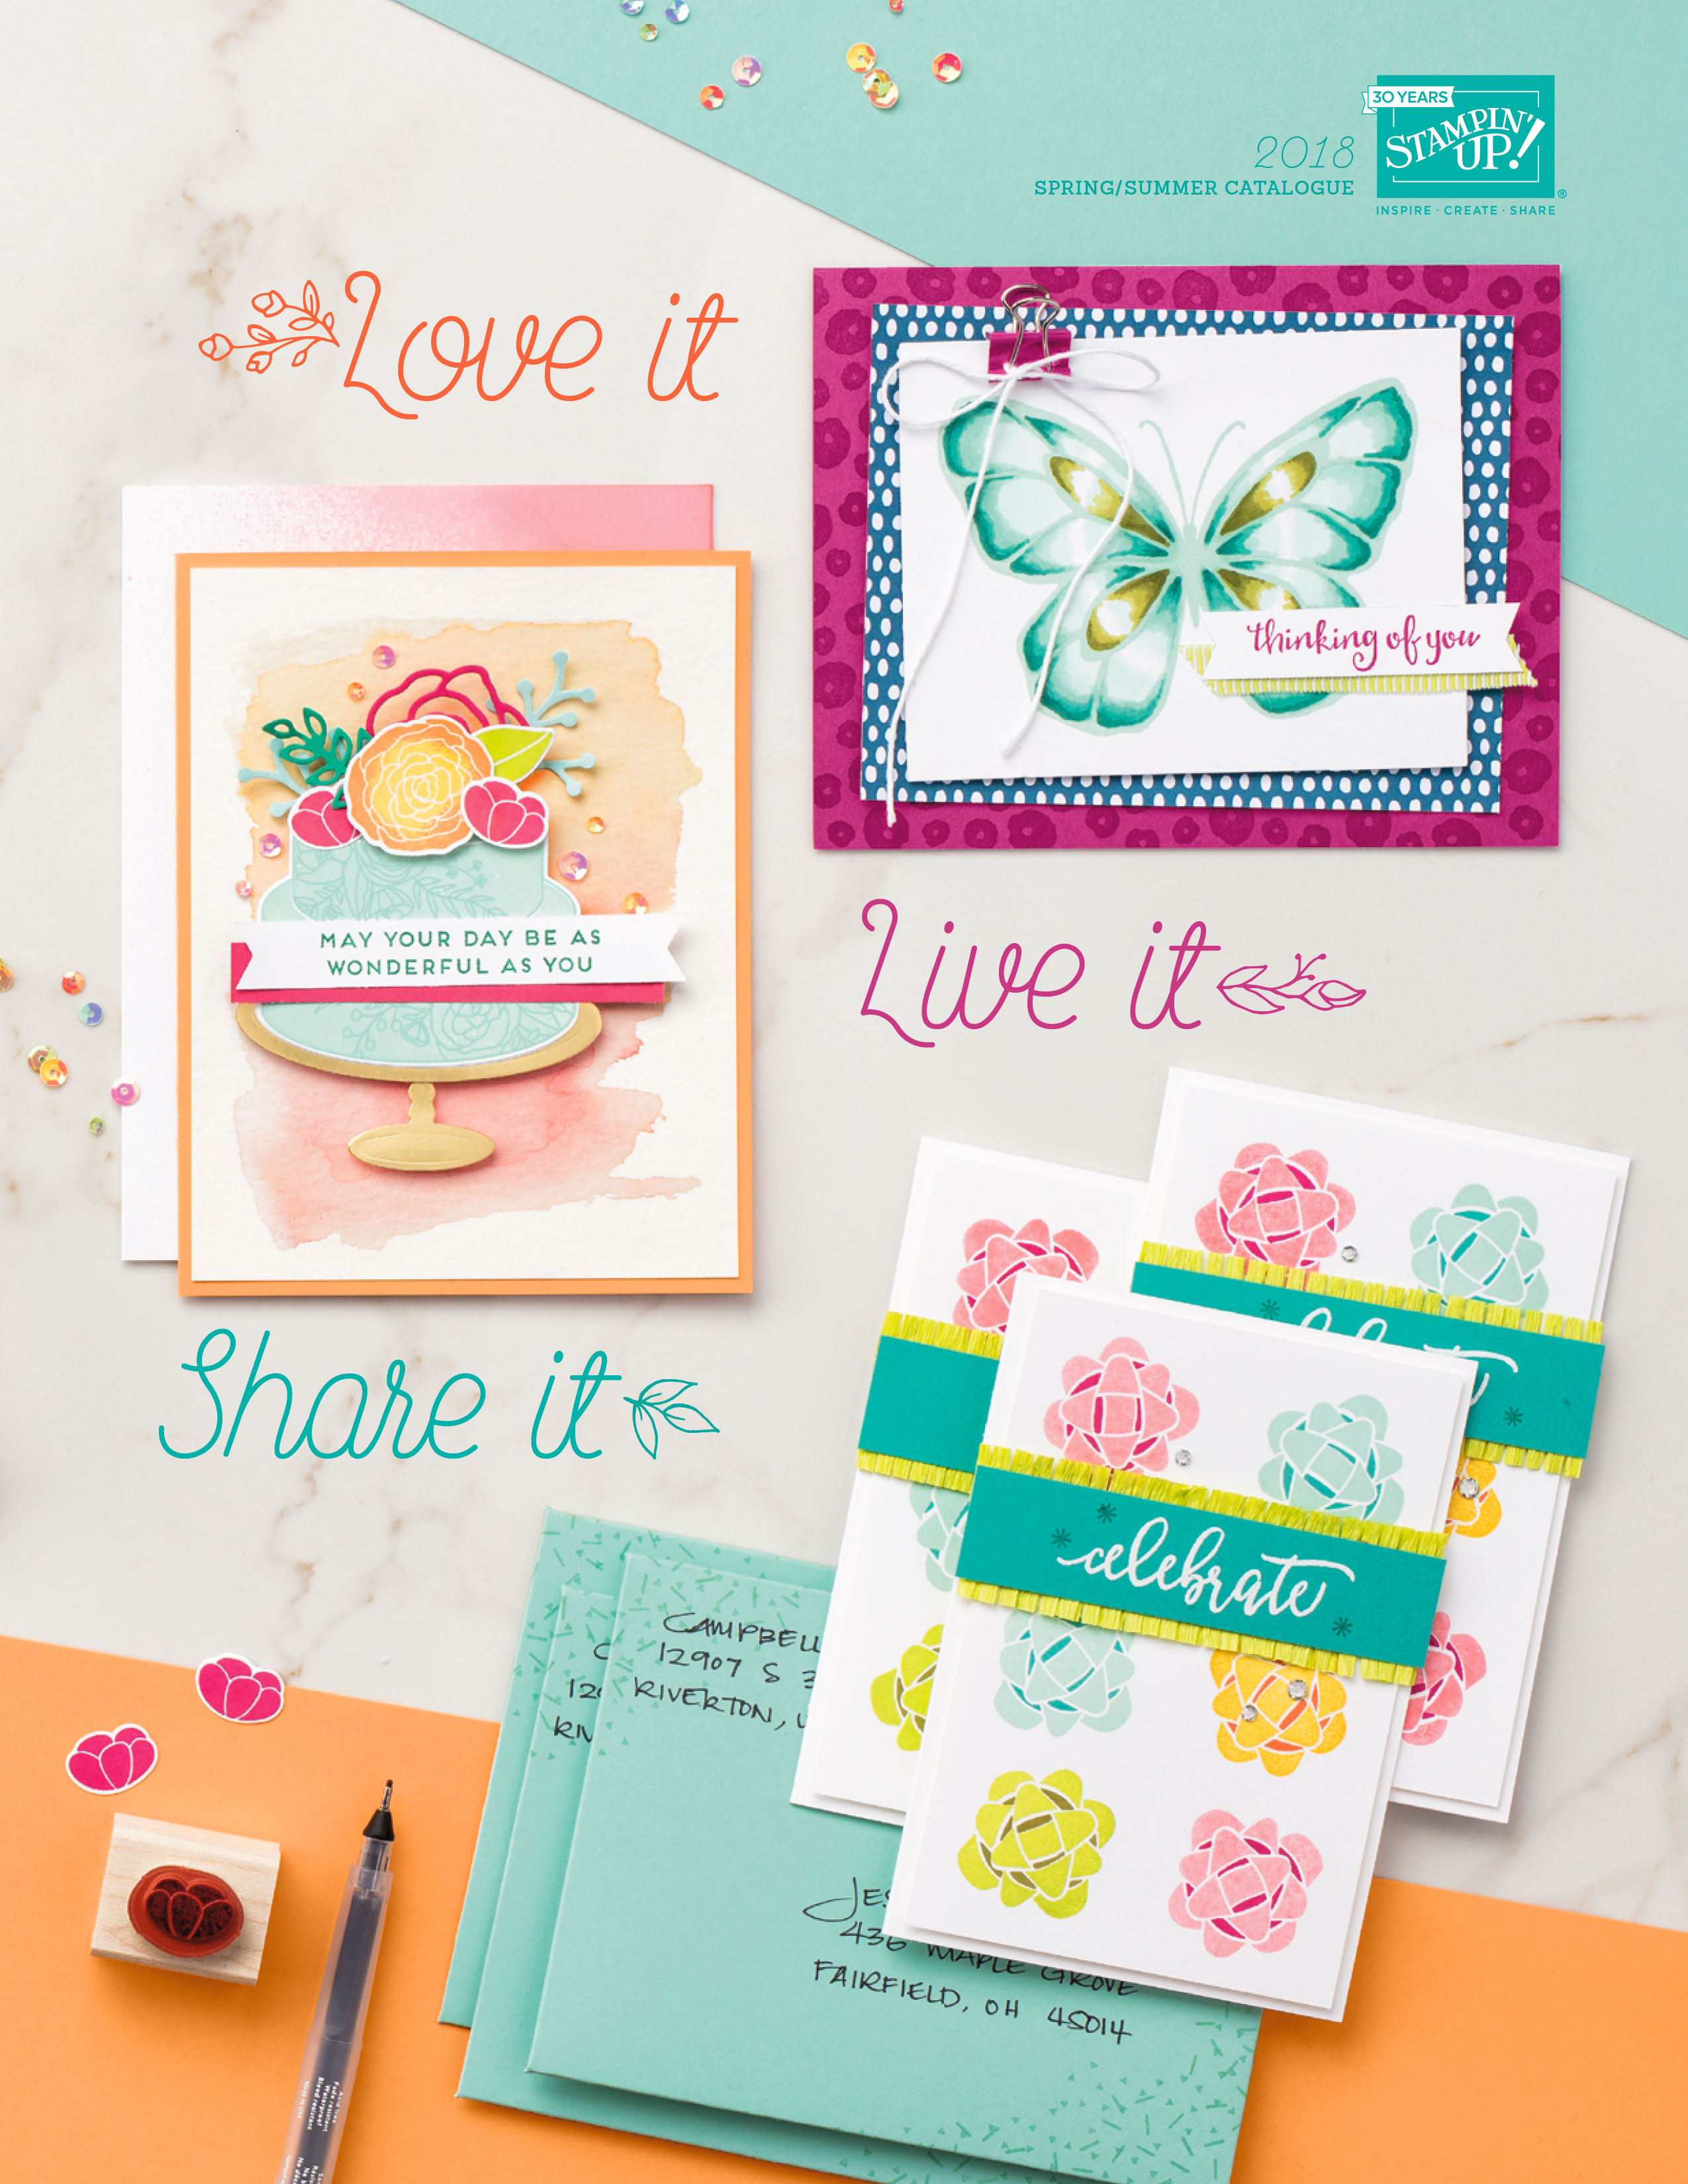
Just click on the image above or in the sidebar on the right to browse the catalogue online, or contact me on 07773 421446 if you would like a paper copy posted out to you and you don't already have a demonstrator. If you are as excited as me and just can't wait, here's the link to my online store - everything is available to purchase from today!

Here's a fun little video too that showcases some of the excitement that lies within:

If you would like more information on any of the above, please don't hesitate to get in touch! 

Thanks so much for popping by - it's always nice to share good news! Back tomorrow with a project showcasing some of the products from the new catalogue. Until then, happy shopping!

Happy New Year 2018 Celebrate You Shaker Card #GDP119

by Joanne James2. January 2018 21:00

Hello lovely readers - and a happy new year to you all! Today I'm sharing a card that I made for some friends with whom welcomed in the new year - I was still enjoying the 'morning after the night before' yesterday so from a blog perspective today heralds the beginning of the end of my festive blog break! I'm also linking up with a couple of challenges - the current challenge over at Global Design Project where the theme is all about celebrating at home and the lovely ladies over at As You See It who are all about the sparkle for their first challenge of the year:


My card was inspired by my 2017 new year card, minus the owl of course (you can see that card in a previous post here) and has a little 'something old ... and lots new' about it - take a look:


Here's the low-down on today's card:

A Window Into 2018 - I used my much-loved Large Numbers Framelits to create fun shaker-card windows in the front of my card. This is so easy to do; you just need to remember to keep the middle of the 0 and 8 to complete the negative image. If you place the numbers that you've cut out over the window sheet without sticking them down, they will allow you to position the negative pieces in just the right position when you remove the numbers again. 

All That Glitters - My decision to create a shaker card was largely because I was looking for an opportunity to use these amazing gold glitter flakes from the new Spring-Summer catalogue that launches tomorrow. Check out the close-up below - aren't they gorgeous? So sparkly! 

Celebrate ... Amazing You - The main front panel of my card features a stamp from a new Sale-A-Bration set, Amazing You (stamped in Versamark and heat embossed in gold and silver) and the word 'celebrate' cut from silver glimmer paper using another of this year's Sale-A-Bration free items - a set of thinlits dies called 'Celebrate You' that co-ordinate with the stamp set and are available free with a £90 purchase. More news on Sale-A-Bration tomorrow, but I hope these sneak-peeks have got you all excited about the fabulous things that are to come!

Here is the visual summary of the key products used on today's project for you to pin for easy reference:


You can see all of my 'How To' summaries on my 'How To - Tips and Techniques' Pinterest board in case you've missed any. 

I'll be back tomorrow with all of the news and information on the 2018 Sale-A-Bration promotion and the launch of the new Spring-Summer seasonal catalogue. Until then, happy stampin'!


Stampin' Up! Supplies Used:

Table built using Product Table Builder by The Crafty Owl - Independent Stampin' Up! Demonstrator.

Sale-A-Bration Any Occasion Baby Cards

by Joanne James30. March 2017 19:30

Today I'm sharing a couple of cards that I made for my last Sale-A-Bration class using Stampin' Up!s precut notelets and envelopes - take a look:


These cards would be great for a note to welcome a new baby boy or girl and would also make nice birth announcement cards. I made a video showing how I put these together - here it is if you would like to see just how quick and easy they are to make:

This stamp set contains lots of fun bits and pieces - I'm sure there are lots of similar combinations you could make for well, any occasion! 

Here is the visual summary of the key products used on today's project for you to pin for easy reference:


You can see all of my 'How To' summaries on my 'How To - Tips and Techniques' Pinterest board in case you've missed any. 

The links to my online store for the supplies to make today's cards are included below, but bear in mind you only have until 10.50pm GMT tomorrow evening to snap up your own 'Any Occasion' stamp set before we say goodbye to Sale-A-Bration for another year.

I'll be back tomorrow with another project. Until then, happy stampin'!


Stampin' Up! Supplies Used:


Table built using Product Table Builder by The Crafty Owl - Independent Stampin' Up! Demonstrator.


Sale-A-Bration Metallic Ribbon Woven Anniversary Heart

by Joanne James28. March 2017 19:30

Today I'm sharing a card for this week's Less Is More challenge where the recipe is to use a frame:

I used a heart diecut to frame a panel of ribbon weaving as a feature on a wedding anniversary card - take a look:


I made today's card to showcase the metallic ribbon that is one of the Sale-A-Bration products available FREE with a £45 order before the end of the month - only a couple more days to go to get yours! This gorgeous smooth ribbon ties beautiful bows, but I wanted to show another way that ribbon can be used on your project. I made a video tutorial to explain how you too could recreate this card with the same metallic ribbon or something similar:

I hope you found that useful - I haven't made any video tutorials in a while, I'd forgotten how much fun they are! 

Here is the visual summary of the key products used on today's project for you to pin for easy reference:


You can see all of my 'How To' summaries on my 'How To - Tips and Techniques' Pinterest board in case you've missed any. 

I'll be back tomorrow with another project. Until then, happy stampin'!


Stampin' Up! Supplies Used:

Table built using Product Table Builder by The Crafty Owl - Independent Stampin' Up! Demonstrator.

New Sale-A-Bration Items Added!

by Joanne James21. March 2017 10:00

Today I have some exciting news! You all know that this year's Sale-A-Bration promotion will end on 31st March and in addition to hosting and joining benefits (you can read about those here) you also earn a free product for every £45 spend - you can see the existing items here and here.

Good news: from now until the 31st March, you will also be able to choose from the catalogue items below (you must use the special code as detailed as opposed to the usual item code to get one of these items free with a £45 spend):


To make things easier for you, I've created a table linking each of the products directly to the promotional item in my online store - just click on the links below:

Table built using Product Table Builder by The Crafty Owl - Independent Stampin' Up! Demonstrator.

If you have your eye on any of the other Sale-A-Bration items, do bear in mind that they will only be available whilst stocks last - the glimmer paper is already sold out, so don't leave it to late to place your order. 

I'll be back soon with another project. Until then, happy stampin'!


Thankful Thoughts Meets Succulent Garden

by Joanne James12. March 2017 09:00

It's Sunday and time for this week's new challenge over at The Paper Players! It's the turn of the wonderful Jaydee to host this week and she has a fun colour challenge for us to work with:


I love green, especially bright greens - Cucumber Crush is one of my all time favourites! - but for today's challenge I decided to go with an altogether more subtle green in Mint Macaron - take a look:


Here's the low-down on today's card:

Succulent Garden - I chose to use a 'tricky' piece of designer series paper on my card today from the Succulent Garden pack. I have been at a loss as to how I should use some of the papers and patterns in this pack and I felt that this sheet in particular lent itself to a monochromatic card in green and white, so used is to cover my entire card front.

A Bold Sentiment - With such a busy paper pattern, I needed a simple, bold sentiment so I chose this bold thank you from the 'Thankful Thoughts' stamp set. I stamped in Mint Macaron onto Whisper White and I used my Stitched Shape Framelits to add a little interest to my otherwise plain circle. With the exception of my row of stamped cacti inside my card and on the front of my co-ordinating envelope, this is all the stamping to feature on my card.

Triple Banners That Sparkle - I added a trio of banners to anchor my sentiment circle, one each in green and white and the third in Mint Macaron glimmer paper, the latest in the Sale-A-Bration free product offering. The sparkle and texture of the glimmer paper introduces another element yet is still in keeping with the overall monochromatic feel of my card.

Here is the visual summary of the key products used on today's project for you to pin for easy reference:


You can see all of my Product and 'How To' summaries on my 'How To - Tips and Techniques' Pinterest board in case you've missed any. 

So a super simple card today, but one with a very calming colour scheme that I hope Jaydee will appreciate.

Before you reach for your ink and papers, check out what our amazing team has created to inspire you this week:

The Paper Players Design Team
 
 
Here's a quick recap of our challenge rules:
 
1.  Create a new paper project
2.  Upload your creation to your blog with a link back to us and provide a direct link to the post featuring your challenge submission.
3.  Please link your card to no more than four challenges, TOTAL.
4.  Have FUN! 


I look forward to seeing what you create with this week's colour palette. Enjoy the rest of your weekend as it will be over all too quickly; I'll be back tomorrow with another project; until then, happy stampin'!


Stampin' Up! Supplies Used: 

Table built using Product Table Builder by The Crafty Owl - Independent Stampin' Up! Demonstrator.

Special Reason Mainly Teal Birthday Card

by Joanne James10. March 2017 21:30

Hooray it's Friday! This week feels like a long one and has finished with what feels like a day at the wheel of my Mum Taxi! I did manage to finish a card I started yesterday for this week's challenge over at Less is More although I am too late to link up - you should totally check out the DT and gallery cards though, they are gorgeous: 


I love the idea of 'mainly teal' for this week's colour challenge and I've had an idea for this card that has been with me all week, just waiting for some time in my craft room to execute it  - take a look:


I decided to go with a simple layered flower and leaves, cut with my Stylish Stems Framelits Dies, in Bermuda Bay and Pool Party cardstock and some of the gorgeous new Sale-A-Bration Glimmer Paper in Bermuda Bay for my flower outline and border edge. To create the same effect with the leaves, I used my Pool Party Stampin' Write Marker to colour some Dazzling Diamonds white glimmer paper to mimic this. A border of retired Cherries On Top DSP and a sentiment from Butterfly Basics finishes my card. 

Here is the visual summary of the key products used on today's project for you to pin for easy reference:


You can see all of my 'How To' summaries on my 'How To - Tips and Techniques' Pinterest board in case you've missed any. 

This new Sale-A-Bration glimmer paper is gorgeous and I love the way that just a little sparkle adds to this otherwise clean and simple design.

A really quick post from me today - should be back with an earlier one tomorrow though! Until then, happy stampin'!


Stampin' Up! Supplies Used:

Table built using Product Table Builder by The Crafty Owl - Independent Stampin' Up! Demonstrator.

2025-26 Annual Catalogue

BROWSE THE CATALOGUE

Click on the image to download your copy of the 2025-26 annual catalogue. For a full list of current SU! supplies, go to my online store. If you would like any help or advice, please drop me a line at joanne@thecraftyowl.co.uk or give me a call on 07773 421446 - I'd be happy to help.

Shop Online

Access my online shop 24 x 7, 365 days of the year:

Shop Online

Join My Team

It's always a great time to join Stampin’ Up! Between 6-31 May, new team members can get £170 worth of products for only £99 + free business supplies + free shipping + all the fun being a part of Stampin’ Up! That's an extra £40 of product - FREE! Stampin' Up! has something for everyone: join my growing team and benefit from my support to enjoy Stampin' Up! however you choose.

If you're interested, call me for a chat to understand how I can help you realise your goals. Alternatively, if you have already decided to sign up and you just can't wait, please click here for the link to the online form where you can sign up and order your starter kit right away! 

Latest Kits!

Stampin Cut and Emboss

The Sending A Smile Kit and The Beautiful Blues Kit are the latest kit additions to the online store - get yours here!

New Online Exclusives

There are new products available exclusively in the online store from 6 May - check them out here.

About Me

Hi I'm Joanne and live in Northampton and when I'm not looking after my husband and two beautiful children, am an avid crafter with a passion for all things Stampin' Up!

I must confess that I have never been a big rubber stamper - until I discovered Stampin' Up! that is. I love the fact that I can get such great results with co-ordinating stamps, inks, papers and punches - the possibilities are endless! Join me on my stamping journey as I share the things I love and be inspired to create amazing things yourself!

Follow Me

Monthly Newsletter

Box Builder

Click the button above to use Box Buster to create your custom box design using the Envelope Punch Board!

Kits Collection Now Available!

Stampin Cut and Emboss

The new Kits Collection from Stampin' Up! is now available!

Click here to see the current kits available and order yours online today.

I Design For


Stampin' Up Stuff

This is my personal blog and is not endorsed by Stampin’ Up! Stampin' Up! is a registered trademark of Stampin' up! Inc. I hope you find my blog a plentiful source of ideas and personal inspiration but please don't copy my designs for contest submission or use for classes, publication or sale without express permission.