
I had a fun family day yesterday, full of laughs and the last of the Christmas crackers. I'm back today with another couple of cards to welcome in the new year for the current challenge over at Freshly Made Sketches:

I made two identical cards, one in each of two colourways. Here's the first one, in white and silver:

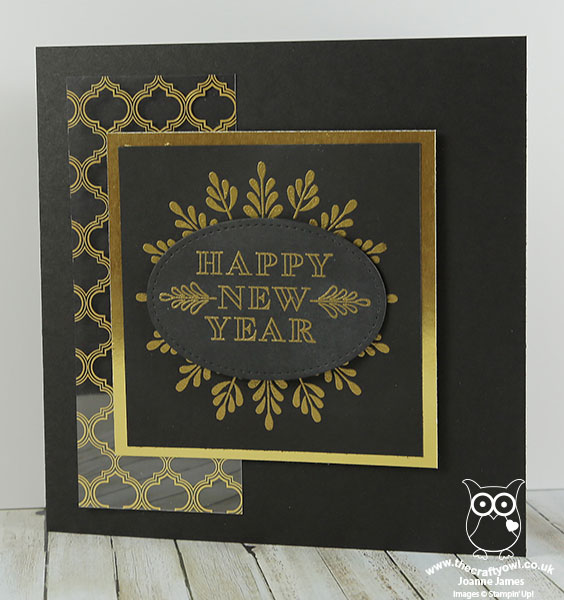
And here's the second one in black and gold:
Here's the low-down on today's cards:
A Frosted Medallion - For today's card I've used both the large medallion and the sentiment from the 'Frosted Medallions' stamp set as intended for a new year's card. I stamped both in Versamark and heat embossed them in silver on the white version. I debated about whether or not I should obscure that gorgeous medallion shape with the sentiment, but in the end decided that the card looked a little naked without the sentiment and besides, I like the way the edges frame the centred oval, giving just a hint of the design beneath. The Frosted Medallions stamp set is still available as part of the 'Year End Closeouts' for just a couple more days before retiring to make way for a new range of seasonal products, so if this set appeals to you, snap it up now before it's gone for good.
Fabulous Foil Designer Acetate Panel - My vertical background panel is courtesy of the Fabulous Foil Designer Acetate - I just love this for adding layering detail to cards without bulk. Easy for a two-way card too - I just cut two pieces and flipped one (don't forget to remove the protective seal from the silver-patterned side to see it shine in all its glory).
Stitched Shape Framelits Are Returning - I finished my card with a sentiment from the Frosted Medallions set framed in a simple stitched oval. I know these have been unavailable to order due to unprecedented demand when first introduced, however good news - those who did manage to order them before they were put on hold and had theirs on backorder will be receiving them any day now and for those who still want to get their hands on them, stocks are likely to have been fully replenished by mid-January so they will once again be available to purchase - and in time for Sale-A-Bration too, wahoo! These stitched shapes just finish off a sentiment beautifully and I guarantee one you have them you won't be able to stop using them!
So which one of these colourways do you prefer? I gave the gold and black one to my mother-in-law yesterday as I know she is partial to this colour combo, but I think I prefer the silver and white one myself - so crisp and fresh. I would love to know what you think - do feel free to leave me a comment below, I read them all and love it when you share your views with me.
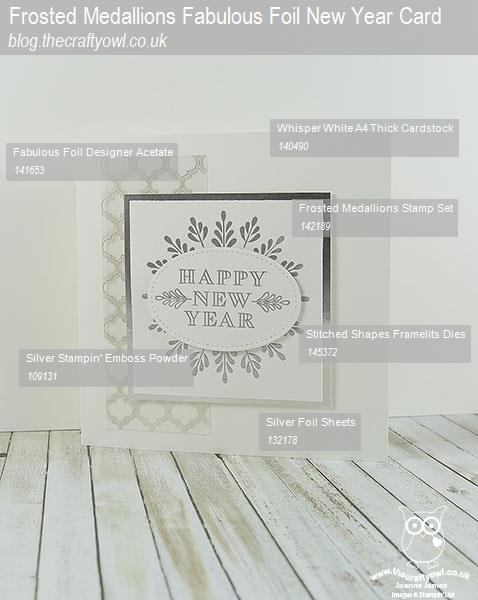
Here is the visual summary of the key products used on today's project for you to pin for easy reference:
You can see all of my Product and 'How To' summaries on my 'How To - Tips and Techniques' Pinterest board in case you've missed any.
That's all from me; back tomorrow with another project; until then, happy stampin'!
Stampin' Up! Supplies Used: