Lots of Heart in Blue Ombre and a FREE Card Class TTT116

by Joanne James3. June 2021 17:00

It's Thursday and time for a new challenge over at TicTacToe! It's the turn of Team X to host this week and the lovely LeAnne is our featured designer this week. This is the fun board that we are playing along with: 


I went down the first column with Friendship/Blue/Heart and decided to get my ombre on for the current challenge over at Addicted to CAS - take a look:


Here's the low-down on today's card:

Blue Ombre - Keeping with my theme of 'hearts are for all year long, not just for Valentines' I have another 'Lots of Heart' card for you today and once again deliberately not in a pink/red colour theme. The large solid heart stamp with the swirl pattern is perfect for an ombre colourway; I used a trio of Balmy Blue, Pacific Point and Night of Navy, going from light to dark to light on my heart and using a sponge dauber to blend the colours. I also used the line of hearts stamp to create an ombre border on the inside of my notecard:

The White Details - I love the way the swirl of the heart stamp echoes the line of the horizontal heart diecut, so used this to anchor my heart (I also added a white outline heart die to give my heart a more finished look). I decided to add a bird too - for no reason other than he is also in the same die set and I thought he would add additional interest without making my card too fussy.

A Neat Trick - I stamped my sentiment in Night of Navy onto my Balmy Blue card base, but the sentiment is designed to be centred. The right side followed the curve of my heart, so in order to level up the left side and ensure good alignment, I added a tiny white resin heart embellishment. This both ties in with the heart theme and improves the symmetry and lines if my card - perfect, even if I say so myself!


I'm also linking today's card up over at SUO Challenges where they are looking for favourite retired/retiring/current stamp set; I'm including today's card because this is a set that I 'discovered' rather late in the current January-June mini catalogue, and it's not carrying over so will retire at the end of the month. I really like it and am finding so many ways to use it outside of the valentines/love/pink genre of card that I think it may end up being a keeper for me. If you like it too, now is the time to snap it up! What's more, both stamp set and dies have 50% off in the retiring sale so if you buy individually you can save big time - a stamp set for £8? Now that is a bargain! 

I have an extra offer for anyone else buying the 'Lots of Hearts' stamp set and co-ordinating Many Hearts Dies from me this month: if you buy both items, I will send you a written tutorial for 3 cards using this bundle for FREE. What's more, if you buy the items in the Lots of Heart bundle and spend £50 or more in my online store during June, I'll throw in the materials to make the cards too - a complete FREE card class in the post! Tutorial/materials will be sent out separately to your order at the start of July.

Here is the visual summary of the key products used on today's project for you to pin for easy reference:


You can see all of my Product and 'How To' summaries on my 'How To - Tips and Techniques' Pinterest board in case you've missed any. 

A tictactoe board offers so many creative possibilities - how does this week's board inspire you? Why not have a go? We would love to see you in the gallery and who knows - you might be selected for Designer's Choice and be eligible to be a guest designer on a future challenge. 

Enjoy your day; it's cooler here today so has been a good day to get some household chores done. I'm hoping the sun returns tomorrow when I'll be back with another project. Until then, happy stampin'!


Stampin' Up! Supplies Used: 

Table built using Product Table Builder by The Crafty Owl - Independent Stampin' Up! Demonstrator.

Stampin' Up! 2021-22 Annual Catalogue Live and Host and Join Promotions Too

by Joanne James4. May 2021 07:00

The wait is over - it's May 4th and the new 2021-22 Stampin' Up! Annual Catalogue is here! You will find a permanent link to the new catalogue on the right hand side of my blog but for today you need look no further than the picture below which will take you straight to the new catalogue: 

The new catalogue is fantastic, with so many great new products to choose from. I've sent paper copies to everyone who has shopped with me in the last 6 months; a digital copy of the new catalogue can be accessed via the image above and it will be permanently linked via my blog on the right hand side if you don’t have a paper copy and wish to browse. If you have your paper copy and just want to go straight to the shop to place your order, click here - ordering systems have now fully transitioned from the old stock items to the new so you are good to go! Also, remember to add the current hostess code for May 6N4HU7SN if your order is less than £150 and ensure your preferences are set to 'contactable' to receive a thank you in the post from me.

There are also a couple of promotions that go live today to coincide with the launch of the new catalogue:

The first is the hostess promotion that I talked about in this post. As a reminder, you can earn an additional £20 of hostess rewards when you have party sales of £200 or more between May 4th - June 14th: 


Just because we are still experiencing some social distancing, doesn't mean we can't get together. If you would like to organise a virtual party with me, just let me know - numbers are unlimited and it can be a great way to connect with friends far and wide for a session of crafty fun! 

If your wishlist is long, you might also want to consider a cracking good join promotion that is running through the month of May too: 

It’s a fabulous time to join Stampin’ Up! From 4–31 May, new team members get even MORE FREE products in their customisable Starter Kit: new team members can get £130 £154 worth of products for only £99 + free business supplies + free shipping + all the fun being a part of Stampin’ Up! I would love to chat with you about the benefits of joining my team and being a Stampin' Up! demonstrator; as always, you can always find the link to join my team on the right hand side of my blog page; alternatively it's right here if you fancy jumping right in!

I also have a number of classes lined up in coming months featuring products from the new catalogue - the first of which are detailed below:

  • May 10th: Paper Pumpkin Bouquet of Hope Craft Along
  • May 24th: Monthly Class: Dragonfly Garden
  • June 21st: Monthly Class: Pansy Patch

Full details for these classes can be found on my Facebook Events Page  or alternatively under the 'Events/classes' tab on my website.

That's a lot of information for one post; if I were you I would put the kettle on, put your feet up and get comfy and settle down with your new catalogue for a browse and start creating that all-important wish list!

Back later this morning with today's creative post; until then, happy shopping!

Stampin' Up! 2020-21 Annual Catalogue Live and Host and Join Promotions Too

by Joanne James3. June 2020 13:52

The wait is over - it's June 3rd and the new 2020-21 Stampin' Up! Annual Catalogue is here! I will be updating my links on the right hand side of my blog and you will find a permanent link to the new catalogue there, but for today you need look no further than the picture below which will take you straight to the new catalogue:


The new catalogue is fantastic, with so many great new products to choose from. I've sent paper copies to everyone who has shopped with me in the last 12 months; a digital copy of the new catalogue can be accessed via the image above and it will be permanently linked via my blog on the right hand side if you don’t have a paper copy and wish to browse. If you have your paper copy and just want to go straight to the shop to place your order, click here - ordering systems have now fully transitioned from the old stock items to the new so you are good to go! Also, remember to add the current hostess code for June NSKDEXBA if your order is less than £150 and ensure your preferences are set to 'contactable' to receive a thank you in the post from me.

Here's a quick video that Stampin' Up! have produced given a quick catalogue walk through of some of the highlights to wet your appetite:

 There are a number of items that are already on backorder and the main things that feature in the new catalogue that are not available on launch are the new die cutting machines - I will let you know as soon as these are going to be available to purchase. Most items are ready and waiting to be bought though!

As mentioned previously, this year's catalogue launch is online over on my Facebook Page. This is a great opportunity for you to see some of the products, take advantage of my BOGOF sale of retired stamp sets, and have some fun even if you don't live in or around Northampton! Click here to browse the BOGOF list.

There are also a couple of promotions that go live today to coincide with the launch of the new catalogue:

The first is the hostess promotion that I talked about in this post. As a reminder, you can earn an additional £20 of hostess rewards when you have party sales of £200 or more throughout the month of June: 


Just because we are socially distancing, doesn't mean we can't get together. if you would like to organise a virtual party with me, just let me know - numbers are unlimited and it can be a great way to connect with friends far and wide for a session of crafty fun! 

If your wishlist is long, you might also want to consider a cracking good join promotion that is running through the month of June too: 


 I will write more about this another time, but the deal is simple: for £99 receive £130 of products of your choice and in addition any stamp/tool bundle FREE. Yes, any of the stamp/punch bundles on p.168-169 or stamp/die bundles p.173-179 in the new catalogue - so potentially another £55 of free product - what a great deal! As always, you can always find the link to join my team on the right hand side of my blog page; alternatively it's right here if you fancy jumping right in!

I also have a number of classes lined up in coming months featuring products from the new catalogue - the first of which are detailed below:

  • 15th June - Blossoms in Bloom
  • 6th July - Lovely You Bundle
  • 27th July - Arrange A Wreath Bundle

Full details for these classes can be found on my Facebook Events Page  or alternatively under the 'Events/classes' tab on my website.

That's a lot of information for one post; if I were you I would put the kettle on, put your feet up and get comfy and settle down with your new catalogue for a browse and start creating that all-important wish list!

Back tomorrow with a new project; until then, happy shopping!


Beautiful Friendship Stamparatus Wreath Builder Card PP493

by Joanne James31. May 2020 09:00

Today it's Sunday and time for this week's new challenge over at The Paper Players! It's the turn of the fabulous Jaydee to host this week and she has a fun tic-tac-toe challenge for you to work with:


I decided to go across the top row with Flowers/Girly/Birthday and wanted to share with you a card I made using one of my most favourite stamp sets of all time, Beautiful Friendship - take a look:


Here's the low-down on today's card:

I ADORE the 'Beautiful Friendship' stamp set and have made a ton of cards with it recently, having held an online class using this set. In between  my online classes, I have been running a whole host of online demonstration sessions either sharing different ideas using the class stamp set, revisiting previously learned techniques, or sometimes a combination of both. This card was a result of one of those sessions, where I held I refresher session showing how to use your Stamparatus to create wreaths. The single rose in the 'Beautiful Friendship' set is perfect to create a simple wreath, so armed with my favourite of the retiring in-colors, Lovely Lipstick, and ringing the changes with a 6" x 6" square card, this was what I came up with. 

Have you ever used your Stamparatus to create a floral wreath? Here's a short speeded-up clip of my demonstration (without sound) that shows how easy it is to do:

https://youtu.be/1LgZ-ttfvIE

I then added a heat-embossed fussy cut sentiment from the soon-to-be-retired 'Seriously The Best' stamp set and a simple twine bow to the front of my card and added a little decoration to the inside too:


Did you find the above speeded up video clip useful? If you would like to take part in one of my online classes or attend my online demonstration sessions, do check out my class schedule on the events section of my Facebook page or on the 'Classes' tab on my website, or just drop me a line for more information.

I'm linking today's card up over at SUO Challenges where the current theme is Designer's Choice - this one is definitely one of mine!

Here is the visual summary of the key products used on today's project for you to pin for easy reference:


You can see all of my Product and 'How To' summaries on my 'How To - Tips and Techniques' Pinterest board in case you've missed any. 

Before you reach for your ink and papers, check out what our amazing team has created to inspire you this week:

Here's a quick recap of our challenge rules:
 
1.  Create a new paper project
2.  Upload your creation to your blog with a link back to us and provide a direct link to the post featuring your challenge submission.
3.  Please link your card to no more than four challenges, TOTAL.
4.  Have FUN!

You can see all of my 'How To' summaries on my 'How To - Tips and Techniques' Pinterest board in case you've missed any. 

Enjoy your day; I'll be spending mine in and out of my 'By One Get One Free' party over on my Facebook page as I clear out my retiring stamps to make way for the new, whilst sitting in the garden enjoying the warm sunshine!nI'll be back tomorrow with another project. Until then, happy stampin'!


Stampin' Up! Supplies Used: 

Table built using Product Table Builder by The Crafty Owl - Independent Stampin' Up! Demonstrator.


Tropical Oasis Guitar Thank You Card

by Joanne James25. May 2020 08:00

Happy Bank Holiday Monday to my UK readers and Happy Memorial Day to my USA readers! I'm sure like me you are spending your day differently since we are either still in lockdown or experiencing some form of social distancing, wherever you are. I actually have an online class today featuring the Birthday Jubilee bundle so my post needs to be a quick one. I do have a couple of cards to share with you though. So first up is a card using this week's layout over at Freshly Made Sketches

This layout is very similar to our Paper Players one this week, so I tried to do something different to yesterday's card and grabbed my Tropical Oasis Memories and More Cards for a colourful thank you card - take a look:


Here's the low-down on today's card:

I paired one of the smaller colourful cards with a sheet of the Tropical Oasis paper with a rustic pattern that I embossed with the Coastal Weave Embossing Folder for added texture, then added a layered 'thanks' that I cut down from the word 'Thanksgiving' in the Word Wishes Dies. I stacked the diecut with three pieces in Early Espresso and them one in Whisper White that I offset slightly.

Here is the visual summary of the key products used on today's project for you to pin for easy reference:


You can see all of my 'How To' summaries on my 'How To - Tips and Techniques' Pinterest board in case you've missed any. 

I also have another quick card, it's actually notelet size, that I made using a retired Crumb Cake notelet I found as I was clearing out, along with a discarded Highland Heather mat, for the current challenge over at CASology this week:

As I was sorting through my stamps I cam across this small image in the 'Garden Shed' stamp set that was just perfect both for the challenge and to use up the bits and pieces on my desk:


I simply stamped the image, coloured with my blends, and added some linen thread to finish. 

Enjoy your day and I'll be back tomorrow with another project. Until then, happy stampin'!


Stampin' Up! Supplies Used:

Table built using Product Table Builder by The Crafty Owl - Independent Stampin' Up! Demonstrator.

Embossing With Jubilee Beauty Dies #GDP241

by Joanne James23. May 2020 17:00

Today I'm sharing a card that I made with my ladies online this week to demonstrate how you can get more mileage from your dies by using them to emboss too. My card also features the colours over at Global Design Project this week:

My online class next week features the Jubilee Beauty Dies and Birthday Jubilee stamp set and they were the perfect bundle to demonstrate this technique - take a look:


Here's the low-down on today's card:

In order to emboss with your dies, you need to use a different sandwich in your die cutting machine. I actually created two versions of the same card during my demonstration: one using the (now retired) Stampin' Up! Embossing Mats that were specifically designed for this purpose:


The other using a silicone mat in place of the thin blue rubber embossing mat - this is a great alternative and still available to purchase:


You get a slightly deeper impression using a silicone mat - if you look at the photo below, you can see the difference with the card on the left being with the embossing mat and the one on the right with the added tassle being with the silicone mat:


So which one do you prefer? One leaves a deeper impression than the other - do you have a preference? Here is the visual summary of the key products used on today's project for you to pin for easy reference:


You can see all of my 'How To' summaries on my 'How To - Tips and Techniques' Pinterest board in case you've missed any. 

Enjoy your day and I'll be back tomorrow with another project. Until then, happy stampin'!


Stampin' Up! Supplies Used:

Table built using Product Table Builder by The Crafty Owl - Independent Stampin' Up! Demonstrator.

Birthday Jubilee Brights For PP490

by Joanne James10. May 2020 09:00

Today it's Sunday and time for this week's new challenge over at The Paper Players! It's the turn of the fabulous Claire to host this week and she has a colour challenge for you to work with:


I love Claire's bright colour palette this week! I have been planning my next online class so had the Birthday Jubilee bundle out on my desk and along with Brian's sketch over at CAS(E) This Sketch this week my card came together pretty quickly - take a look:


Here's the low-down on today's card:

I cut two panels in Melon Mambo using one of the Jubilee Beauty Dies and used them to frame my sentiment, adding a couple of floral garlands coloured with my Stampin' Blends in each of the colours. I used my old retired Melon Mambo Blendabilities for the pink flowers; I've some good news for you if you're a Blends fan though - there is a new Melon Mambo Blends combo in the new annual catalogue - woohoo! A little extra stamping inside and decoration on the envelope flap complete my card:


The Birthday Jubilee bundle is retiring at the end of the month and the Jubilee Birthday dies are currently discounted to £16.80, so if you like them now is the time to pick up a bargain! My next online class is on Monday 25th May and features this bundle. You can see the full details here; if you would like to join us, then do message me to book on. I would love to see you there!

Here is the visual summary of the key products used on today's project for you to pin for easy reference:


You can see all of my Product and 'How To' summaries on my 'How To - Tips and Techniques' Pinterest board in case you've missed any. 

Before you reach for your ink and papers, check out what our amazing team has created to inspire you this week:

Here's a quick recap of our challenge rules:
 
1.  Create a new paper project
2.  Upload your creation to your blog with a link back to us and provide a direct link to the post featuring your challenge submission.
3.  Please link your card to no more than four challenges, TOTAL.
4.  Have FUN!

You can see all of my 'How To' summaries on my 'How To - Tips and Techniques' Pinterest board in case you've missed any. 

Enjoy your day; happy Mother’s Day wishes to those overseas who are celebrating - I hope you are all spoiled rotten! The weather is supposed to turn here today with rain and much colder temps forecast, so I think my time sitting in the garden will be limited. I guess I might have to do some indoor jobs instead!  I'll be back tomorrow with another project. Until then, happy stampin'!


Stampin' Up! Supplies Used: 

Table built using Product Table Builder by The Crafty Owl - Independent Stampin' Up! Demonstrator.


All Dressed Up Gift Bag and Creative Escapes Craft Retreat Keyring Gift

by Joanne James26. March 2020 17:02

As promised I have another quick make to share with the lovely team over at TGIF Challenges as they are featuring the Best Dressed Suite this week:

This time a fun gift bag using the papers from the Best Dressed suite along with some Purple Posy cardstock and a fun keyring made from shrinky plastic - take a look:


The sweet little bag was easy to create using the All Dressed Up Dies - just diecut everything and put together. I used some scraps of gold foil for the button and buckle clasps - I just love that added detail! - and added a tag stamped and punched with the new Label Me Fancy Punch and just tucked it into the pocket. My little bag houses this cute keyring that I also stamped using the 'Dressed To Impress' stamp set then coloured with Blends and punched out using the other new label punch, the Label Me Lovely punch, before putting into the oven to shrink and adding to my keychain with a co-ordinating ribbon - here's a closeup of my keyring:


In hindsight I should have taken a 'before' they went into the oven photo too so you can see how much smaller they are - I will try and remember to take one next time! I love that sentiment - I thought it would be perfect for a little keyring embellishment. It has become customary for the ladies attending my Creative Escapes Weekend Craft Retreats to receive a keychain like this at the end of the weekend - the regular attendees have quite the collection now! Here's a photo of all of them jumbled before packing:

 - to be updated -

And one last one of both the bag and keychain together:


So what do you think - have you ever used shrink plastic in any of your projects? Better still, would you like to receive a keyring just like this one, or to be more precise the one that I will be designing for my next residential weekend craft retreat? If you need something to look forward to (and right now, I'm thinking we could all do with a little of that!) my October retreat, to be held 3-4th October 2020, is now open for booking and I'd love you to join me! You can see full details on my website here or just get in touch with any questions.

Here is the visual summary of the key products used on today's project for you to pin for easy reference:


You can see all of my 'How To' summaries on my 'How To - Tips and Techniques' Pinterest board in case you've missed any. 

Back tomorrow with another project for our new challenge over at As You See It; Until then, happy stampin'!


Stampin' Up! Supplies Used:

Table built using Product Table Builder by The Crafty Owl - Independent Stampin' Up! Demonstrator.

Peaceful Poppies in Red, White and Grey CTD578

by Joanne James3. February 2020 19:00

I'm here with my second card of the day - and on a class day too, go me! And it's only Monday - let's hope that this is a sign of a productive week! This card is one of the ones that we made in my technique class this morning featuring the Painted Poppies bundle and I used this week's colours over The Color Throwdown as my inspiration:

This is the card I came up with: 


Here's the low-down on today's card:

Painted Poppies and Peaceful Moments - All of our class cards featured the Peaceful Poppies stamps and co-ordinating Painted Labels Dies. Here the poppies were simply coloured using Real Red ink and the watercolour 'splodge' stamp in the set, with a little detailing added with a marker and then diecut. The leaves were stamped in black and some tiny splodges added in Smoky Slate before fussy cutting by hand. We paired it with a sentiment of our choice from the 'Peaceful Moments' set - I chose this one, but everyone in my class used the 'With Deepest Sympathy as they thought this card wold work well as a sympathy card.  

Sweetly Stitched - I used the largest of the Stitched So Sweetly rectangular dies as the mat on my card; these are on page 20 of the Spring-Summer mini catalogue and worth a look if you've passed over them as they are easy to miss, especially if the co-ordinating stamp set is one that doesn't appeal. You're welcome ;-) 

A Pattern Party - I sponged some darker Basic Grey onto my scalloped rectangle piece using one of the Pattern Party masks, graduating the colour outwards from the corner, to add interest and tie in with my flowers. I added some clear sequins and some black pearls (regular ones coloured with a black marker) to the centre of my flowers to finish.

Here is the visual summary of the key products used on today's project for you to pin for easy reference:


You can see all of my 'How To' summaries on my 'How To - Tips and Techniques' Pinterest board in case you've missed any. 

This was the middle card from my class today and it's fair to say the ladies loved it. I'll share the others another time; in the meantime, if you live in or around Northampton and would like to attend a class, do get in touch - we would love you to join us! The next one features the 'Peaceful Moments' bundle and will be held on Monday 9th March - the day after my residential weekend craft retreat!

Enjoy your evening; I have to go and start on my ironing pile now - I can't put it off any longer! I'll be back tomorrow with another project. Until then, happy stampin'!


Stampin' Up! Supplies Used:

Table built using Product Table Builder by The Crafty Owl - Independent Stampin' Up! Demonstrator.

A Retro Snowman Season Double for CC&S345

by Joanne James4. November 2019 20:00

Today marks the start of a busy week with the first of my monthly classes, so I've a quick post to share a couple of cards inspired by the CAS Colours and Sketches challenge this week where it's a double featuring both a sketch and colours:

This is a great sketch and it just so happens that I still have two of these three retired colours, so substituting the current Balmy Blue for Bashful Blue I set to work and came up with a couple of cards using my favourite 'Snowman Season' stamp set. Here's the first one that I created for the challenge:


A little bit of snowflake tone-on-tone background stamping and a stamped image, coloured with a combination of Blends and Stampin' Write markers and a blender pen, along with a sentiment banner all from the same stamp set and anchored with a couple of snowflakes cut using the Seasonal Layers dies to finish my card. I liked this card so much I created a slightly stepped-up version that flipped the base and mat colours around and included a swirly embossed layer to my card base, along with a retired snowflake embellishment:


Honestly, I'm not sure which one I prefer - here's a photo of them both together, do feel free to leave me a comment below with which one gets your top vote!


Here is the visual summary of the key current products used on today's project for you to pin for easy reference:


You can see all of my 'How To' summaries on my 'How To - Tips and Techniques' Pinterest board in case you've missed any. 

Right that's all from me today - I still have a few things to do before I rest up for the evening so must dash! Enjoy your evening and I'll be back tomorrow with more news and another project. Until then, happy stampin'!


Stampin' Up! Supplies Used:

Table built using Product Table Builder by The Crafty Owl - Independent Stampin' Up! Demonstrator.

New Online Exclusives

There are new products available exclusively in the online store from 5 November - check them out here.

Latest Kits!

Stampin Cut and Emboss

The Layered Landscapes Kit and Nature's Paintings Kit are the latest kits in the online store - get yours here!

Shop Online

Access my online shop 24 x 7, 365 days of the year:

Current November hostess code:

9NKXDTTR

Shop Online

Mini Catalogue

BROWSE THE CATALOGUE

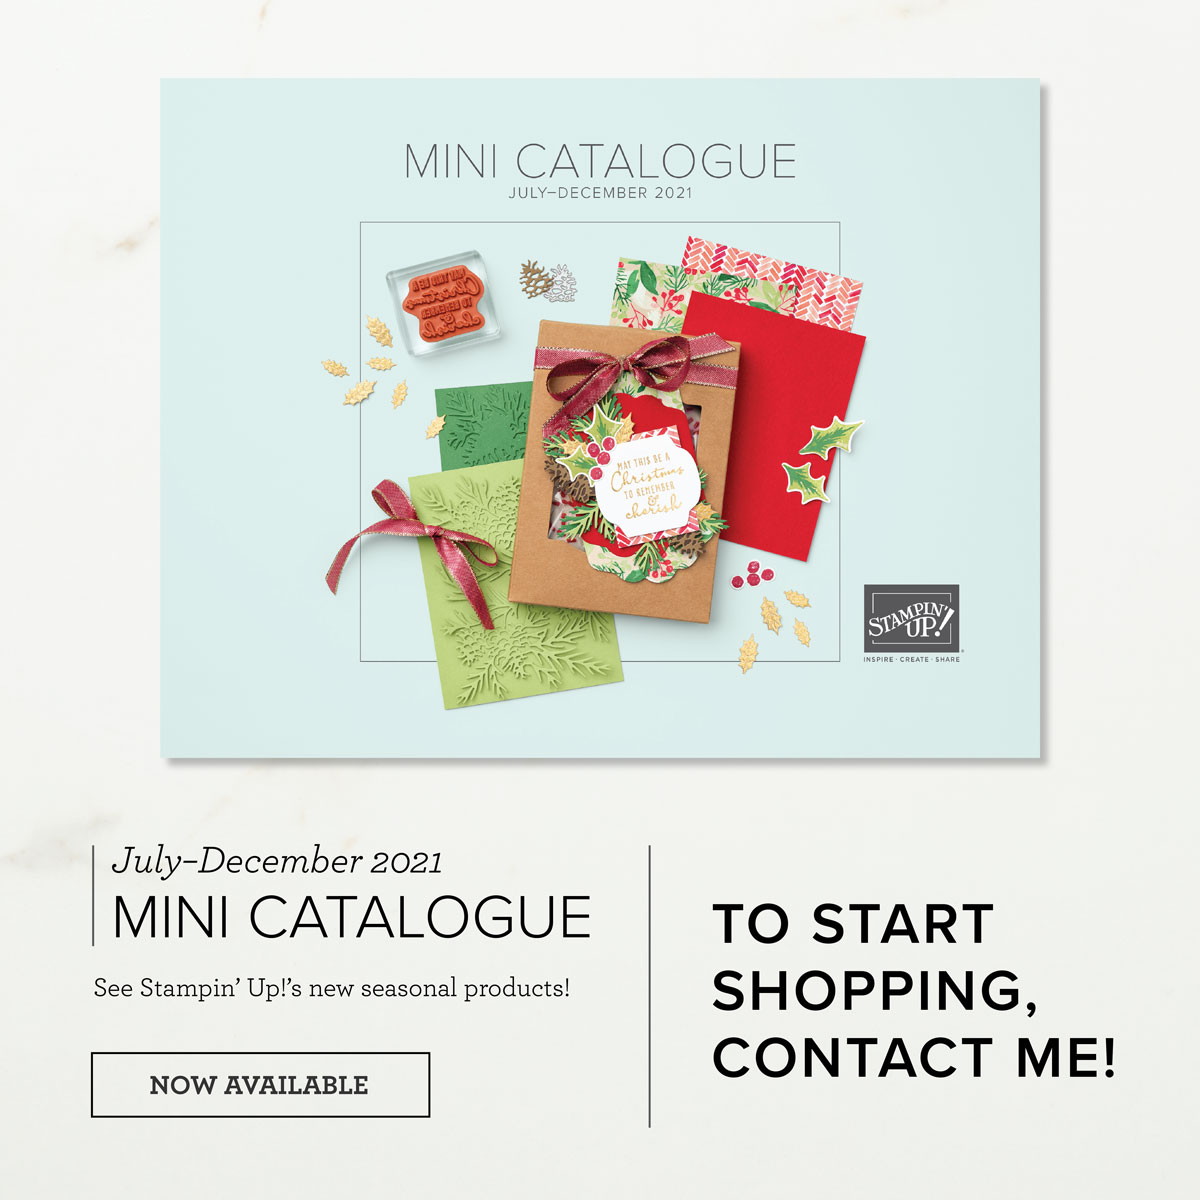
'Tis The Season - the new Stampin' Up! Mini Catalogue is here! For more details and to download your copy click here

Scrapbooking

Stampin' Up! has introduced a new range of 12x12" scrapbooking product and kit - the full range is now available to purchase online. To download a copy of the new digital Scrapbooking Catalogue click here.

2024-25 Annual Catalogue

BROWSE THE CATALOGUE

Click on the image to download your copy of the 2024-25 annual catalogue. For a full list of current SU! supplies, go to my online store. If you would like any help or advice, please drop me a line at joanne@thecraftyowl.co.uk or give me a call on 07773 421446 - I'd be happy to help.

Join My Team

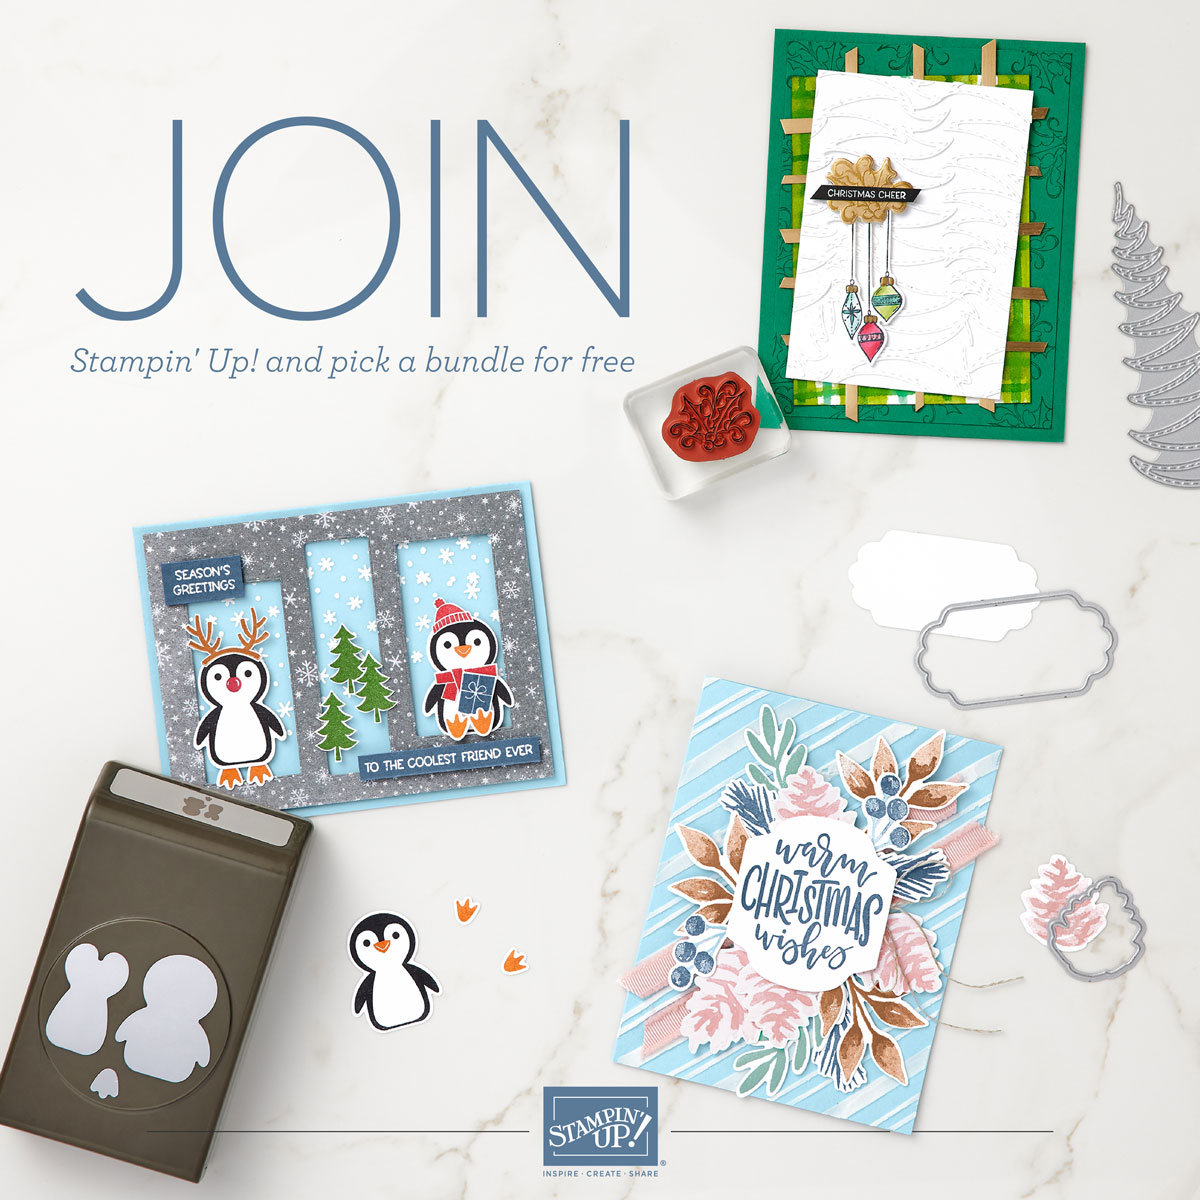
It's always a great time to join Stampin’ Up! New team members can get £130 worth of products for only £99 + free business supplies + free shipping + all the fun being a part of Stampin’ Up! Stampin' Up! has something for everyone: join my growing team and benefit from my support to enjoy Stampin' Up! however you choose.

If you're interested, call me for a chat to understand how I can help you realise your goals. Alternatively, if you have already decided to sign up and you just can't wait, please click here for the link to the online form where you can sign up and order your starter kit right away! 

About Me

Hi I'm Joanne and live in Northampton and when I'm not looking after my husband and two beautiful children, am an avid crafter with a passion for all things Stampin' Up!

I must confess that I have never been a big rubber stamper - until I discovered Stampin' Up! that is. I love the fact that I can get such great results with co-ordinating stamps, inks, papers and punches - the possibilities are endless! Join me on my stamping journey as I share the things I love and be inspired to create amazing things yourself!

Follow Me

Monthly Newsletter

Box Builder

Click the button above to use Box Buster to create your custom box design using the Envelope Punch Board!

Kits Collection Now Available!

Stampin Cut and Emboss

The new Kits Collection from Stampin' Up! is now available!

Click here to see the current kits available and order yours online today.

I Design For


Stampin' Up Stuff

This is my personal blog and is not endorsed by Stampin’ Up! I hope you find it a plentiful source of ideas and personal inspiration but please don't copy my designs for contest submission or use for classes, publication or sale without express permission.