It's Sunday and time for a new challenge over at The Paper Players! It's my turn to host our challenge this week and I have a fun clean and simple challenge for you to play along with:
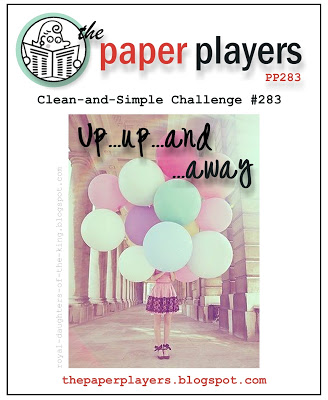
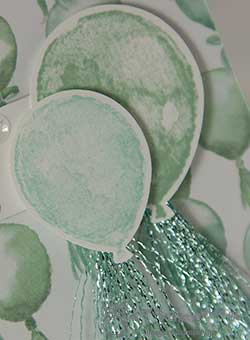
Up, up and away! Balloons are very on-trend currently, but you can use any airborne object on your card today - just keep it clean and simple. For my card this week I was inspired to use balloons and in contrast to yesterday's bright balloon card decided to feature a piece of the delicately patterned balloon paper from the Birthday Bouquet designer series paper set:
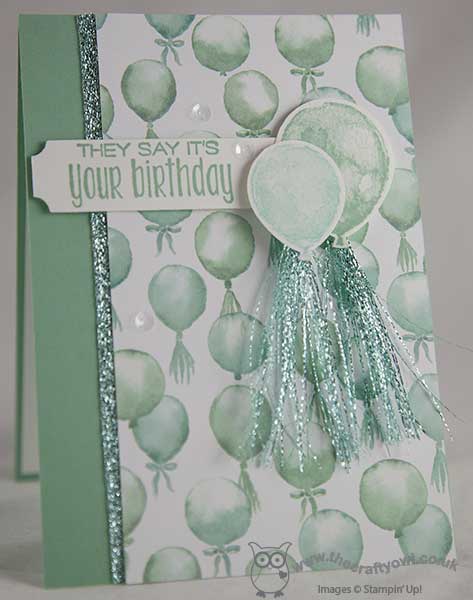
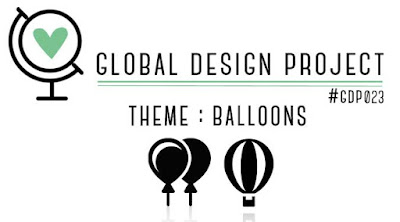
I used a base of Mint Macaron to which I adhered a strip of Pool Party 3/8" Glitter Ribbon before adding a piece of the balloon patterned paper. I added a simple sentiment from the 'Suite Sayings' stamp set, which I cut out with my Project Life Cards & Labels Framelits, and added a couple of balloons stamped with the 'Balloon Builders' stamp set to give the same muted effect as the paper. Finally, I created some tassels with some frayed Pool Party Glitter Ribbon and a few clear sequins to finish my card. On reflection, whilst my card has minimal layers it doesn't have much of the 'white space' that is traditionally typical of 'clean and simple' cards, but I love the soft feel if it and the glimmer from the ribbon and the balloon tassles so I had to share it with you! I'm also linking up again with the team over at The Global Design Project where their theme this week has been balloons - what can I say, we were obviously thinking along similar lines!
For those of you who like a visual summary, here's something new that I will be featuring in my blog posts - a labelled photograph of the key products required to make today's card:
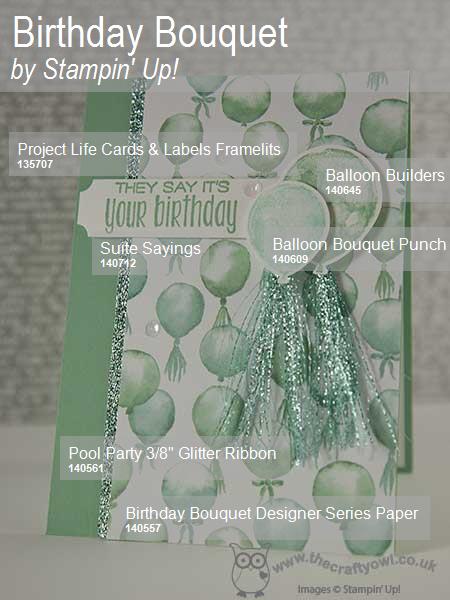
These images are perfect for pinning to give you a visual reference of the supplies needed to re-create this card which can be useful if you want to come back to it at a later date. I will be pinning these to my new 'How To - Tips and Techniques' Board on Pinterest too, which you can find here.
Before you reach for your ink and papers, check out what our amazing team has created to inspire you this week, all of whom have created some fantastic examples of clean and simple cards:
The Paper Players Design Team
Here's a quick recap of our challenge rules:
1. Create a new paper project
2. Upload your creation to your blog with a link back to us and provide a direct link to the post featuring your challenge submission.
3. Please link your card to no more than four challenges, TOTAL.
4. Have FUN!
I look forward to seeing your clean and simple creations in the gallery. We are off to basketball and back to hockey today and are planning a fun afternoon of board games and maybe a walk out along the canal if the weather stays dry for long enough.
Back tomorrow with another project; until then, happy stampin'!
Stampin' Up! Supplies Used: