It's Sunday and time for a new challenge over at The Paper Players! It's the turn of the lovely Laurie to host this week and she has a fun tic-tac-toe board challenge for us to play along with:


I have been rather time-pressed this week - the joys of school summer holidays! - so although I knew what I wanted to do with today's challenge, it took me some time to find the time to get to my desk to make it! For my card this week I decided to go with the middle column of Laurie's card and create something that was reminiscent of warm, sunny summer days, with the help of this week's sketch over at Global Design Project - take a look:
Here's the low-down on today's card:
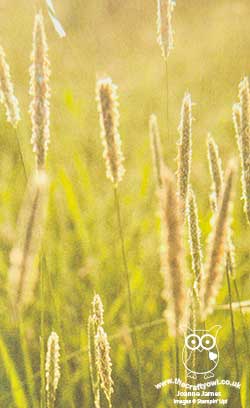
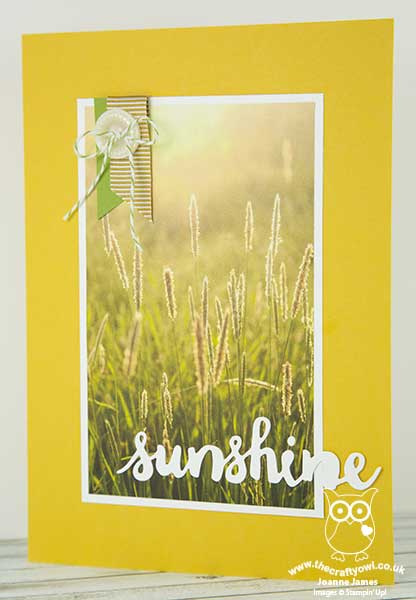
A Serene Scene Indeed - I chose to use a piece of the beautiful Serene Scenery designer series paper for my card today. The photographic images in this paper stack are just so beautiful, they really don't need much other than a sentiment to finish a card. Inspired by nature, there are several images that feature sunshine in this pack and for this card I decided to go with this grassy field, with its warm summer glow. I made my card larger than usual (the finished card measures 14.9cm x 21cm) as I wanted to feature as much of this beautiful paper as possible.
Sunshine Says It All - I used a 'sunshine' diecut sentiment from the Sunshine Wishes die set to finish my card. I toyed with adding the rest of my sentiment using the Sunshine Sayings stamp set to the front of my card, but decided to stamp it inside instead as I really wanted to keep the front as clean as possible. I will let you into a little secret though: in hindsight it should be set a little more to the left, so that it doesn't get as absorbed into my white mat layer, but with no time to go back and start again I'm going to have to live with it! Sshhh - don't tell ;-)
Sunny Honey - The eagle-eyed amongst you will notice that my card base looks a little light for the Delightful Dijon that this paper stack co-ordinates with; the mustard yellow made my card look more autumnal than summery, so I took a piece of my retired in-colour cardstock in Hello Honey to get the colour I was looking for. It always help to stockpile a little retired cardstock for such instances - and I know I'm not the only one! I finished with a sliver of Old Olive cardstock and some Delightful Dijon ribbon for my banners, and a Classy Designer Button threaded with Old Olive baker's twine.
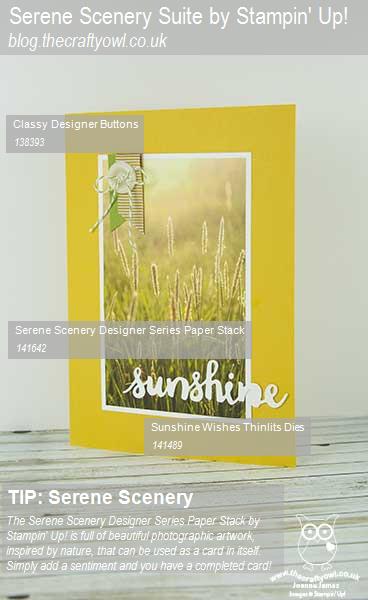
Here is the visual summary of the key products used on today's project for you to pin for easy reference:
You can see all of my 'How To' summaries on my 'How To - Tips and Techniques' Pinterest board in case you've missed any.
Before you reach for your ink and papers, check out what our amazing team has created to inspire you this week:
The Paper Players Design Team
Here's a quick recap of our challenge rules:
1. Create a new paper project
2. Upload your creation to your blog with a link back to us and provide a direct link to the post featuring your challenge submission.
3. Please link your card to no more than four challenges, TOTAL.
4. Have FUN!

Family calls so I'm off to get back to having fun of the non-crafting kind! One last thing: don't forget today is the last day that you can take advantage of the July Bonus days offer; if you are placing an order online, make sure you use this month's hostess code 63RNATE3 when prompted to get a little thank you in the post from me. This hostess code will be closing tonight at 8pm, so be sure to get your orders in before then. I look forward to seeing what you create with Laurie's board this week.
Back tomorrow with another project; until then, happy stampin'!
Stampin' Up! Supplies Used: