It's Sunday and time for a new challenge over at The Paper Players! It's the turn of the queen of diecuts, the lovely Laurie, to host our challenge this week and she has a fun sketch for you to play along with:
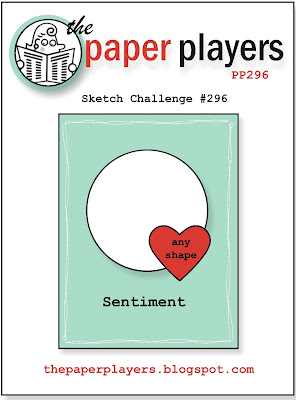
As you know, I love a good sketch and for my card this week I had so many ideas! I will be using this sketch for my card tomorrow too; today I decided to feature a die from one of my favourite sets from the new catalogue called the Swirly Scribbles Thinlits and make not one, but two, new baby cards featuring two of the new in-colours.
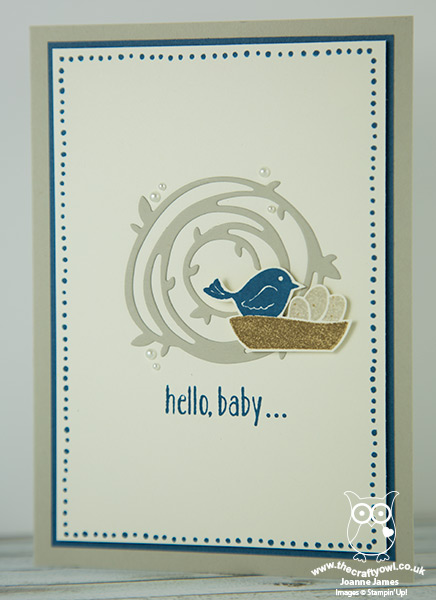
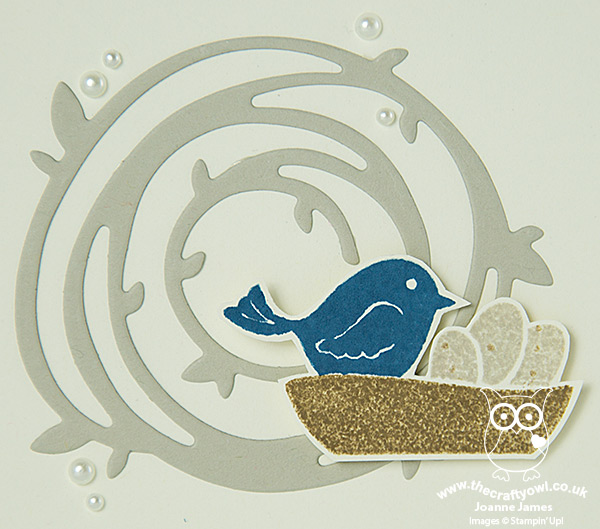
Here is the first one, a baby boy card featuring the new blue, Dapper Denim:
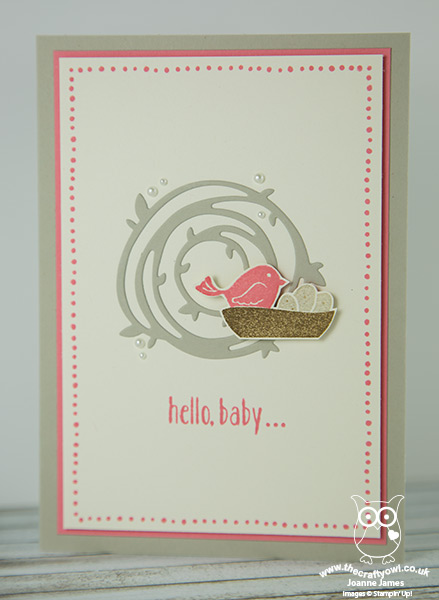
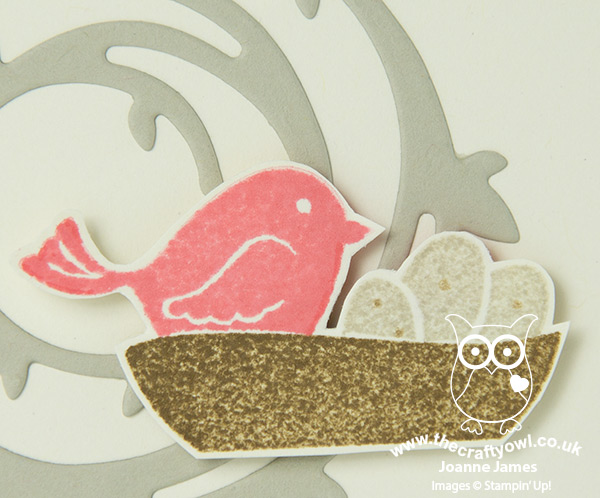
Here is the second baby card, featuring the new pink, Flirty Flamingo:
Now I know I'm biased, but aren't they just the cutest?! Here is the low-down on today's card:
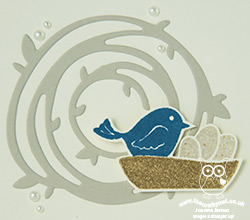
Swirly Scribbles Thinlits - There are some great swirl, flower and leaf dies in this set - the one that I used here makes the cutest bird's nest backdrop for the cute birdie ready to welcome her babies to the world.
Swirly Bird Masking and Kissing - I did some masking and kissing of the stamps to create my little bird in her nest: first, I stamped the nest twice in Soft Suede, and cut one of them out and used it as a mask so that I could stamp my bird and eggs in the nest. I also created some light speckling on my eggs by inking the 'grunge' stamp in the set in Soft Suede, inking the eggs in Sahara Sand, then 'kissing' the two together before stamping them into the nest. You can get a closer look at this on these close up images below:
Perfectly Wrapped Border - I used a mat of each of the new in-colours that I featured on my cards to accentuate the colour and decided to add an additional border detail as per the stitched detail on the sketch. I used one of the border stamps from the 'Perfectly Wrapped' stamp set; this set is photopolymer which makes lining up a breeze.
Hello Baby Bear - I couldn't finish today's write-up without a nod to the sentiment on today's card. This is one from an adorable set called 'Baby Bear' that also features in the new catalogue and is finished on the inside of the card with '...welcome to the world!'. Perfect for today's card.
I love these dies and the co-ordinating stamp set; you can be sure you'll be seeing lots more projects with them.
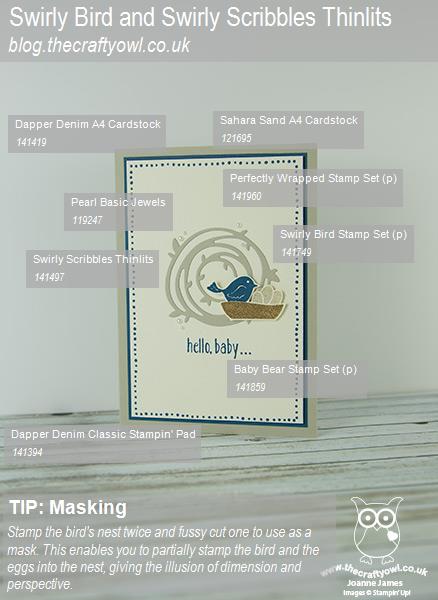
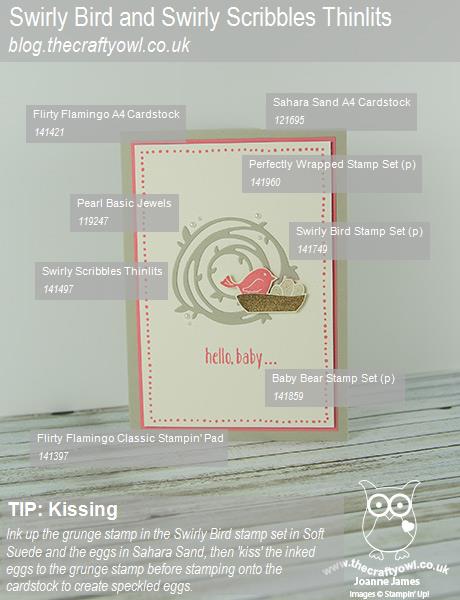
Here is the visual summary of the key products used on today's project for you to pin for easy reference:
Baby Boy Dapper Denim card, with a masking tip:
Flirty Flamingo baby girl card, with a kissing technique tip:
You can see all of my 'How To' summaries on my 'How To - Tips and Techniques' Pinterest board in case you've missed any.
We do rather have birds on the brain in our house at the moment; the baby blue tits in our nesting box hatched about 10 days ago and we are watching the bird cam with interest on a daily basis. There are seven healthy babies and the mum and dad spend many hours each day flying in and out with caterpillars and bugs to feed the young chicks. Here is a photo of them waiting to be fed:
.jpg)
Apologies for the poor photo - the quality isn't great - but I can honestly say watching these little chicks grow is the best tv drama ever, they are so entertaining! Hopefully I'll be able to get some photos of them as they leave the nest when they are grown and share those at a later date.
Before you reach for your ink and papers, check out what our amazing team has created to inspire you this week:
The Paper Players Design Team
Here's a quick recap of our challenge rules:
1. Create a new paper project
2. Upload your creation to your blog with a link back to us and provide a direct link to the post featuring your challenge submission.
3. Please link your card to no more than four challenges, TOTAL.
4. Have FUN!
I look forward to seeing how you interpret this week's sketch. We are off to basketball today and are then looking forward to a restful afternoon, with either some time in the garden weather-permitting or indoors watching a movie and the antics of our own baby bird family!
Back tomorrow with another card that also uses this sketch, but is quite different in terms of execution; until then, happy stampin'!