Today it's Sunday and time for this week's new challenge over at The Paper Players! It's the turn of the fabulous Jaydee to host this week and she has a fun clean and simple challenge for you to work with:

I needed some anniversary cards for my Stampin’ Up! downline team so armed with this week’s TGIF Challenge sketch (which would make a great scrapbook layout too) and some new stamps I set to work - take a look:
Here's the low-down on today's card:
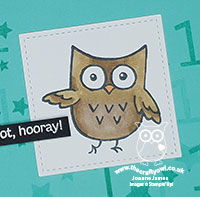
Hoot Hoot Hooray - The sweet little owl that is the star of today’s card comes from one of the stamp sets in the ‘Experience Creativity’ brochure. Designed with beginners in mind, this is a stamp set that is super easy to use: stamp, colour and go! I bought this set just for the owl - my team are called the Hoots and I just couldn’t resist this owl and sentiment perfect for team celebrations - but it contains a good mix of all-occasion stamps which make it useful if you’re just starting out.
Dazzling Demonstrators - I stamped the inside of my card with a demonstrator-only stamp set, along with some stars to continue the theme of the outside:
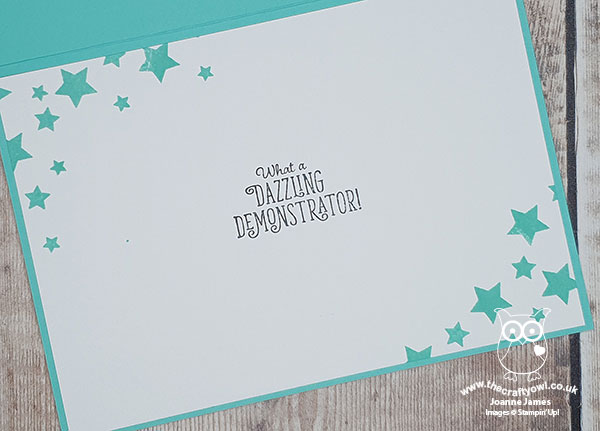
Whilst my card is designed to celebrate the demonstrators that are on my team and how long they have been with Stampin’ Up!, you could just as easily swap out the inside greeting for a birthday one and use the card to celebrate a child’s birthday.
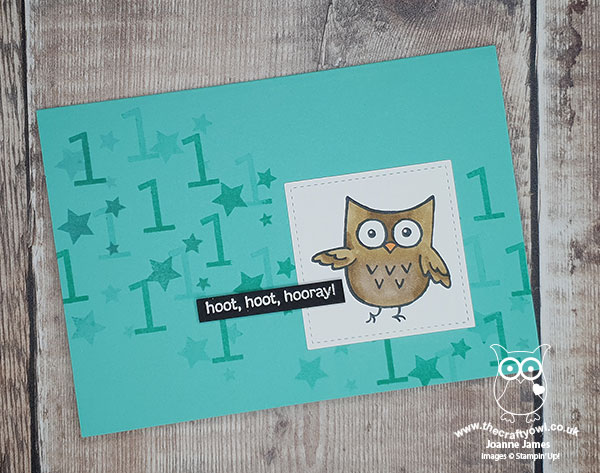
A Family Party - On the base of my card front, I used a number corresponding to the appropriate anniversary year and the star stamp from the ‘Family Party’ stamp set to create a tone-on-tone pattern, stamping each full strength and for a second time before re-inking to create a random pattern with a little depth. I have quite a number of Stampin’ Anniversaries to celebrate in coming months - Sale-A-Bration is a popular time to join so it also means lots of anniversaries too - so I created a whole bunch of these for up and coming celebrations, in a rainbow of bright colours - here‘s the whole collection:

This is a great CAS design that made it easy for me to create multiples with each one being slightly different but all with a common theme. I can’t wait to get these in the post to my various team members and add a little colour to their day. Sale-A-Bration is a great time to join Stampin’ Up! and the earlier you do it, the longer you can benefit from your product discount before you even need to meet your first quarterly minimum. If you would like to know more about the benefits of joining, then do get in touch with me and I will happily explain in more detail. Alternatively just go for it, you really have nothing to lose - click here to make it happen.
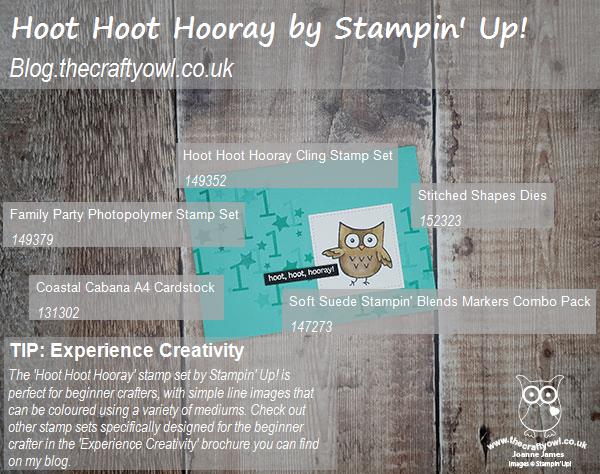
Here is the visual summary of the key products used on today's project for you to pin for easy reference:
You can see all of my Product and 'How To' summaries on my 'How To - Tips and Techniques' Pinterest board in case you've missed any.
Before you reach for your ink and papers, check out what our amazing team has created to inspire you this week:
The Paper Players Design Team
Here's a quick recap of our challenge rules:
1. Create a new paper project
2. Upload your creation to your blog with a link back to us and provide a direct link to the post featuring your challenge submission.
3. Please link your card to no more than four challenges, TOTAL.
4. Have FUN!
You can see all of my 'How To' summaries on my 'How To - Tips and Techniques' Pinterest board in case you've missed any.
Enjoy your day; I'll be hunkering down with the rest of the James clan avoiding Storm Dennis and hoping he leaves less destruction in his wake than last week’s storm Ciara. On the upside, our new fence is rock solid and I think could withstand nuclear attack! I’ll back tomorrow with another project. Until then keep warm and enjoy your weeken. Happy stampin'!
Stampin' Up! Supplies Used: