
Today it's Sunday and time for this week's new challenge over at The Paper Players! It's the turn of the fabulous Ann to host this week and she has a fun colour challenge for you to work with:


Ann's colours this week are perfect for Valentine's however armed with the 'blank slate' over at InspireCreate this week I decided to use a little of something old with a little of something new to create my card today - take a look:
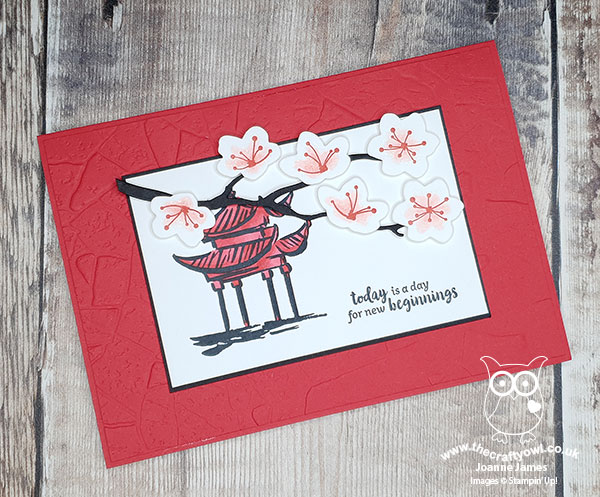
Here's the low-down on today's card:
Power of Hope - So first to my something new! The pagoda and sentiment on today's card are from one of the free Sale-A-Bration stamp sets, called 'Power of Hope'. This set has some lovely oriental images, including a chinese lantern and geisha girl. I used the pagoda and one of the uplifting sentiments in the set.
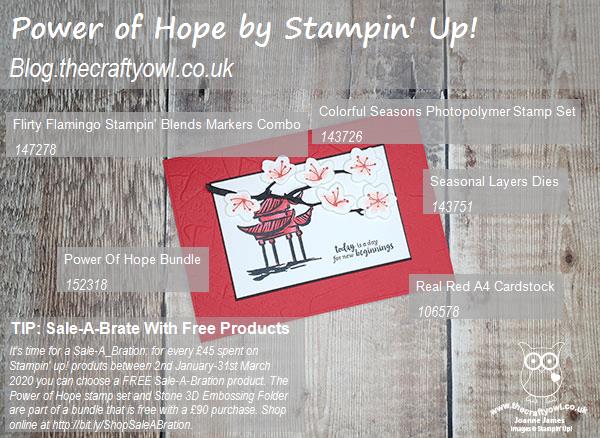
Embossed Stone - The Power of Hope stamp set is combined with the Stone 3D embossing folder as one of the bundles of items that you can receive free with a £90 (as opposed to £45) Sale-A-Bration purchase. I used it emboss my card base and create a textured frame for my stamped area although I think it will prove useful on other projects too.
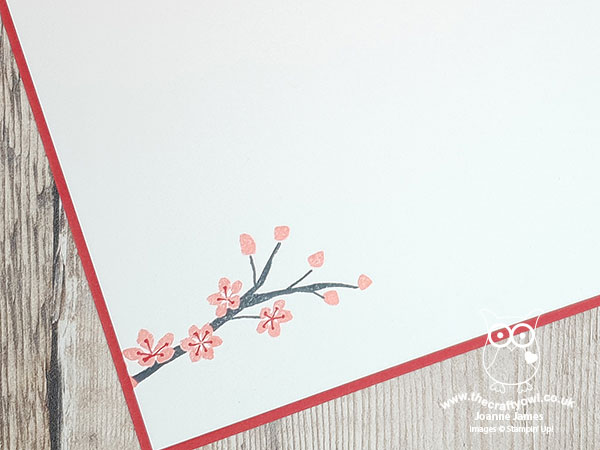
Seasonal Layers - For my 'something old', I used my perennial favourite, the Seasonal Layers Thinlits to add a diecut cherry blossom branch to the front of my card. I added colour to the centres of the flowers using my Stampin' Blends markers and the co-ordinating Colourful Seasons stamp set, which I also used to add a touch of decoration to the inside of my card:
Whilst I haven't used them for a while, this stamp set and dies are one of the most used bundles in my collection. They really are so useful on so many projects, whatever the season. As for the Japan-influenced Power of Hope bundle, whilst I wouldn't ordinarily choose this style of stamp set, it's different to anything else I own and will I'm sure have its uses. Bottom line is it was free, so I'm most certainly not complaining!
Here is the visual summary of the key products used on today's project for you to pin for easy reference:
You can see all of my Product and 'How To' summaries on my 'How To - Tips and Techniques' Pinterest board in case you've missed any.
Before you reach for your ink and papers, check out what our amazing team has created to inspire you this week:
The Paper Players Design Team
Here's a quick recap of our challenge rules:
1. Create a new paper project
2. Upload your creation to your blog with a link back to us and provide a direct link to the post featuring your challenge submission.
3. Please link your card to no more than four challenges, TOTAL.
4. Have FUN!
You can see all of my 'How To' summaries on my 'How To - Tips and Techniques' Pinterest board in case you've missed any.
Enjoy your day; one of the James Juniors is off to a paintballing party today (rather him than me!). The rest of us will be battoning down the hatches and staying indoors away from the stormy winds that are expected in the UK today. I'll be back tomorrow with another project (or two!). Until then, happy stampin'!
Stampin' Up! Supplies Used: