
Today I'm sharing my design team card for our new challenge over at As you See It where it's time for a shades of blue colour challenge chosen by the lovely LeAnne:
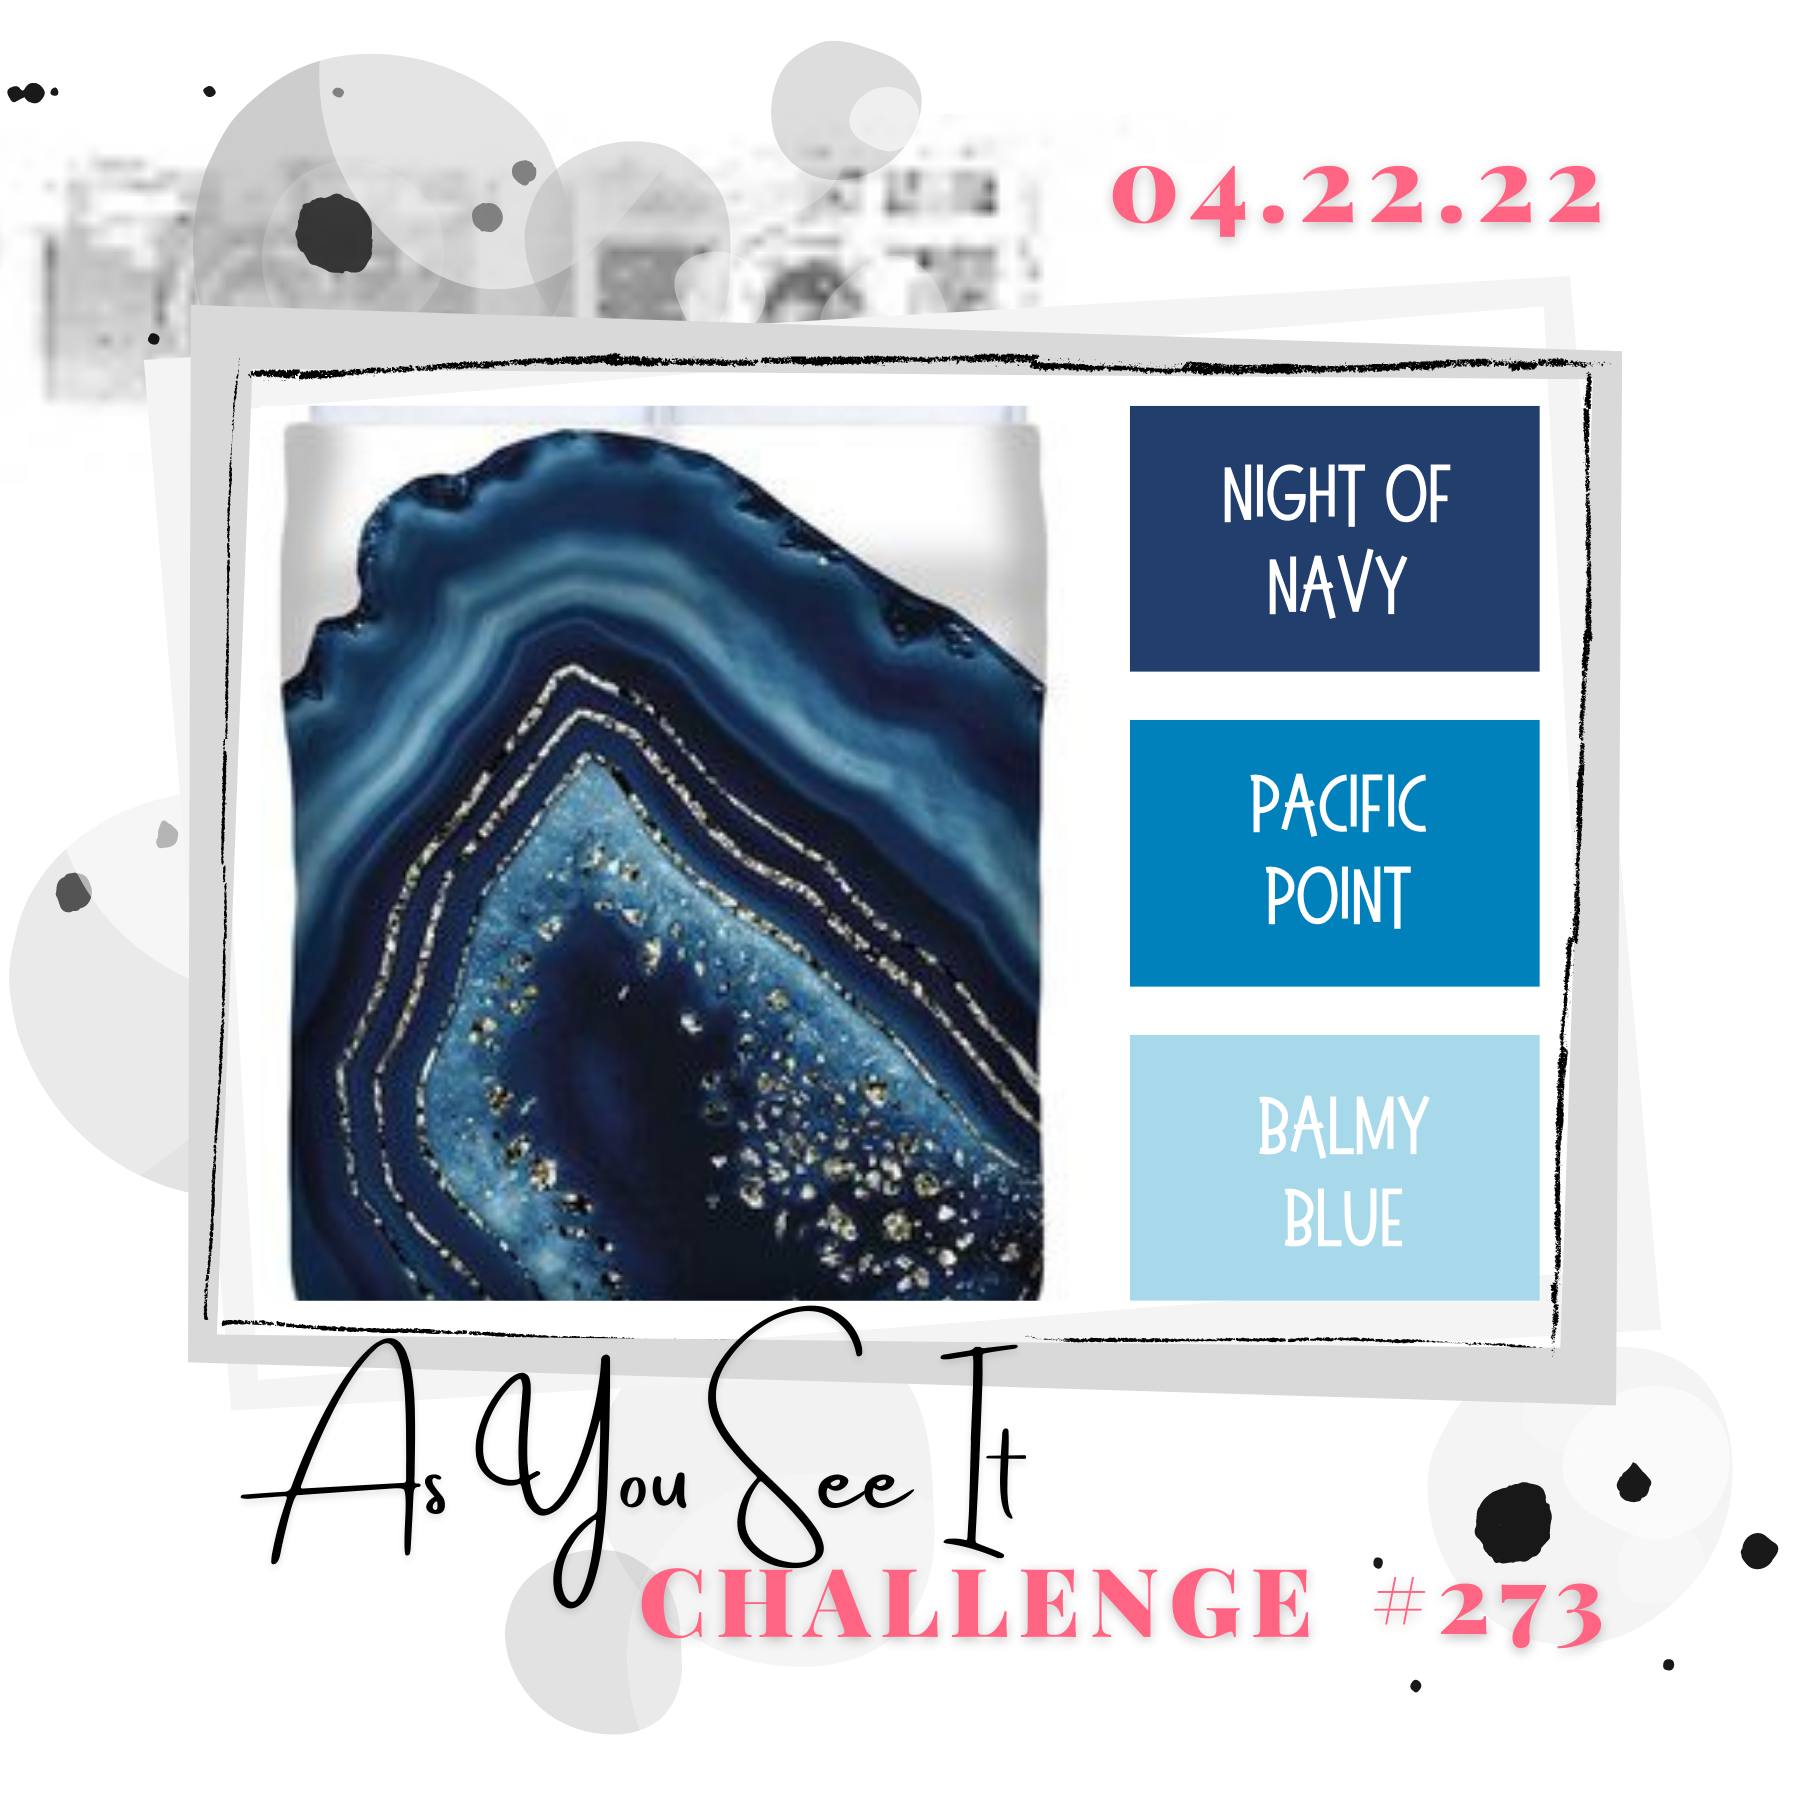
I have been busy preparing for my upcoming 'Waves of The Ocean' card class and this trio of blues is just perfect for waves, so I thought I'd share a variation of a card that I'll be making with my ladies next week, including a fun technique - take a look at my card:
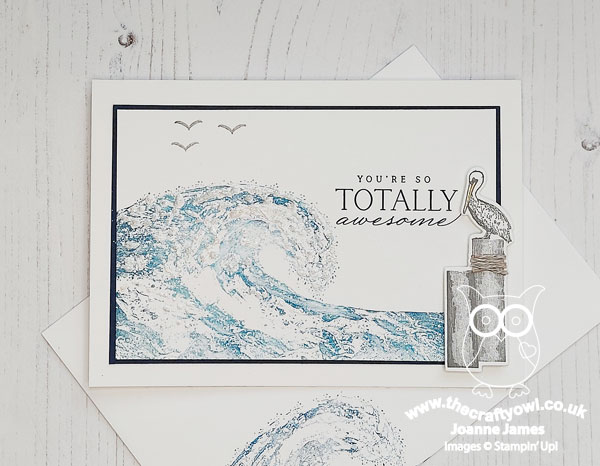
Here's the low-down on today's card:
Waves of Inspiration - This fabulous tidal wave is the real scene-stealer in the 'Waves of Inspiration' stamp set and can make a card all by itself (more on that later!) For this card, I used my Stamparatus to ink the whole wave in Balmy Blue, then I inked a second time, adding Pacific Point and Night of Navy to select areas of the stamp using a sponge dauber, to give me the variegated colour. The Stamparatus is most definitely your friend when using this stamp - it allows you to align the image and add layers of colour with ease.
Foamy Waves - I decided I wanted to add some dimension and texture to my wave to give it a truly foamy feel; you can see it on the card above but I thought you would appreciate a closer look below:
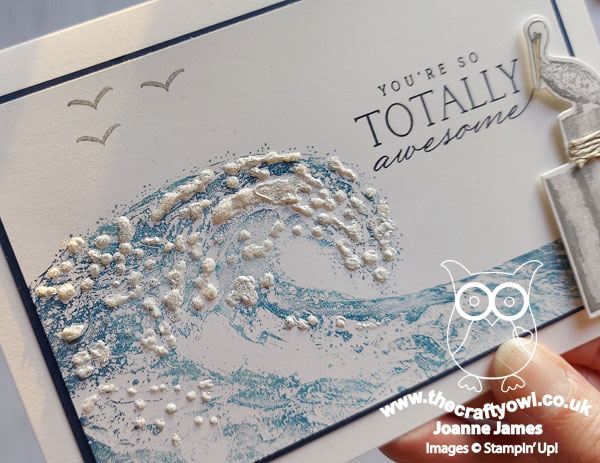
In real life this texture looks so good!
Want To Know More? - Creating the textured foam really is easier than it perhaps looks: all you need is some liquid glue, white embossing powder and a heat gun to make the magic happen. Here's a link to a short video I made some years ago where I used the same technique to create puffy clouds and snow that demonstrates it better than I can explain it:
In addition to the basic technique, to add a little extra sparkle to today's card I went back over some of the raised areas with my liquid glue and added some fine loose glitter, but you could forgo this step if glitter isn't your thing.
In designing my classes I always try to use all of the stamps in a set, but also to introduce new ideas or ways of using stamps that my ladies perhaps haven't thought of or that I haven't seen used elsewhere in the creative blogosphere. I hope my ladies like this one!
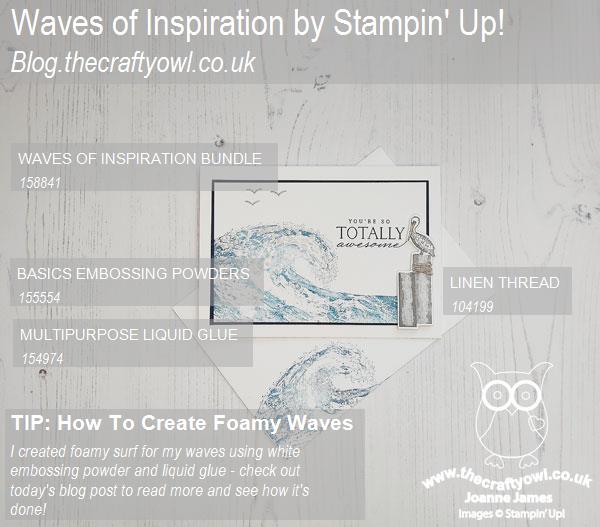
Here is the visual summary of the key products used on today's project for you to pin for easy reference:
You can see all of my 'How To' summaries on my 'How To - Tips and Techniques' Pinterest board in case you've missed any.
Here's a summary of our challenge rules:
- Create any card, scrapbooking page, 3D project or packaging project that fits the challenge.
- Please include the challenge graphic and link back to the challenge in your blog post. Turn off word verification so we can leave you lots of lovely comments. Make sure you link the post not the whole blog to the Linky. Use #AYSIXXX when uploading to a public gallery.
- If you’re unsure about ‘the rules’, check the details under the Challenge Guidelines tab on the As You See It Challenge homepage.
- In a colour challenge, black or other neutral can be used in outlines and sentiments but no other colours should be included. Stampin’ Up colours are used for reference but colours that are a close match are welcome.
We look forward to seeing your creations in the AYSI gallery.
Enjoy your day; we are taking it easy following a very late night in London yesterday. It was so worth it though - the ALW production of 'Cinderella' was AMAZING! I'll be back tomorrow with another project and I have several more 'Waves of Inspiration' cards to share too, so stay tuned. Until then, happy stampin'!
Stampin' Up! Supplies Used: