
Today it's Sunday and time for this week's new challenge over at The Paper Players! It's the turn of the fabulous Ann to host this week and she has my favourite, a sketch challenge for you to work with:
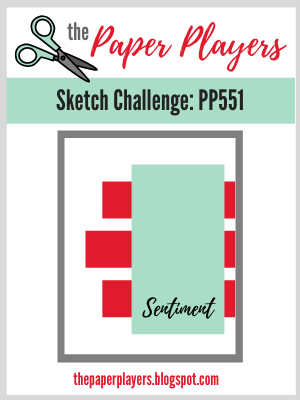

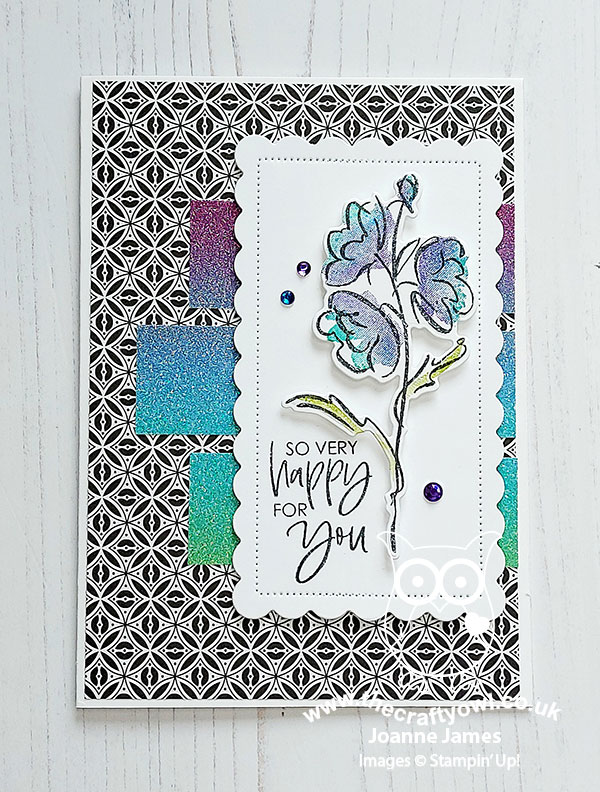
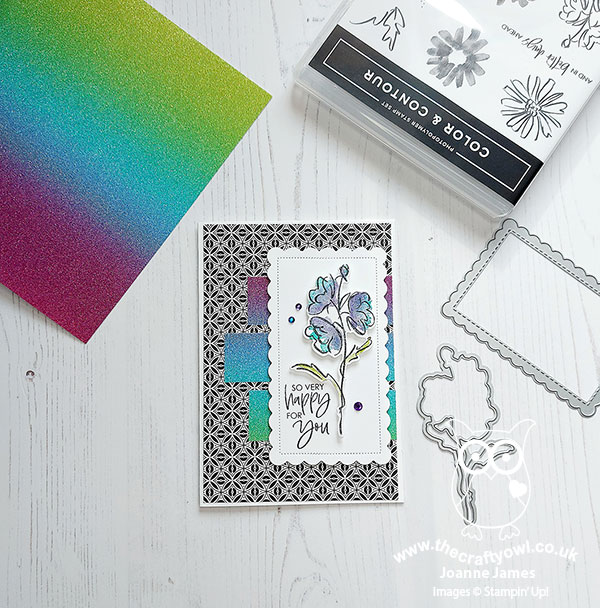
I had so many great ideas for this sketch! I also loved the rainbow of purples, blues and greens on that fabulous bird on the Color Dare inspiration photo, so decided to pair them with the stamp in the Colours & Contours set for a stem of rainbow flowers - take a look:
Here's the low-down on today's card:
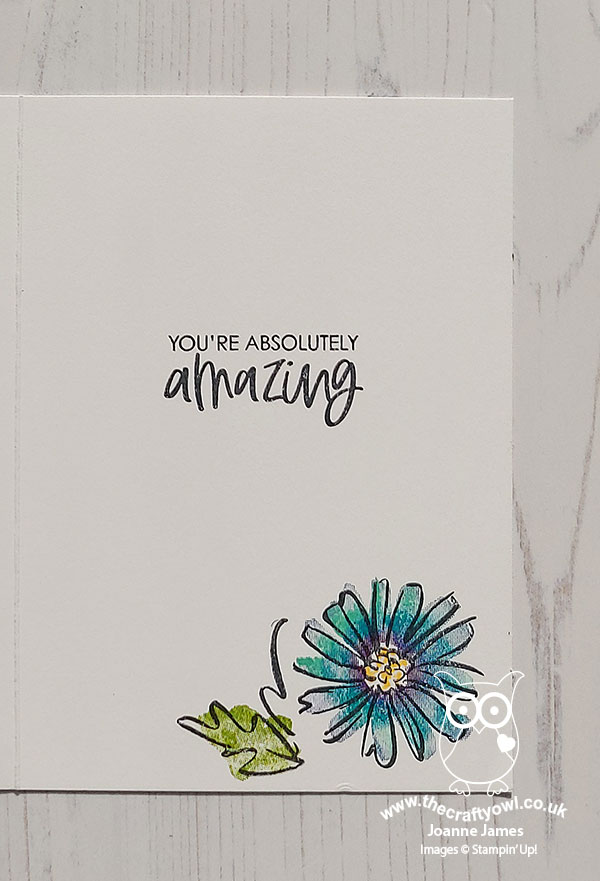
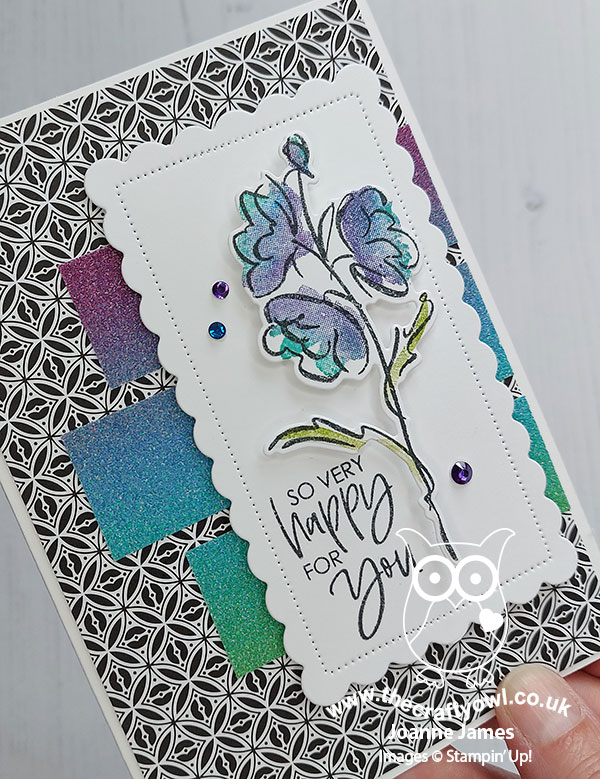
Colours and Contours - I coloured the infill stamp of the main flower stem in the Colours & Contours stamp set using my sponge daubers and a trio of blue and purple inks, the cut it out with the co-ordinating die. I added it to a panel cut with one of the Scalloped Contours Dies (and narrowed slightly), having stamped the sentiment directly onto this panel. I added another sentiment and additional flower from the same set to the inside of my card:
Rainbow Glimmer - The rainbow of colours that I used enabled me to use some co-ordinating rainbow glimmer paper for my horizontal strips to compliment flowers. Whilst there's only a little of it visible, I love the addition of that sparkle and glimmer:
Pattern Party - In order to allow my glimmer paper to really stand out, I chose a piece of neutral black and white Pattern Party paper for my background. The Pattern Party paper pack is a hostess reward that you can earn with purchases of £150+ and is such great value with a great variety of patterns and designs too.
Here is the visual summary of the key products used on today's project for you to pin for easy reference:
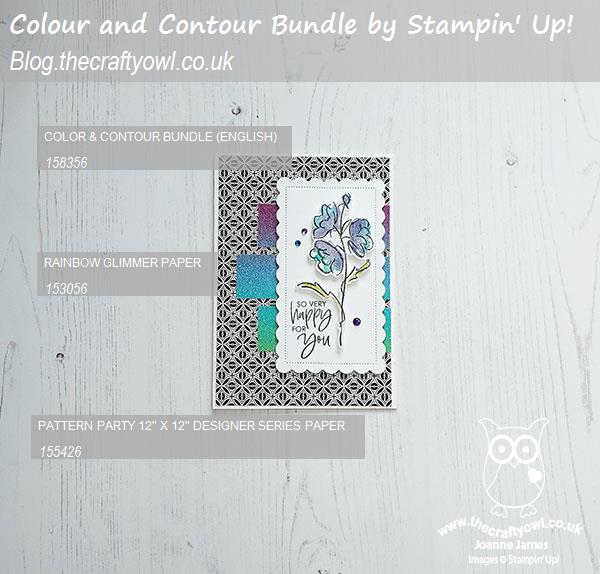
You can see all of my Product and 'How To' summaries on my 'How To - Tips and Techniques' Pinterest board in case you've missed any.
Before you reach for your ink and papers, check out what our amazing team has created to inspire you this week:
The Paper Players Design Team
Here's a quick recap of our challenge rules:
1. Create a new paper project
2. Upload your creation to your blog with a link back to us and provide a direct link to the post featuring your challenge submission.
3. Please link your card to no more than four challenges, TOTAL.
4. Have FUN!
You can see all of my 'How To' summaries on my 'How To - Tips and Techniques' Pinterest board in case you've missed any.
Enjoy your day; I will be spending mine cooking and having a lazy day with the family. I'll be back tomorrow with another project. Until then, happy stampin'!
Stampin' Up! Supplies Used:
This card was a Diamond Winner over at Color Dare this week!