Today it's Sunday and time for this week's new challenge over at The Paper Players! It's my turn to host this week and I have a colour challenge for you to work with:
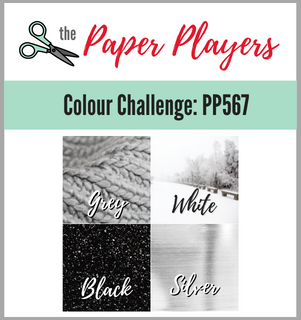
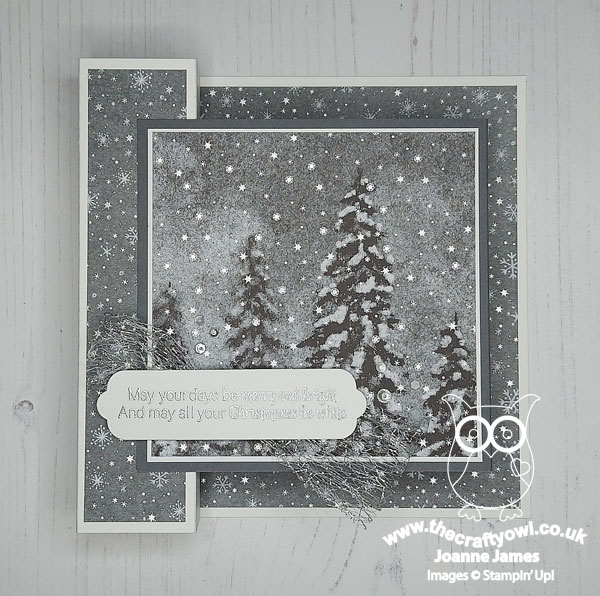
I made a couple of cards to share with you today, both variations on the same theme. Here's the first one - take a look:
Here's the low-down on today's card:
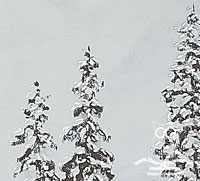
Peaceful Place - So I had an ulterior motive in choosing today's colour combination. I've had a pack of Peaceful Place Specialty Designer Series Paper in my collection since I did my mini catalogue preorder in August, but had yet to use it. I had a feeling that would be the case; I love these papers, but didn't buy the bundle that features in the Peaceful Place Suite. I chose the colour combination that is found in these papers for this week's challenge because it would both force me to cut into these papers and also I am hoping the gallery will have lots of inspiration for me too! I used a combination of two paper patterns from the pack on each of my cards, one for the main panel and a contrasting or co-ordinating one to frame it. The papers are stunning, with beautiful silver foil detailing. Great for special cards!
Merry Snowflakes Seasonal Label - Fancy fold aside (more about that in a moment), today's cards really are a showcase of these beautiful papers. Apart from some sequins, rhinestones and a mesh ribbon bow, the only other element to my card is a heat-embossed sentiment from the Merry Snowflakes set, in silver on black or white respectively, and cut out with one of the Seasonal Labels Dies. The words of this sentiment seemed to be perfectly suited to the snowy scenes on my card:
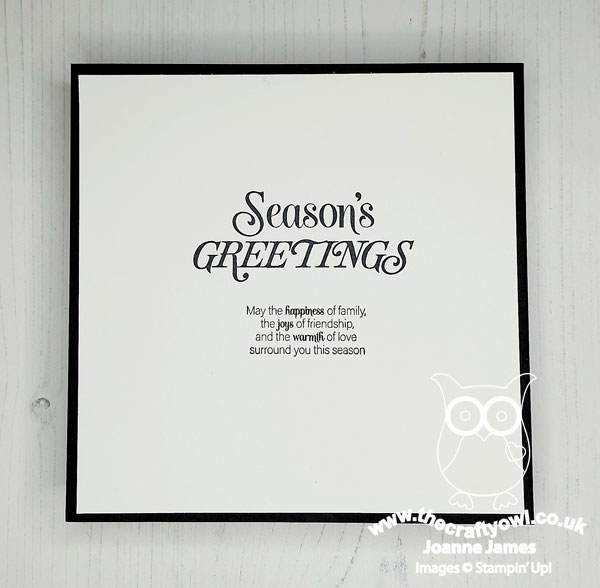
The only other stamping is on the reverses of the card, where I've stamped a further greeting and left space for a personal message:
A Fancy Fold - I thought for today's card I would ring the changes with a fancy fold. I decided on a double box fancy fold because I wanted something with a feature panel and this card is really quite straightforward to create. I had seen this design in an A6 card size on the internet, but adapted the basic principle to suit my own requirements. My finished card measures 6"x6" and easily folds flat for posting, which is a bonus!
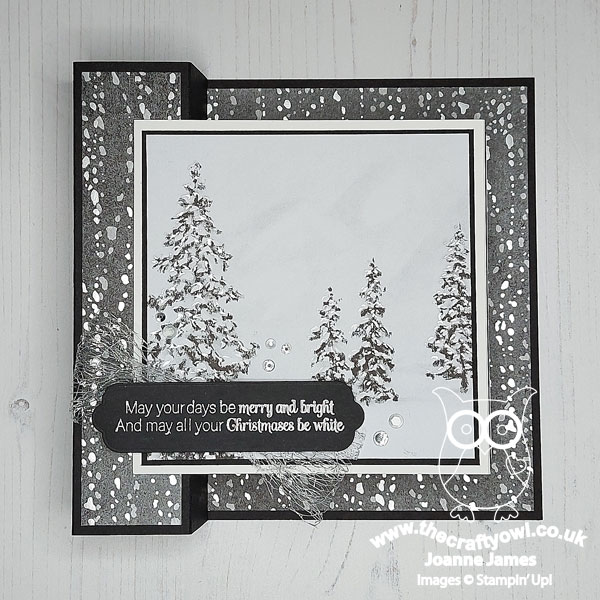
I struggled to photograph this one so well - I'm blaming the dark, winter days that we are experiencing here now - so here's another at an angle to try and capture the sentiment detail of the embossed silver against the white:

If anyone is interested in the measurements I sued to create my version of a double box fancy fold card, then do leave me a message below and I'll add them in to my post (I would write them in now but don't have them to hand).
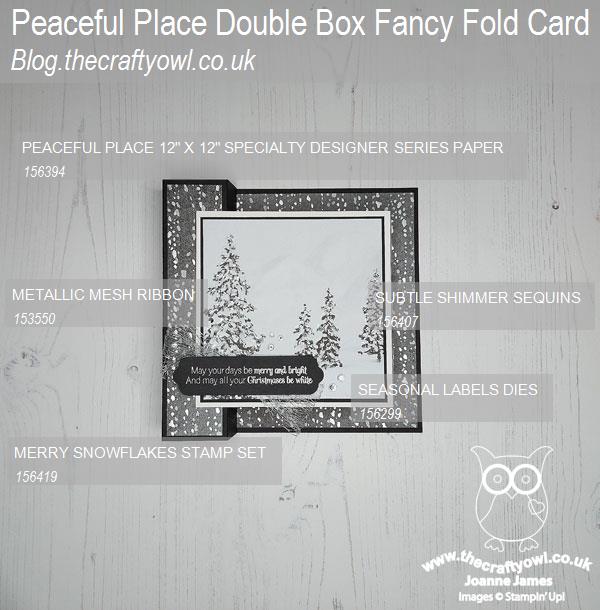
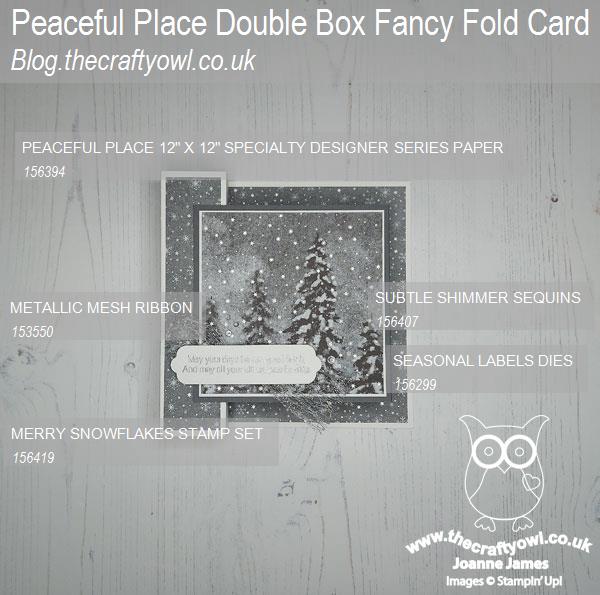
Here is the visual summary of the key products used on today's project for you to pin for easy reference:
And here's the second one:
You can see all of my Product and 'How To' summaries on my 'How To - Tips and Techniques' Pinterest board in case you've missed any.
So what do you think? Which of today's cards do you prefer and what do you think of today's fancy fold? Please do leave me a comment below - I'd love to hear your thoughts!
Before you reach for your ink and papers, check out what our amazing team has created to inspire you this week:
The Paper Players Design Team
Here's a quick recap of our challenge rules:
1. Create a new paper project
2. Upload your creation to your blog with a link back to us and provide a direct link to the post featuring your challenge submission.
3. Please link your card to no more than four challenges, TOTAL.
4. Have FUN!
You can see all of my 'How To' summaries on my 'How To - Tips and Techniques' Pinterest board in case you've missed any.
Enjoy your day; Ben is on parade with the other army cadets from school at a Remembrance Day parade and service this morning, so this afternoon will be spent completing homework and the like. I'll be back soon with another project. Until then, happy stampin'!
Stampin' Up! Supplies Used: