by Joanne James25. May 2014 20:23Sunday is always a good day, but it's doubly good when followed by a Bank Holiday - looking forward to tomorrow already! We've had a restful day today after yesterday's busy one and also managed our first BBQ of the year, albeit having brought everything inside to eat as it was rather breezy outside. Today's card uses the colours over at this week's Colour Me...! challenge and Jen Mitchell's clean rectangular sketch over at Freshly Made Sketches for my layout:
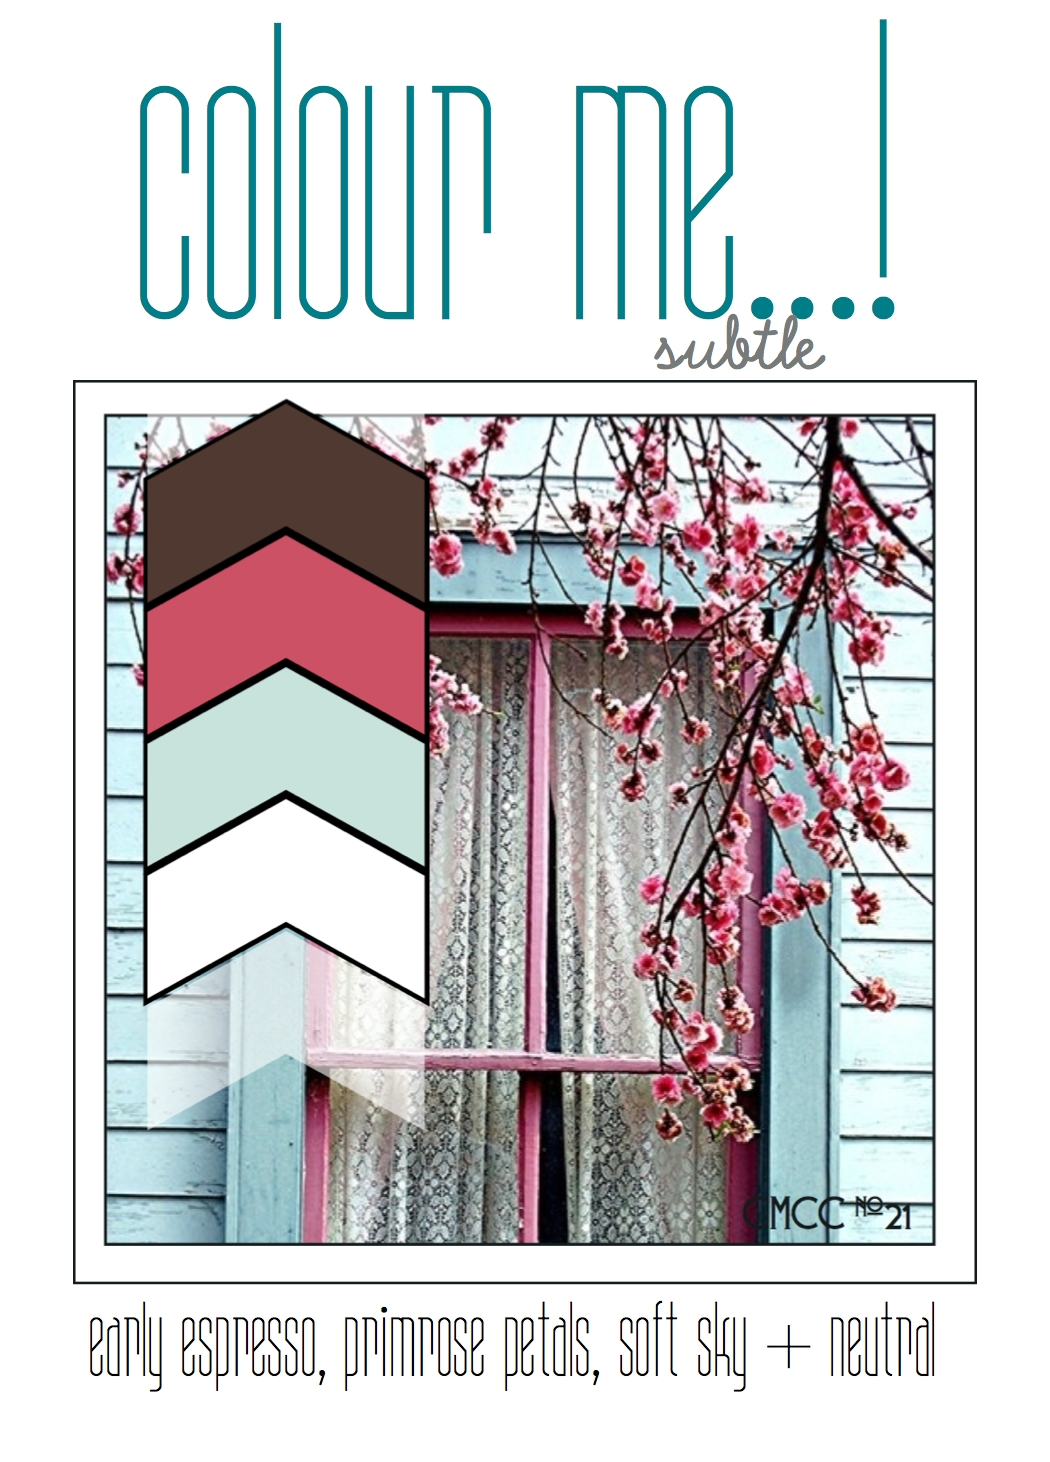
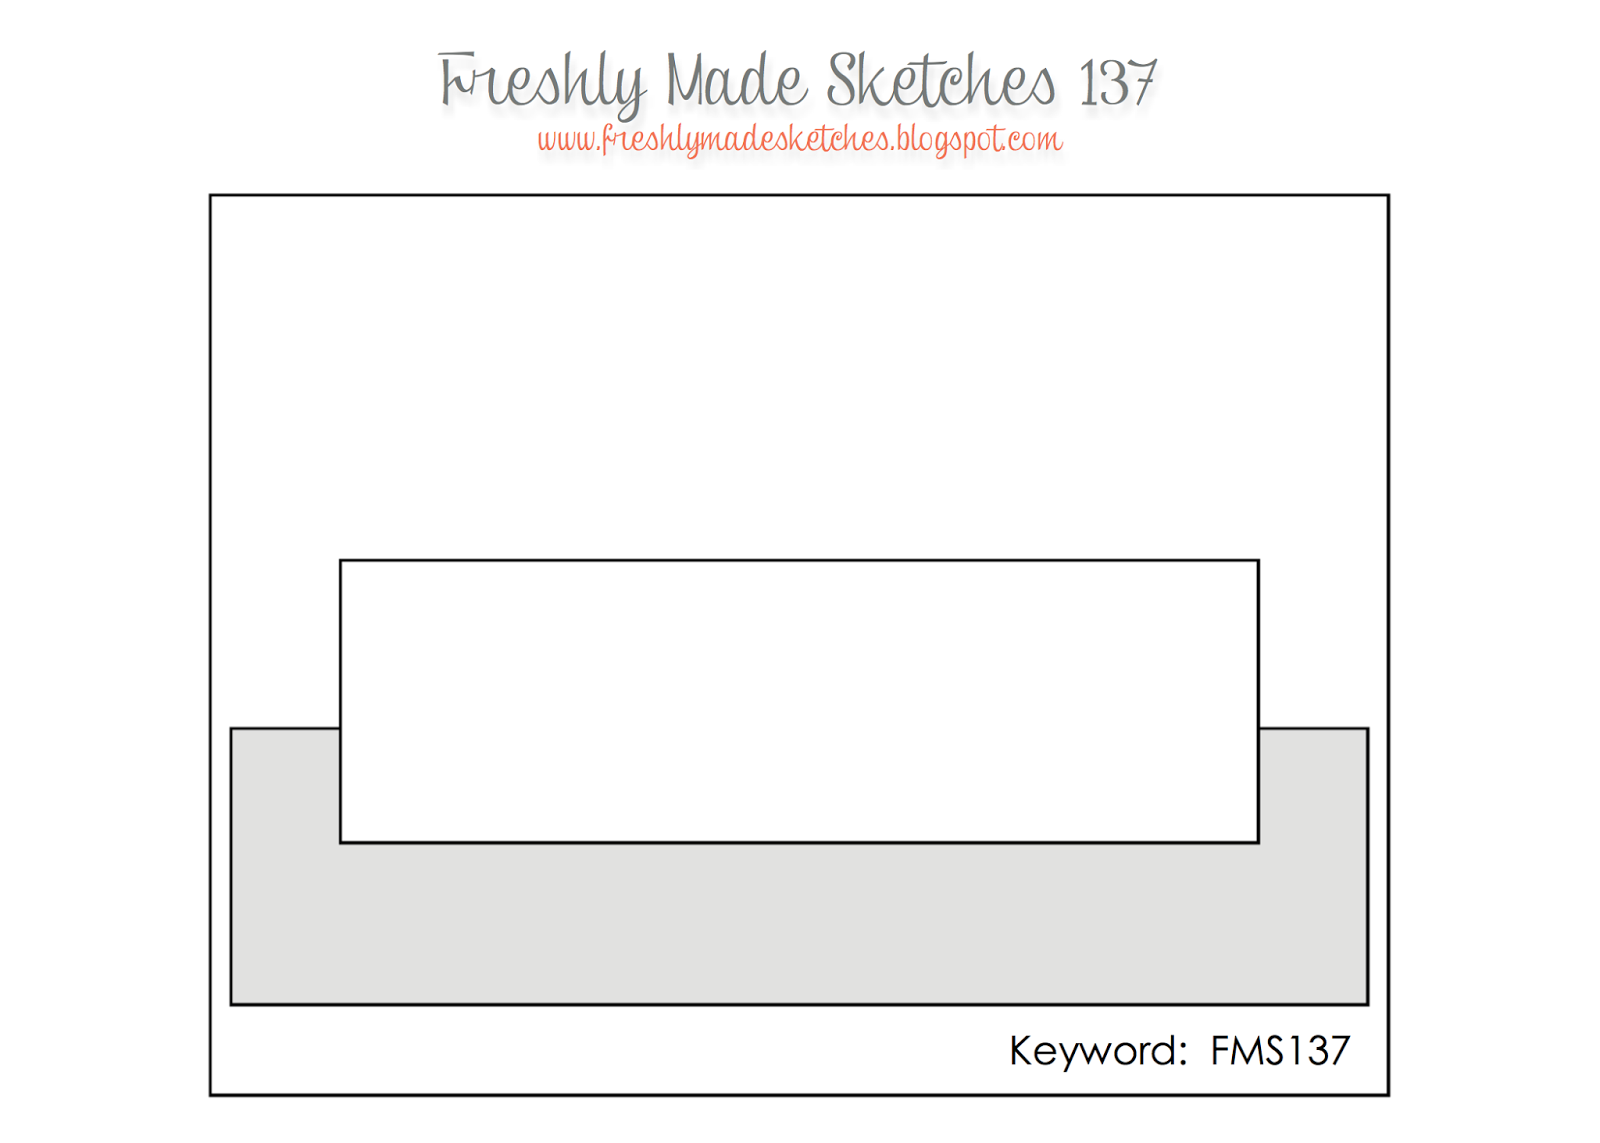
I rotated the sketch through 90 degrees to create my card and took my inspiration directly from the photo alongside the colour palette. Here is my card:
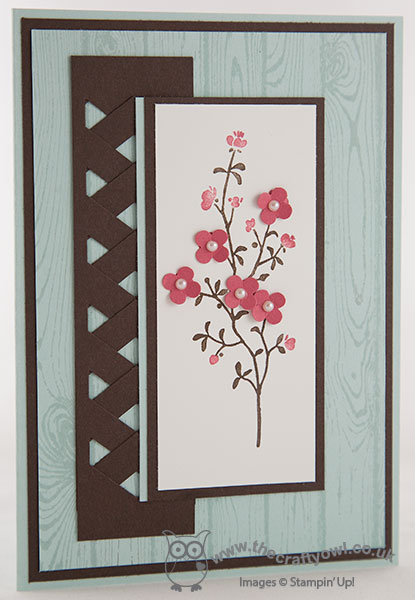
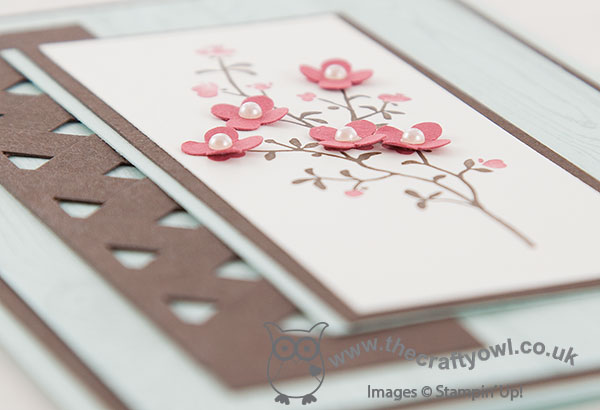
I used Soft Sky for my base and layered with a mat of Early Espresso and then a further layer of Soft Sky that I stamped with the Hardwood stamp in the same colour. I created a trellis using two pieces of Early Espresso punched with my Chevron Border punch and made the focal point of my card the cherry blossom from the Morning Meadow hostess stamp set, which I inked up with my Early Espresso and Primrose Petals marker pens then stamped onto Whisper White. I punched some flowers out of Primrose Petals cardstock using one of my Itty Bitty punches, added pearls to the centres and added these onto the stamped image on the largest flowers to add dimension and interest. I then matted this panel onto Early Espresso and added an off-centre panel of Soft Sky - this goes against the grain from a design perspective for me, but I needed to have the Early Espresso mat onto the Hardwood layer, yet broken with some Soft Sky on the opposite side so that the panel didn't just merge into the trellis and it looks so much better with than without, so convention is out of the window! I also chose not to use a sentiment on the front of my card as I didn't want to add another layer; I decided to keep my sentiment on the inside of my card.
I hope you like today's card; back tomorrow with another card. until then, happy stampin'!
Stampin' Up! Supplies Used:
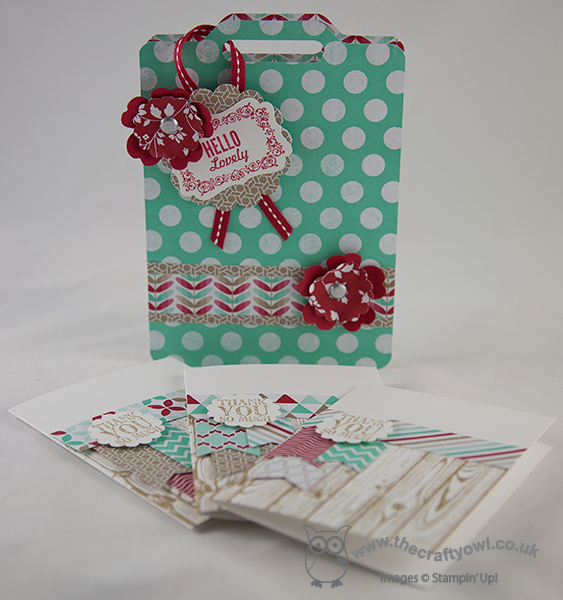
by Joanne James9. May 2014 20:39Good evening lovely blog readers! I've had a busy day today with lots of household chores and last minute preparations for an all day class that I'm running tomorrow with some of my favourite crafting ladies. Today I thought I would share with you one of the projects that we are making at our class tomorrow - a cute little tote made using the Envelope Punch Board:
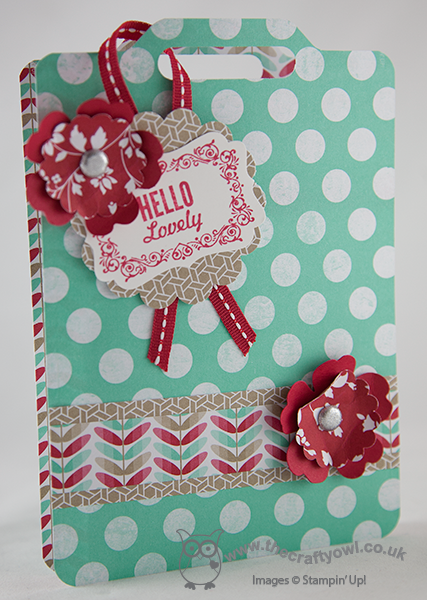
This project was designed by Monica Gale and is one that I made at our last team quarterly training day. It's made using the papers from the Fresh Prints DSP stack and decorated with a tag stamped from the 'Hello Lovely' stamp set. I just love the colours and patterns in this paper stack and as a card maker these papers offer such great value for money at just £6.25 for 48 sheets. We are also making a set of thank you notelets to go inside - this would make such a nice little gift for someone. I'm looking forward to making this and lots of other projects with my ladies tomorrow; if you live in or around Northampton and would be interested in attending any of my cardmaking or project classes, you can find my current class schedule here or just contact me for more information.
That's all from me; back tomorrow with another project. until then, happy stampin'!
Stampin' Up! Supplies Used:
a6422178-75d4-44d0-af72-a6fe6fdec35d|0|.0|96d5b379-7e1d-4dac-a6ba-1e50db561b04
Tags: 3D Projects, Classes, Decorative Label Punch, Envelope Punch Board, Fresh Prints DSP Stack, Hello Lovely, Lots of Thanks, scallop circle punch, Shop online, Stampin' Up, Stampin' Up Card, Stampin' Up Card ideas, Stampin' Up Supplies, Pansy punch, Word Window Punch, Hardwood
3D Projects | Cards | Classes | Envelope Punch Board | Stamping
by Joanne James19. April 2014 21:56Good evening everyone! I hope you are all making the most of the long Easter weekend. I've been busy decorating and making new wall art for Ben's Lego-themed bedroom today. I also got to spend a couple of hours in my craft room, but unfortunately tidying and re-organising rather than creating today. So a quick post from me this evening to share a scrapbook page I made at our team training event last week.
The page was designed by the lovely Bekka Prideaux and is in the style of a Project Life page - i.e. divided into regular sized sections with space for journaling and photos, just like those designed by Becky Higgins, the creator of the hugely successful modern day scrapbooking phenomenon that is Project Life. Here is my page, finished with photos from the Dads, Lads & Lasses camping trip that was held at school last September:
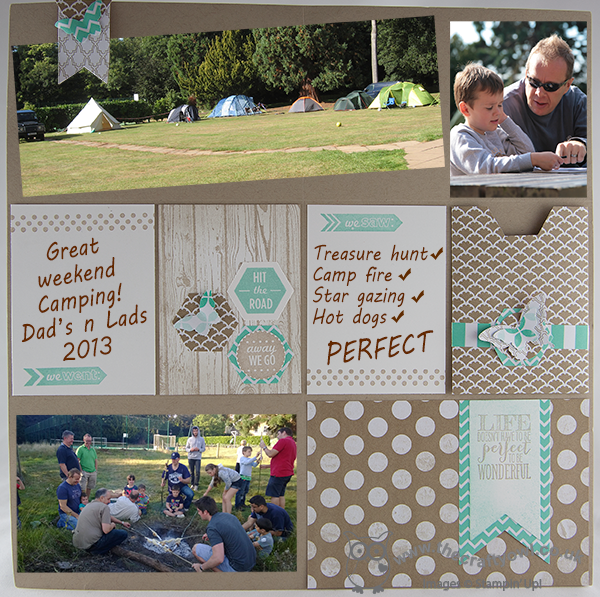
This style of scrapbooking appeals to busy mums like me; I take lots of photographs and need a quick and easy method of presenting them and recording my memories, so I'm thrilled that Stampin' Up! has joined forces with Becky Higgins to produce our very own line of Project Life-themed accessories in the new Annual Catalogue, out in July - read all about it in my earlier post here. As a demonstrator, one of my perks is that I'll be able to get my hands on this and other new and exciting offerings ahead of customers and I can assure you I'll be first in line for this one!
If you'd like to be one of the first to get your hands on Stampin' Up's new range of Project Life accessories, now is a great time to join my team of Stampin' Up! demonstrators. If you're interested, please do get in touch - I would love to share with you the benefits that being a part of my Stampin' Up! team of demonstrators brings.
Back tomorrow with another project; until then, happy stampin'!
Stampin' Up! Supplies Used:
by Joanne James12. April 2014 20:45I've had a lovely day today finishing off my swaps in readiness for our quarterly team training tomorrow. Our swaps always have a theme and this quarter it's 'technique'; I've based my swaps on a card I made for the challenge over at Seize The Sketch this week, which has this great layout:
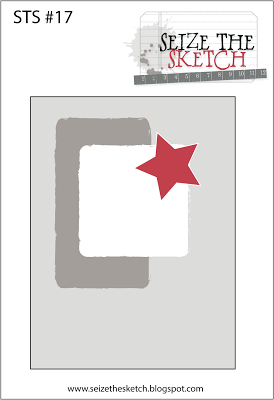
Here is my card - can you tell what technique I'm showcasing?
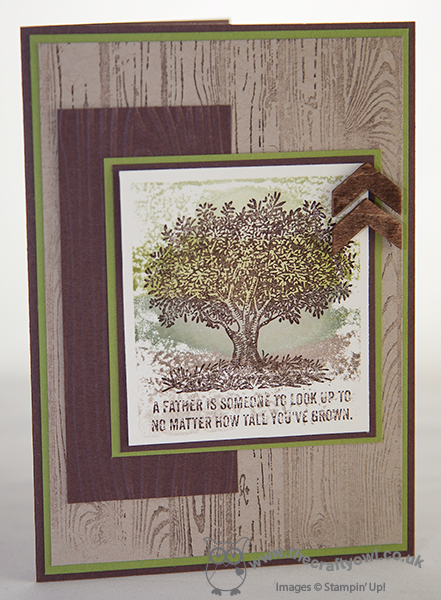
I know Father's Day is still a few months away, but I love the sentiment on this stamp and have been keen to use it for the first time. I decided that I would showcase the 'acrylic block & markers' technique on my card: this is where you colour an acrylic block with markers (I used a variety of greens and browns) and then spritz with water (I add a few drops of alcohol to mine so that it dries quicker) then stamp the block onto the paper.
I thought this technique would make a lovely background to the tree stamp and would add a little more interest than just colouring the image with markers directly. Here's a close-up of the stamped background:
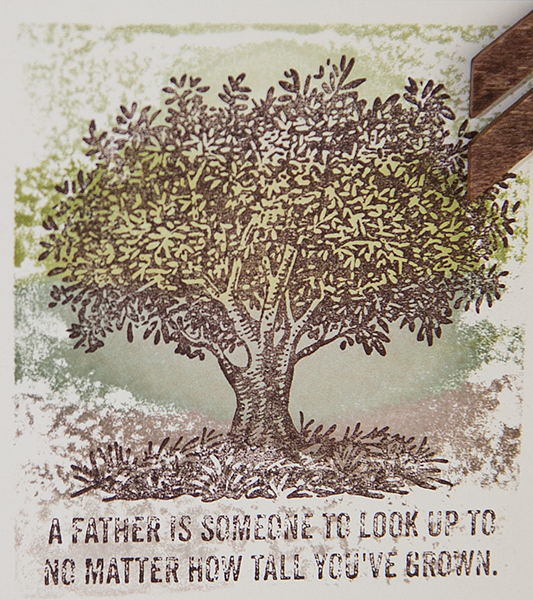
Whilst all of my swap cards look the same, each has a slightly different central panel as each time you stamp using a block it comes out differently, making them all unique.
Sticking with the wood theme, I added a panel of Chocolate Chip embossed with the Woodgrain Textured Impressions Embossing Folder and stamped the layer of Crumb Cake beneath this with the Hardwood background stamp. To finish, I added a couple of chevrons as an accent - wooden of course, coloured with my Chocolate Chip Stampin' Write marker pen:
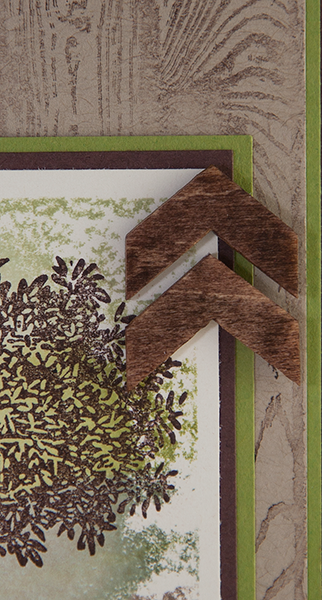
I also incorporated some Old Olive into the mat layers just to give the card a lift and so that it wouldn't appear too 'brown'.
I'm quite pleased with the overall end result - let's hope my team like their swaps tomorrow too!
Back tomorrow with another card; until then, happy stampin'!
Stampin' Up! Supplies Used:
304996f6-4d8a-44f4-b909-4a797cffd93b|0|.0|96d5b379-7e1d-4dac-a6ba-1e50db561b04
Tags: Big Shot, Acrylic Block Technique, Look up To Father, Woodgrain TIEF, Hardwood, Father's Day, masculine cards, Shop online, Stampin' Up, Stampin' Up Card, Stampin' Up Card ideas, Stampin' Up Supplies, Essential Wooden Elements
Cards | Stamping | Swaps
by Joanne James2. April 2014 17:22Another quick post from me today before I head out for my second card class of the week with another of the cards that we are making, featuring the 'Blessed Easter' stamp. This time I paired the stamp with the Hardwood background - love this stamp, especially in Smoky Slate grey:
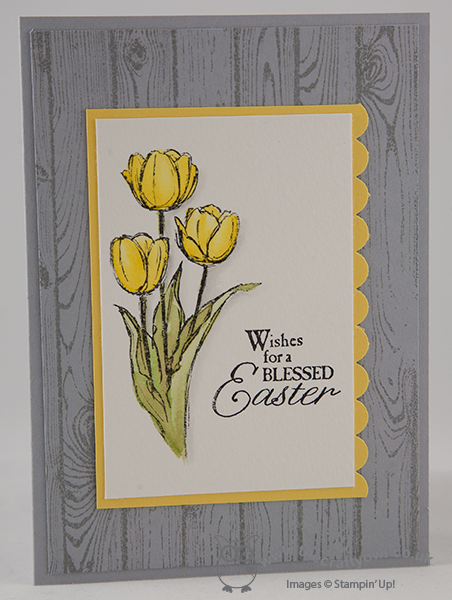
Unlike yesterday's card, I also used my Aquapainter to blend in some Smoky Slate ink around the tulips to create some subtle shading; shading in this way really makes the flowers stand out.
More lovely cards to share using this stamp in due course; off now to pack for my class.
Back tomorrow with another project - a rather special one too! until then, happy stampin!
Stampin' Up! Supplies Used:
by Joanne James29. March 2014 23:07I had a busy day in London yesterday so despite my best efforts to get ahead of myself I still didn't manage to blog yesterday and having had a class and put in my last Sale-A-Bration order I'm almost running out of time today, so before I do here is my intended share for yesterday, one of the Mother's Day cards I made in a couple of different colourways that I couldn't share before the day itself. Here it is in the predominantly pink colourway:
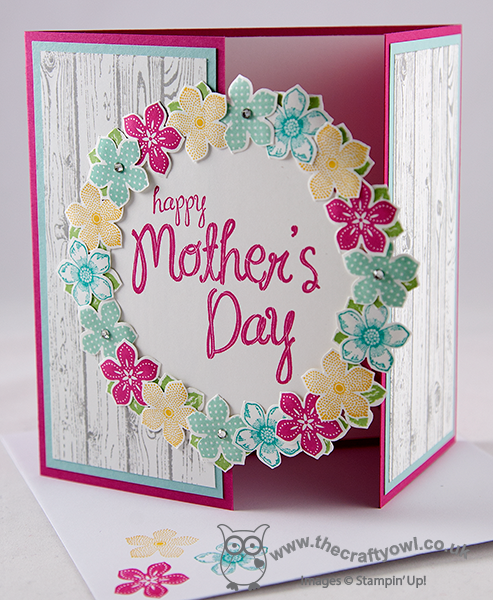
The card is similar to one I saw on Julie Kettlewell's blog here - I made a 5 1/2" x 5 1/2" square gatefold card and created an overlapping framed circle that I cut with my Circles Framelits and created a wreath of tiny stamped and punched flowers around the central bold 'Happy Mother's Day sentiment. I also made this card is an aqua colourway here using Coastal Cabana for the base:
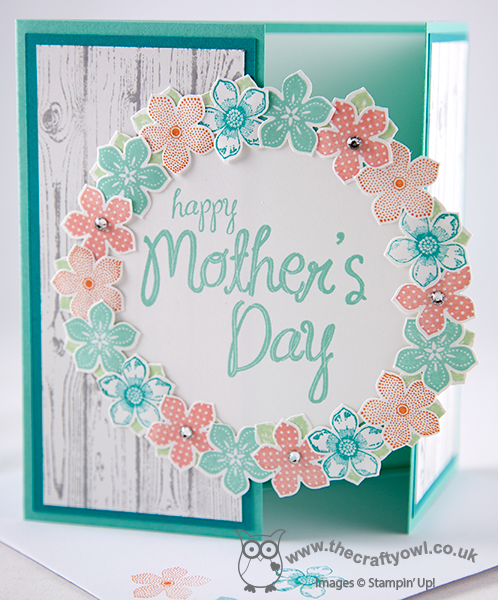
The hardwood background stamp makes such a great background for the focal point and some flower stamping inside and on the envelopes along with a few rhinestones just finishes off the card perfectly.
My Mother's Day was rather unconventional and was only spent with one of my offspring, which felt slightly strange, but Rebecca and I had a great day in London (she was so excited that she got to have her picture taken in front of Big Ben!) and the bonus is we get to have another Mother's Day next Sunday altogether to make up for it!
Back tomorrow with another project; until then, happy stampin'!
Stampin' Up! Supplies Used:
04fe73a3-d987-4b8e-ae26-b06fdce10abe|1|5.0|96d5b379-7e1d-4dac-a6ba-1e50db561b04
Tags: Hardwood, My Mother, Mother's Day, Petite Petals, Petite Petals Punch, Circles Framelits, Big Shot, Shop online, Stampin' Up, Stampin' Up Card, Stampin' Up Card ideas, Stampin' Up Supplies
Cards | Stamping
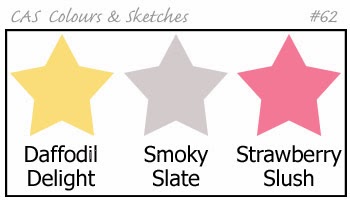
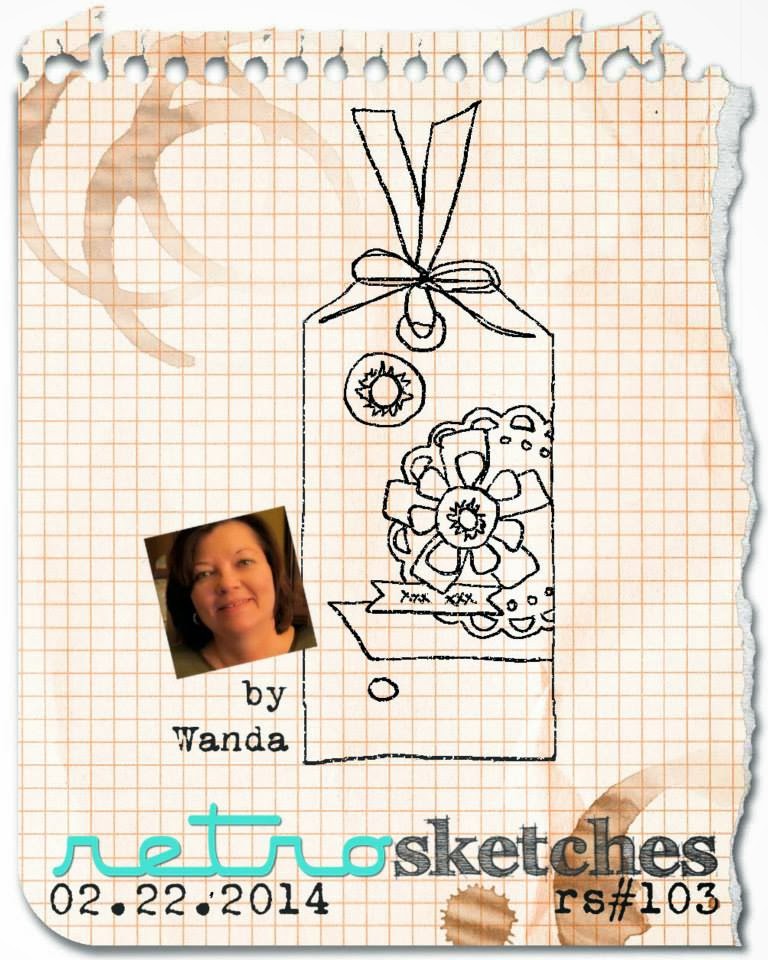
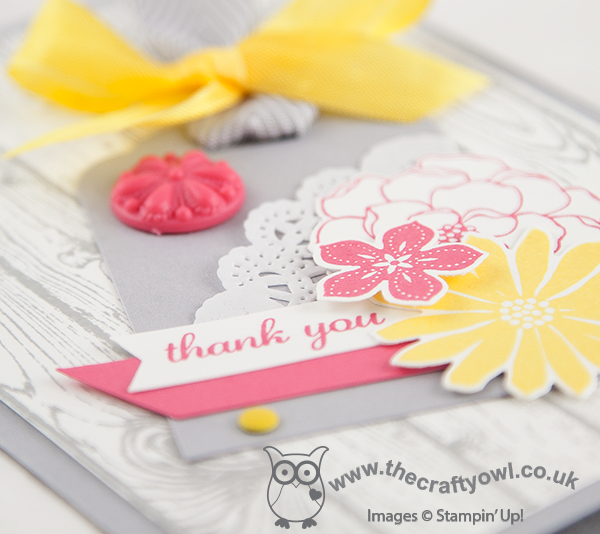
by Joanne James26. February 2014 14:09Today I've a card quite different to yesterday's - I finally caved and purchased the Hardwood background stamp, having seen so many beautiful samples of it on other people's cards and projects. I almost didn't, as I already own Woodgrain and the Wood embossing folder; but I loved the panelled effect so in my basket it went and I have inked it up for the very first time for this project. I am taking my colour inspiration from CAS Colours and Sketches this week and the tag focal point of my card was inspired by the sketch over at Retrosketches, where tags are the order of the day:
So without further ado, let me share my card with you:
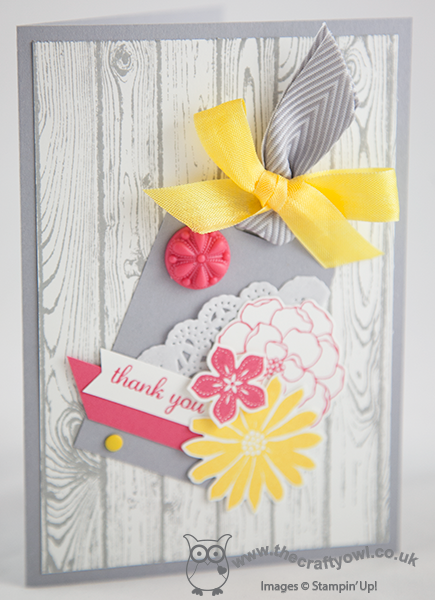
With the Hardwood stamp as my neutral whitewashed background, I used a combination of Secret Garden flowers along with a little pink one from Petite Petals to decorate my tag, the tag itself being punched with the Scalloped tag Topper Punch (such a versatile punch!). I then decorated my tag with a doily, an in-colour embellishment in Strawberry Slush, a Daffodil Delight candy dot and some lovely Smoky Slate Chevron Ribbon tied with some yellow seam binding ribbon along with a double-layered sentiment tag. I'm hoping I didn't get too carried away to qualify for CAS Colours and Sketches this week - I ended up with more layering and detail than I originally intended when I started out with this card, but I must say I really like the effect and love the colour combination.
That's all from me today - back tomorrow with another project. until then, happy stampin'!
Stampin' Up! Supplies Used:
904fba74-59d8-4a25-8f39-75510e042374|0|.0|96d5b379-7e1d-4dac-a6ba-1e50db561b04
Tags: Big Shot, Petite Petals Punch, Petite Petals, Secret Garden, Secret Garden Framelits, Shop online, Stampin' Up, Stampin' Up Card, Stampin' Up Card ideas, Stampin' Up Supplies, Hardwood
Cards | Stamping