Today it's Sunday and time for this week's new challenge over at The Paper Players! It's the turn of the fabulous Laurie to host this week and she has my favourite, a sketch challenge, for you to work with:
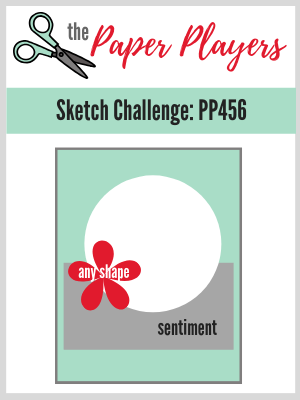
This is a great sketch with so many creative possibilities! I've finally found time to start playing with my pre-order goodies and I know how much you all like a 'sneak peek' so I have a few of those in store for you this week. My first one comes today is the form of new stamps, papers and a punch to make this brightly coloured Christmas card:
Here's the low-down on today's card:
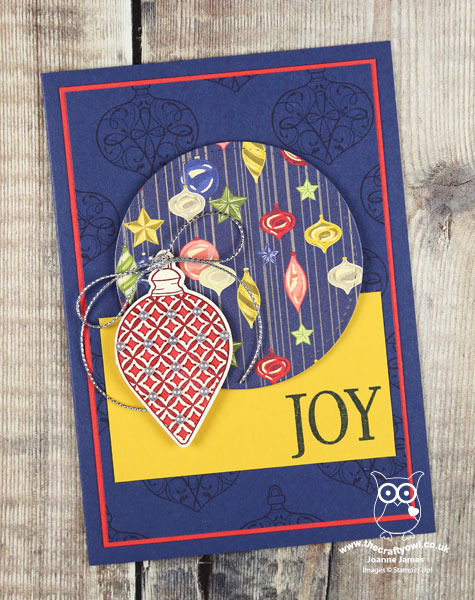
A Night Before Christmas - This sheet of bauble-patterned paper inspired the colour scheme for my Christmas card today. It is part of the 'A Night Before Christmas' paper pack which is actually part of the suite of the same name and is full of traditional Christmas imagery. The jewel colours of red, yellow, green, blue and silver against the navy background are echoed throughout my card and the circle of Laurie's sketch was the perfect place to showcase this bold patterned paper.
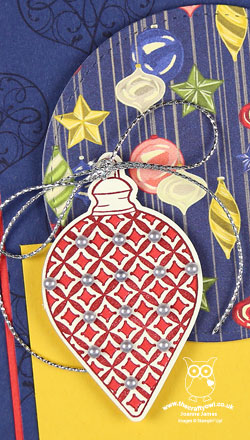
Christmas Gleaming - I wanted to add a little something to make my card a little more fancy, so firstly I created a tone-on-tone background panel by stamping the small bauble from the 'Christmas Gleaming' stamp set in Night of Navy in a pattern on my mat layer. Although it's from an entirely different suite it co-ordinates with my chosen DSP perfectly. For my shape I chose a bauble from the same set. I stamped it in Cherry Cobbler on Very Vanilla cardstock and coloured in part of the design with my Dark Poppy Parade marker, before punching out with the co-ordinating punch. To decorate my bauble, I took inspiration from my wonderful PP teamie the talented Ann Schach, lover of pearls in all shapes and sizes (although I don't think she's used any on her card this week!), and added a whole bunch of silver metallic pearls to my ornament pattern, finishing with a bow in some retired silver twine. I love the added detail this gives.
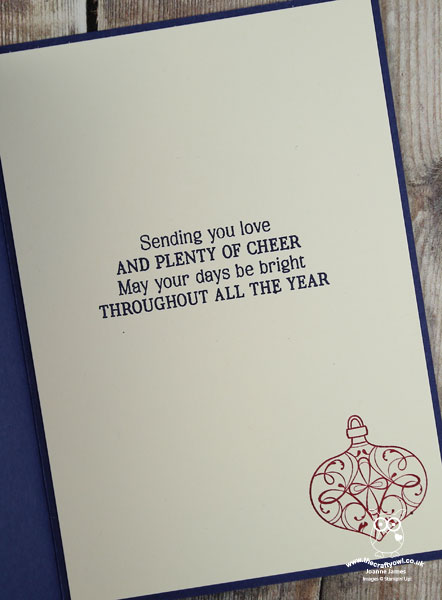
A Simple Joy - My sentiment today comes from the new set 'So Many Stars', which also has some lovely mini verses that are perfect for the inside of your card:
So what do you think? Is today's sneak peek of new Christmas products making you excited for the arrival of the Autumn-Winter catalogue? It is still another couple of weeks before it will be available to customers for ordering on September 4th, however if you really can't wait then it's worth considering taking advantage of the current joining offer: for anyone joining Stampin' Up! before the end of August, for £99 you will receive an extra £25 of product, so £155 for £99, in addition to an £8 bonus coupon to use next month and all of the other ongoing benefits that being a Stampin' Up! demonstrator offers. If this is something that interests you and you would like to know more, then do read all about it here or get in touch - I'd love to help you decide if this is something that could work for you.
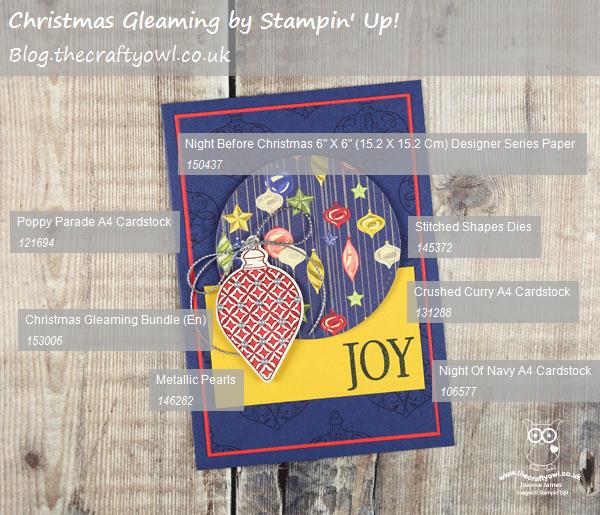
Here is the visual summary of the key products used on today's project for you to pin for easy reference:
You can see all of my Product and 'How To' summaries on my 'How To - Tips and Techniques' Pinterest board in case you've missed any.
Before you reach for your ink and papers, check out what our amazing team has created to inspire you this week:
The Paper Players Design Team
Here's a quick recap of our challenge rules:
1. Create a new paper project
2. Upload your creation to your blog with a link back to us and provide a direct link to the post featuring your challenge submission.
3. Please link your card to no more than four challenges, TOTAL.
4. Have FUN!
You can see all of my 'How To' summaries on my 'How To - Tips and Techniques' Pinterest board in case you've missed any.
Enjoy your day; we are enjoying a Bank Holiday weekend here in the UK and so far the weather has been glorious. We have been enjoying a weekend of BBQs and fun with friends and so are hoping for more of the same as the weekend continues. I'll be back tomorrow with another project. Until then, happy stampin'!
Stampin' Up! Supplies Used: