Silhouettes and Script Meets Farmer's Market Anniversary Card

by Joanne James11. July 2015 18:04

I've been busy creating today and just have time for a quick post before I head out this evening for dinner with friends. Today's card uses this week's sketch over at Mojo Monday and showcases some of the the new Farmer's Market DSP so is perfect for linking up with SUO Challenges too where the theme is 'designer papers':

Here is my card - check out how perfectly these two paper designs from the Farmer's Market range co-ordinate with each other:

I used Old Olive for my base with a mat of Hello Honey - a colour I'm not overly fond of it has to be said, yet I think it takes on a lovely hue next to the greens on this card. The pear paper design is definitely the one on show here, yet the gingham across the bottom adds interest without overwhelming. I used a piece of Mossy Meadow for my diagonal, tied with some retired satin ribbon in the same colour then for my focal point I stamped the pear from the 'Silhouettes and Script' hostess set onto Whisper white, inking up with my sponge daubers to give the lovely shading effect then fussy cut one side and cut to other with my circle framelits. To finish I added a 'Congrats' from the same set in black and popped up on dimensionals. I just love the blended colouring on the pear - I'm going to have to do this with the other stamps in the set too!! What a fun alternative take for a wedding or anniversary card!

That's all from me today; I need to go and wash my hair and get ready for my night out! Back tomorrow with a new challenge over at The Paper Players. Until then, happy stampin'!


Stampin' Up! Supplies Used:

Table built using Product Table Builder by The Crafty Owl - Independent Stampin' Up! Demonstrator.


Another Hugs and Kisses Valentine's Card!

by Joanne James12. February 2015 07:00

Another quick, clean and simple Valentine's card for you today - a second crack at the 'hugs and kisses' challenge over at Addicted to CAS and Can You Case It:


My card was inspired by Kylie's in the ATCAS Design Team - it reminded me of the little 'xoxo' framelit in the circle thinlits set, which was perfect for the fun little game I had in mind - here's my card:

I cut out a few of the 'xoxo' in both Real Red and Basic Black, then snipped them apart so that I could use them for my game of tic-tac-toe. I created my 'board' by piercing some holes in my Whisper White layer and threading them with black baker's twine - here's a close up so that you can see it in more detail:

I substituted my final 'x' with a little red heart, popped up on a dimensional - sweet! Another no stamping card too - that doesn't happen often!!

Today's post is short and sweet too - I have a very busy day ahead so I'm off to get started. Back with another project tomorrow - until then, happy stampin'!


Stampin' Up! Supplies Used:

Table built using Product Table Builder by The Crafty Owl - Independent Stampin' Up! Demonstrator.


Tags: , , , , , , , ,

Cards | Punch Art | Stamping

Love, Hugs and Kisses Valentines Card

by Joanne James11. February 2015 09:15

I still have a couple more Valentine's cards to share with you this week, all of them quick and easy to execute though if you are making a last-minute card for your loved one! Today's card has been made using this week's sketch over at CAS(E) This Sketch and I am also entering it into the 'Hugs and Kisses' challenge over at Addicted to CAS and the colour challenge at Can You CASE IT:


This is one of those 'go to' sketch layouts for clean and simple cards and is also great for showcasing designer series paper, as I've done here with the hugs & kisses pattern from the 'Stacked With Love' DSP stack. Take a look: 

For the other half of my base layer, I used another of the black and white patterns in the stack, and used a heart framelit to create a die cut in my top red layer that allowed an element of the paper design to show through. I finished my card with a 'vintage' love die cut with my now retired Expressions thinlits - these are still available on the clearance rack and can be picked up for a bargain £13.79 and lastly rounded the bottom right corner of my card. Not a stamp in sight either - no risk of inky fingers with this one!

Simple but effective I hope you will agree! Back tomorrow with another Valentine's card to share with you; until then, happy stampin'!


Stampin' Up! Supplies Used:

Table built using Product Table Builder by The Crafty Owl - Independent Stampin' Up! Demonstrator.


Roses are Pink...Two-for-One Valentine's Cards

by Joanne James10. February 2015 08:00

Today I have not one but two cards for you! Both cards fit this week's colour challenge over at Pals Paper Arts, where there is a gorgeous colour palette to work with this week:

I absolutely love this colour combination and couldn't wait to create something pink and pretty with it. Here is my first card:

I layered the colours in two sections and in the central section used one of the lovely rose die cut panels from the Artisan Embellishment kit as a stencil and stencilled the roses in the two shades of pink, adding in touches of Basic Grey for the flower leaves. These die cuts are so beautiful - it's a shame there are only two in the kit! Here's a close up of the sponged area:


The form of the roses is just so pretty I think and looks really beautiful. I added a bow in luxurious silver satin ribbon and stamped my sentiment on the wide mat layer of Pink Pirouette, stamped in Versamark and heat embossed in pewter. This card is full of romance, but I think it would work equally well as a birthday card.

My second card today uses exactly the same colour palette, but is altogether a more clean and simple affair. This week the team over at Less is More is celebrating its 4th birthday and have a colour challenge of 'pink and grey'. Here is my card for this week's challenge:

My card started out as a two-tone pink and grey affair, with an inlaid split sentiment - I die cut the word 'love' using my Little Letters thinlits, then did the same with the cardstock the other way around top and bottom in order that I could paper-piece the reverse colours into the negative space. The more I looked at it though, the more it needed a little something else - I toyed with a scrap of Rose Red that sat on my desk leftover from the first card and the addition of the tiny heart with a tiny sparkle was just what it needed. You can see the detail of the die cut and inlaid letters below:

Congratulations to Chrissie and the team on their 4th birthday - you are an awesome bunch who run a most successful weekly challenge and are truly an inspiration. 

I'll be back tomorrow with another card; until then, happy stampin'!


Stampin' Up! Supplies Used:

Card 1: 

Table built using Product Table Builder by The Crafty Owl - Independent Stampin' Up! Demonstrator.
 
Card 2:
 
Table built using Product Table Builder by The Crafty Owl - Independent Stampin' Up! Demonstrator.

Simply Scattered Love You Card

by Joanne James6. February 2015 21:19

I'm late posting today and am just in time to get my card for this week's 'Less is More' challenge in before the deadline. The challenge this week is 'little ones'; I had my card all planned out in my head since the start of this week but despite several attempts, I wasn't able to execute my idea well. So today, I took a break from my preparations for my next week's class and went back to the drawing board and came up with this ultra clean and simple card:


The theme of 'little ones' can be interpreted in so many ways and I had been working with the idea of lots of little things, rather than a new baby theme. On going back to the drawing board, I decided I would try and find the smallest stamped image I had and then I remembered: the Love stamp from the now retired 'Seasonally Scattered' set had some of the most perfect teeny-tiny hearts I ever did see, so decided this would be perfect for my card. I added a punched Itty Bitty Accents heart in Real Red and added the 'You' from the 'Crazy About You' set to complete my romantic sentiment.

That's all for today - short and sweet! Check out the Less is More page for more 'little ones' ideas - there is a ton of great inspiration from the designers and gallery alike. Back tomorrow with another project; until then, happy stampin'!


Stampin' Up! Supplies Used:

*Seasonally Scattered - retired

Table built using Product Table Builder by The Crafty Owl - Independent Stampin' Up! Demonstrator.


You're My Lobster Valentine's Card

by Joanne James2. February 2015 11:18

Happy Monday everyone! I have a desk-based week this week and I'm looking forward to getting a headstart on preparation for my next set of classes and getting some projects prepared, following the flurry of classes and parties last week. Today's card is one I made with my Valentine in mind - very masculine and not a heart in sight! - but with a sentiment that I just know will strike a chord - take a look:

Now if you are of a similar age to me (forty-something - I'm saying no more!!) you may well have lived through the era of the American sitcom 'Friends'. My husband and I have watched every episode more times than I can count and still laugh occasionally at the things we say or do that are inspired from this classic television series. One of my favourite episodes is the one where amidst the ongoing drama of the on-off relationship between Ross and Rachel, Phoebe announces that they will get back together again because just like lobsters, who are known to fall in love and stay together for life, Rachel is Ross's lobster. After some drama, it takes a viewing of Rachel and Monica's old prom video tape for Rachel to realise that she does indeed want to be with Ross and Phoebe triumphantly declares "He's her lobster!" I've made lots of cards featuring both the crab and lobster from the Sea Street set and I couldn't pass up the opportunity for a play on words with this one. I chose a simple layout featuring some of the co-ordinating Maritime DSP and used a simple font in Word for my bespoke sentiment. Whilst there's not a heart in sight, mu husband for one will appreciate the romantic gesture of this card!

If you too are nostalgic for some classic TV - or just want to know what the heck I'm rambling on about today! - here is that clip in all it's glory:

On that happy note, I will love you and leave you until tomorrow, when I will be back with another project. Until then, happy stampin'!


Stampin' Up! Supplies Used:

Table built using Product Table Builder by The Crafty Owl - Independent Stampin' Up! Demonstrator.


Some Bunny Loves You Valentine's Card

by Joanne James1. February 2015 07:30

It's Sunday and time for a new challenge over at The Paper Players, where this week Claire has the following challenge for us:


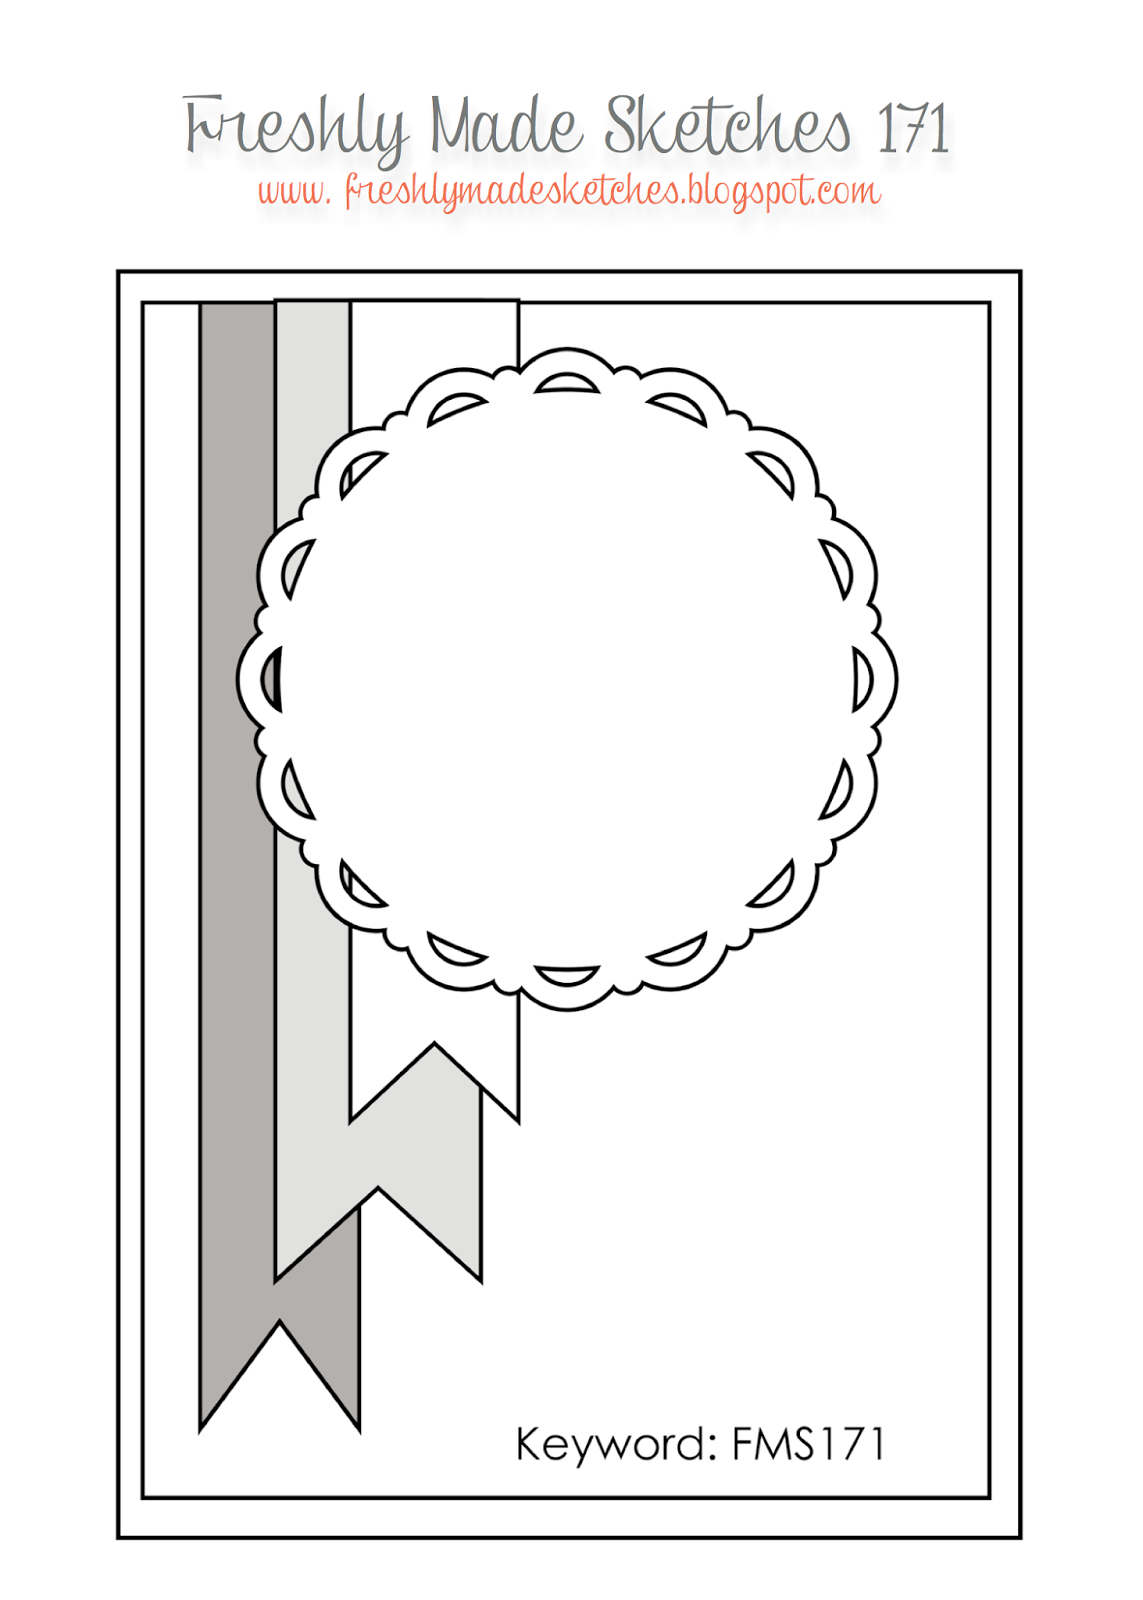
I also used Rita's sketch layout over at Freshly Made Sketches for my card this week. Now this week's card caused me some mild consternation, as anyone who knows me knows that I've never really had a pet and so I have been known to get myself into all kinds of trouble with friends for under-estimating the depth of their feelings towards their two-and four-legged friends. I am not intentionally insensitive, it's just that I don't 'get it' - so the idea of creating a Valentine's card for or from a pet sent me into quite a spin! Both James Juniors have had goldfish as pets previously, but since I used fish on my card last week I thought today's card needed an alternative, altogether more fluffy friend - so this is what I came up with:

I created a custom sentiment using my 'Back to Basics' alphabet stamps and added a selection of banners using patterns from the 'Stacked with Love' DSP stack. For the heart-shaped centrepiece, I stamped a pair of adorable bunnies and coloured them in with my Smoky Slate Blendabilities. Do you recognise the bunnies, or should I say, bunny? The bunny on the right is from the 'Baby We've Grown' stamp set. I stamped him once, then having masked him off with a post-it note, I then stamped him again onto a piece of window sheet and using the reflection technique transferred this image onto my cardstock, overlapping the legs slightly. The tiniest drag line on the ear resulted in a cute fold-over look, so I left it, as it made the bunnies a little less symmetrical. Don't they make such a cute pair? I finished this centre piece by framing the bunnies in a Real Red heart-shaped frame cut using my Big Shot and Hearts Framelits and added a tiny punched heart with a rhinestone to the centre. If I had a bunny rabbit, I would be happy to send him this Valentine - job done! I'm also linking up with SUO Challenges today too, where the theme is 'Valentine's Wishes' - very appropriate.

Before you reach for your ink pads, do visit the other design team members to see what interesting ideas they've had this week:

The Paper Players Design Team
 
Here's a quick recap of our challenge rules:
 
1.  Create a new paper project
2.  Upload your creation to your blog with a link back to us and provide a direct link to the post featuring your challenge submission.
3.  Please link your card to no more than three challenges, TOTAL.
4.  Have FUN! 

I look forward to seeing your projects in the gallery this week.

I'm looking forward to a quiet day today: the hockey pitch is frozen as a result of the sub-zero temperatures we've been having this past week and poor Ben is struggling to shake his cough and cold that he's had for weeks now, so he is going to have a rugby-free week too, as running around a freezing pitch for a couple of hours is certainly not going to improve things. Rebecca and I will be completing the masterpiece that is her ancient Greek theatrical mask, the result of two weeks of paper mache and modelling clay - all being well it should be dry enough to paint. We may even manage to squeeze in another family movie afternoon; last week we watched Malificent for the first time, which was hugely enjoyable and an interesting alternative take on a classic.

Back tomorrow with another project; until then, happy stampin'!

Stampin' Up! Supplies Used: 

Table built using Product Table Builder by The Crafty Owl - Independent Stampin' Up! Demonstrator.

#Ijustloveyou Moustache Love Card

by Joanne James10. January 2015 20:12

Today I have another card using the moustache stamp from Well Worded. It was still out on my desk from this card that I made with it the other day, so I took the opportunity to use it again for today's card for this week's Freshly Made Sketches challenge; I also used the colours over at The Color Throwdown this week, where they are really suited to another Valentine's or anniversary card:


This one is definitely made with a man in mind - here is my card:

I layered a couple of rectangles of paper from the 'Stacked with Love' DSP paper stack onto a base of Basic Black cardstock (I am so making the most of my 'Stacked with Love' DSP!), then a Real Red heart cut out with my Hearts framelits and a moustache stamped in Memento Black onto Whisper White, which I then cut out with my mustache framelit and popped up on a couple of dimensionals. To finish, I stamped my hashtag sentiment in Versamark and heat embossed it in white.

Another simple, modern card that would work well for Valentine's Day, a wedding anniversary or just to say 'I love you' card. 

I'm also linking up with the 4 Crafty Chicks, where the theme this week is anniversary cards.

Back tomorrow with this week's card for a new challenge over at The Paper Players; until then, happy stampin'!


Stampin' Up! Supplies Used:

Table built using Product Table Builder by The Crafty Owl - Independent Stampin' Up! Demonstrator.


'You Da Man' Moustache Valentine's Card

by Joanne James8. January 2015 14:29

I'm having a busy day today; productive though, so I'm not complaining! Today's post is a quick one - I'm sharing my card for Less is More this week where the colour challenge is to use black, metallic and one other colour on your card. Now I must confess, this card was embarrasingly quick to put together, but I am also rather pleased with the finished result - here it is:

I decided to use Basic Black for my card base, then layered with a red glimmer heart cut out with my Big Shot and Heart Framelits and topped with a black moustache onto which I stamped the corresponding stamp from the 'Well Worded' stamp set in Versamark and heat embossed in gold, before cutting out with my moustache framelit. To finish, I stamped my hashtag sentiment from the '#hello' stamp set and heat embossed in gold onto the base of my card. Simple right? It really is as easy as that! Don't get me wrong, I experimented with lots of different versions of this card before I decided on this one as my preferred version to share, but end to end you could produce this card in minutes - and who doesn't love a moustache?! I think this makes a great guy card, despite the glimmer.

That's all from me today; back tomorrow with another project. Until then, happy stampin'!


Stampin' Up! Supplies Used:

Table built using Product Table Builder by The Crafty Owl - Independent Stampin' Up! Demonstrator.


Pictogram Punches I Love You Card - And Another Sneak Peek!

by Joanne James2. January 2015 21:03

I've had a fun day today, amongst other things transforming my kitchen table into a table tennis court and hosting a craft party for an enthusiastic group of ten year olds this afternoon. But enough about my day; I managed to make a quick card yesterday for the current challenge over at CAS(E) This Sketch:

This is such a simple sketch layout with so many possibilities and it was perfect for a simple 'I love you' card featuring one of the stamps from Pictogram Punches:

I used a Whisper White card base and created my bottom panel from a piece of Real Red cardstock edged with the Hearts border punch and overlaid this with a piece of Crisp Cantaloupe cardstock that I first dry embossed with the new Happy Heart Textured Impressions Embossing Folder, coming shortly in a few days time with the new Spring-Summer catalogue (I fussy cut the edge following the line of the hearts). I stamped my sentiment in Crisp Cantaloupe above the layered section, then using Real Red ink I overlaid a new 'love' stamp onto the heart - this stamp is from an exclusive Sale-A-Bration set called 'You Brighten My Day', available free with every order of £45 or more between January 6th - March 31st. It fits perfectly and makes the heart 'pop' a little. To finish, I added a thick baker's twine bow. 

I hope you like today's card. Back tomorrow with another project; until then, happy stampin'!


Stampin' Up! Supplies Used:

Table built using Product Table Builder by The Crafty Owl - Independent Stampin' Up! Demonstrator.


Mini Catalogue

BROWSE THE CATALOGUE

The mini catalogue is now live! Read and download your copy here.

Shop Online

Access my online shop 24 x 7, 365 days of the year:

Current April hostess code:

VDKNV7BH

Shop Online

Join My Team

It's always a great time to join Stampin’ Up! New team members can get £130 worth of products for only £99 + free business supplies + free shipping + all the fun being a part of Stampin’ Up! Stampin' Up! has something for everyone: join my growing team and benefit from my support to enjoy Stampin' Up! however you choose.

If you're interested, call me for a chat to understand how I can help you realise your goals. Alternatively, if you have already decided to sign up and you just can't wait, please click here for the link to the online form where you can sign up and order your starter kit right away! 

Latest Kit!

Stampin Cut and Emboss

The Rock Legend Kit has all you need to make 8 cards with coordinating envelopes. Along with the new Panda Friends Kit, both are available from January 4th for just £14 each - get yours here!

2023-24 Annual Catalogue

BROWSE THE CATALOGUE

Click on the catalogue for a full list of current SU! supplies - if you would like to order any of the items featured, please drop me a line at [email protected] or give me a call on 07773 421446 - I'd be happy to help.

New Online Exclusives

There are new products available exclusively in the online store from 5 March - check them out here.

About Me

Hi I'm Joanne and live in Northampton and when I'm not looking after my husband and two beautiful children, am an avid crafter with a passion for all things Stampin' Up!

I must confess that I have never been a big rubber stamper - until I discovered Stampin' Up! that is. I love the fact that I can get such great results with co-ordinating stamps, inks, papers and punches - the possibilities are endless! Join me on my stamping journey as I share the things I love and be inspired to create amazing things yourself!

Follow Me

Monthly Newsletter

Box Builder

Click the button above to use Box Buster to create your custom box design using the Envelope Punch Board!

Kits Collection Now Available!

Stampin Cut and Emboss

The new Kits Collection from Stampin' Up! is now available!

Click here to see the current kits available and order yours online today.

I Design For


Stampin' Up Stuff

This is my personal blog and is not endorsed by Stampin’ Up! I hope you find it a plentiful source of ideas and personal inspiration but please don't copy my designs for contest submission or use for classes, publication or sale without express permission.