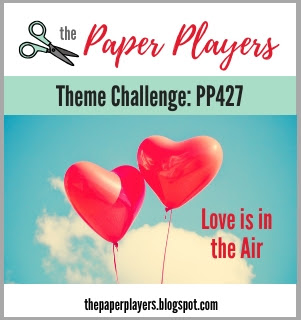
Today it's Sunday and time for this week's new challenge over at The Paper Players! It's my turn to host this week and I have a timely theme challenge for you to work with:


It's February and in the James Household love is definitely in the air: Valentine's Day is around the corner and this is also the month when Mr James and I celebrate our wedding anniversary and this year it's a milestone one too, so it seemed appropriate to choose this as my theme this week. I decided to make a pretty anniversary card and matching gift box - take a look:
Here's the low-down on today's card:
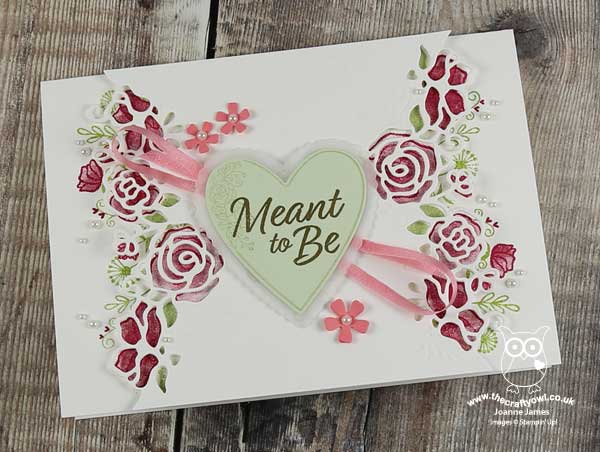
All My Love - I went all hearts and flowers for my card today with the Forever Lovely stamp set and Lovely Flowers Edgelits Dies. I have been itching to get this beautiful set out and use it so I couldn't resist creating not one but two border edges spraying out either side of my heart centrepiece. I was a little nervous as to how easy the stamped florals and greenery were going to be to line up with my diecut borders, but needn't have worried - the Stamparatus made light work of it and I was very pleased with the result. My layout was inspired by the sketch over at Just Add Ink this week - and my card also works for TicTacToe over at The Paper Craft Crew (I went diagonally: something new-Valentines-floral).
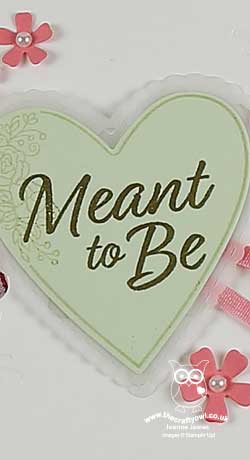
Meant To Be - I combined Forever Lovely with another of the Valentine's themed sets in the seasonal catalogue, 'Meant To Be', a set of decorative hearts that co-ordinate with some beautiful stitched dies. I heat-embossed my sentiment in gold onto a vellum-bordered Soft Sea Foam heart - I know it's not pink, but having tried both the pink heart seemed a little too much; the soft sea green, with a few pink flowers and delicate pink ribbon, worked much better. Plus that's the beauty of creating your own cards right? You can make things any colour you want them to be! And I finished my sentiment inside my card with this one:
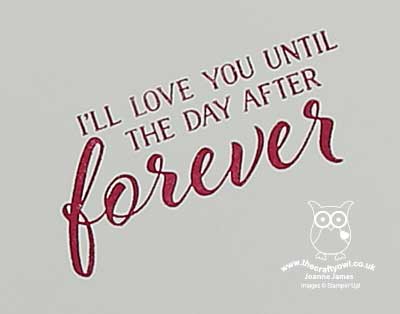
Perfect words for the one you love!
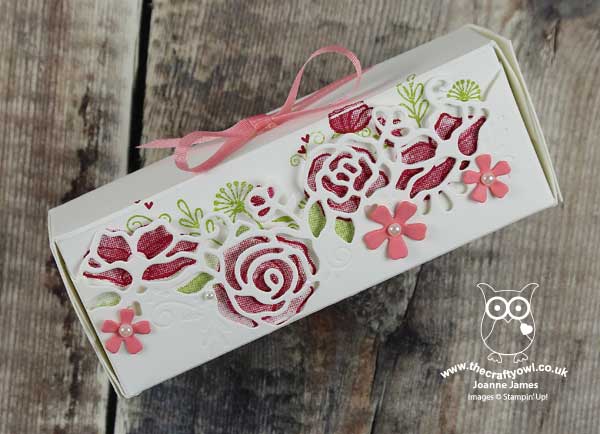
Self-Closing Lovely Flowers Edgelits Treat Box - I decided to make a small treat box to co-ordinate with my card, that would also show off that lovely diecut edge. My box is self-closing and measures 4" x 1" x 1 1/2" and is just large enough to hold 6 heart truffles:
Here's one last photo of both my projects together:

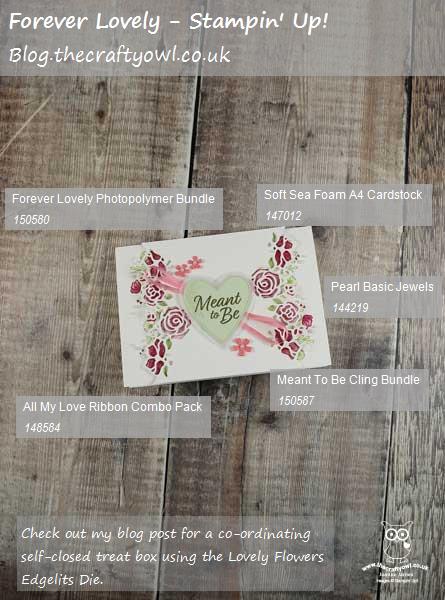
Here is the visual summary of the key products used on today's project for you to pin for easy reference:
You can see all of my Product and 'How To' summaries on my 'How To - Tips and Techniques' Pinterest board in case you've missed any.
Before you reach for your ink and papers, check out what our amazing team has created to inspire you this week:
The Paper Players Design Team
Here's a quick recap of our challenge rules:
1. Create a new paper project
2. Upload your creation to your blog with a link back to us and provide a direct link to the post featuring your challenge submission.
3. Please link your card to no more than four challenges, TOTAL.
4. Have FUN!
You can see all of my 'How To' summaries on my 'How To - Tips and Techniques' Pinterest board in case you've missed any.
I'm looking forward to seeing what you create for our challenge over at The Paper Players this week.
Enjoy your day; we have guests for dinner but otherwise will be enjoying a cosy day indoors, with our hockey match today being cancelled due to a frozen pitch. I for one am pleased to not be standing out on the touchline in these freezing temperatures we have been experiencing here in the UK this week! I'll be back tomorrow with another project. Until then, happy stampin'!
Stampin' Up! Supplies Used: