
Today it's Sunday and time for the first challenge of the new year over at The Paper Players! We have a new trio of guest designers to welcome - hello to Debbie, Amanda and Nancy, and it's the turn of the fabulous LeAnne to host this week and she the perfect theme challenge for you to work with:

Something new - what a great theme to get our craft on into the new year! I have so many lovely new things that can't wait to share with you - I was truly spoilt for choice! I decided to use the current layout over at The Spot and use new papers, foils dies and stamps on today's card - take a look:
Here's the low-down on today's card:
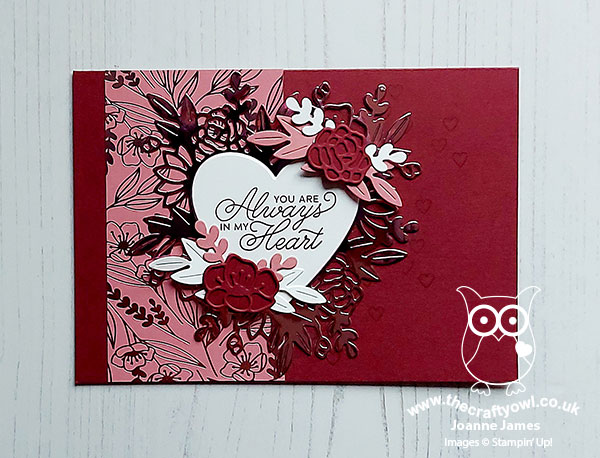
Floral Heart Centrepiece - Today's card features a number of new items from the Love You Always suite, which includes two stamp set and die bundles. On today's card I used the fancy floral heart as my centrepiece, cut from Rococco Rose foil to compliment the foiled specialty paper that I used for my panel piece and decorated it with some additional flowers and foliage cut from other dies in the set. Isn't it just so pretty?!
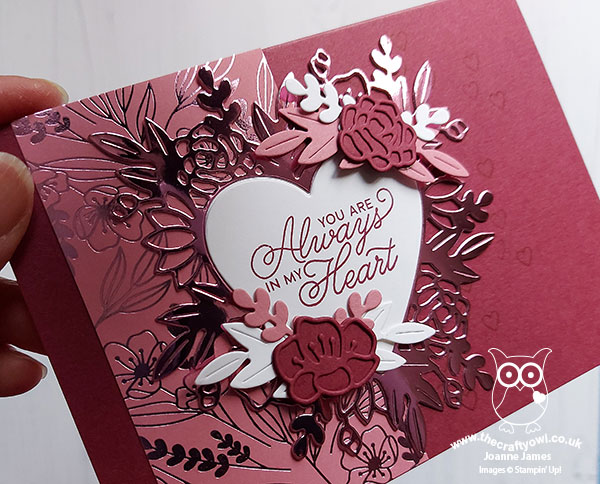
Love You Always Foils - There are both solid foils and specialty foiled paper in the suite. It's always difficult to show foil to full effect on a photograph, so you'll have to take my word for it how beautiful and shiny it is! Here's another view that hopefully captures some of it for you:
Always In My Heart - The Floral Heart Dies alone are fabulous, but it also had a lovely stamp set too. I decided to go with a white heart for the front of my card, stamped in Merry Merlot (I think this red compliments Rococco Rose beautifully) given that I had used Merry Merlot for my card base and finished with a little extra stamping on the inside of my card:
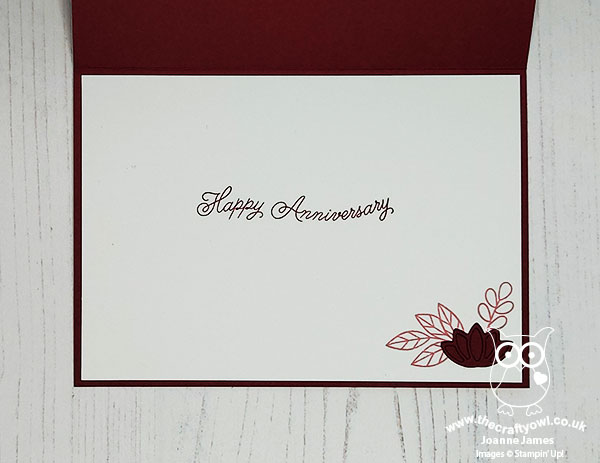
It is my wedding anniversary in February, so I might save this one and use it for my dear hubby - if that's not too organised of me! So what do you think? Is the 'Love You Always' Suite one you can see yourself falling in love with? Do leave me a comment below - I will be sharing more projects using new products from this suite in the coming weeks.
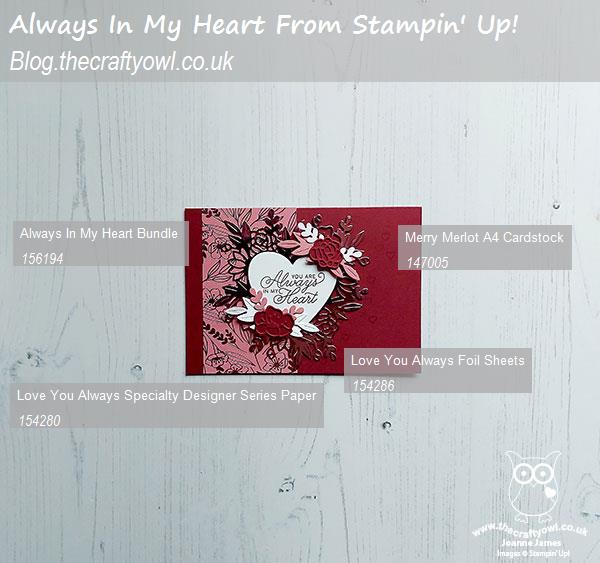
Here is the visual summary of the key products used on today's project for you to pin for easy reference:
You can see all of my Product and 'How To' summaries on my 'How To - Tips and Techniques' Pinterest board in case you've missed any.
Before you reach for your ink and papers, check out what our amazing team has created to inspire you this week:
The Paper Players Design Team
Here's a quick recap of our challenge rules:
1. Create a new paper project
2. Upload your creation to your blog with a link back to us and provide a direct link to the post featuring your challenge submission.
3. Please link your card to no more than four challenges, TOTAL.
4. Have FUN!
You can see all of my 'How To' summaries on my 'How To - Tips and Techniques' Pinterest board in case you've missed any. No links to the online store today as these products are not available to purchase until 5th January; only another couple of days to wait though!
Enjoy your day; we will be taking our Christmas decorations down today as Jason is back to work tomorrow and this is definitely a two-person job. The Juniors have another week of Christmas vacation but if they had their way, we would have Christmas decorations up until April, so they can't be relied upon to help in a constructive way so it's not a job that can be left until Twelfth Night!! I'll be back tomorrow with another project. Until then, happy stampin'!
Stampin' Up! Supplies Used: