Friday already? Where did that week go?! Today I'm sharing my design team card for our new challenge over at As you See It where it's time for my favourite, a sketch challenge:
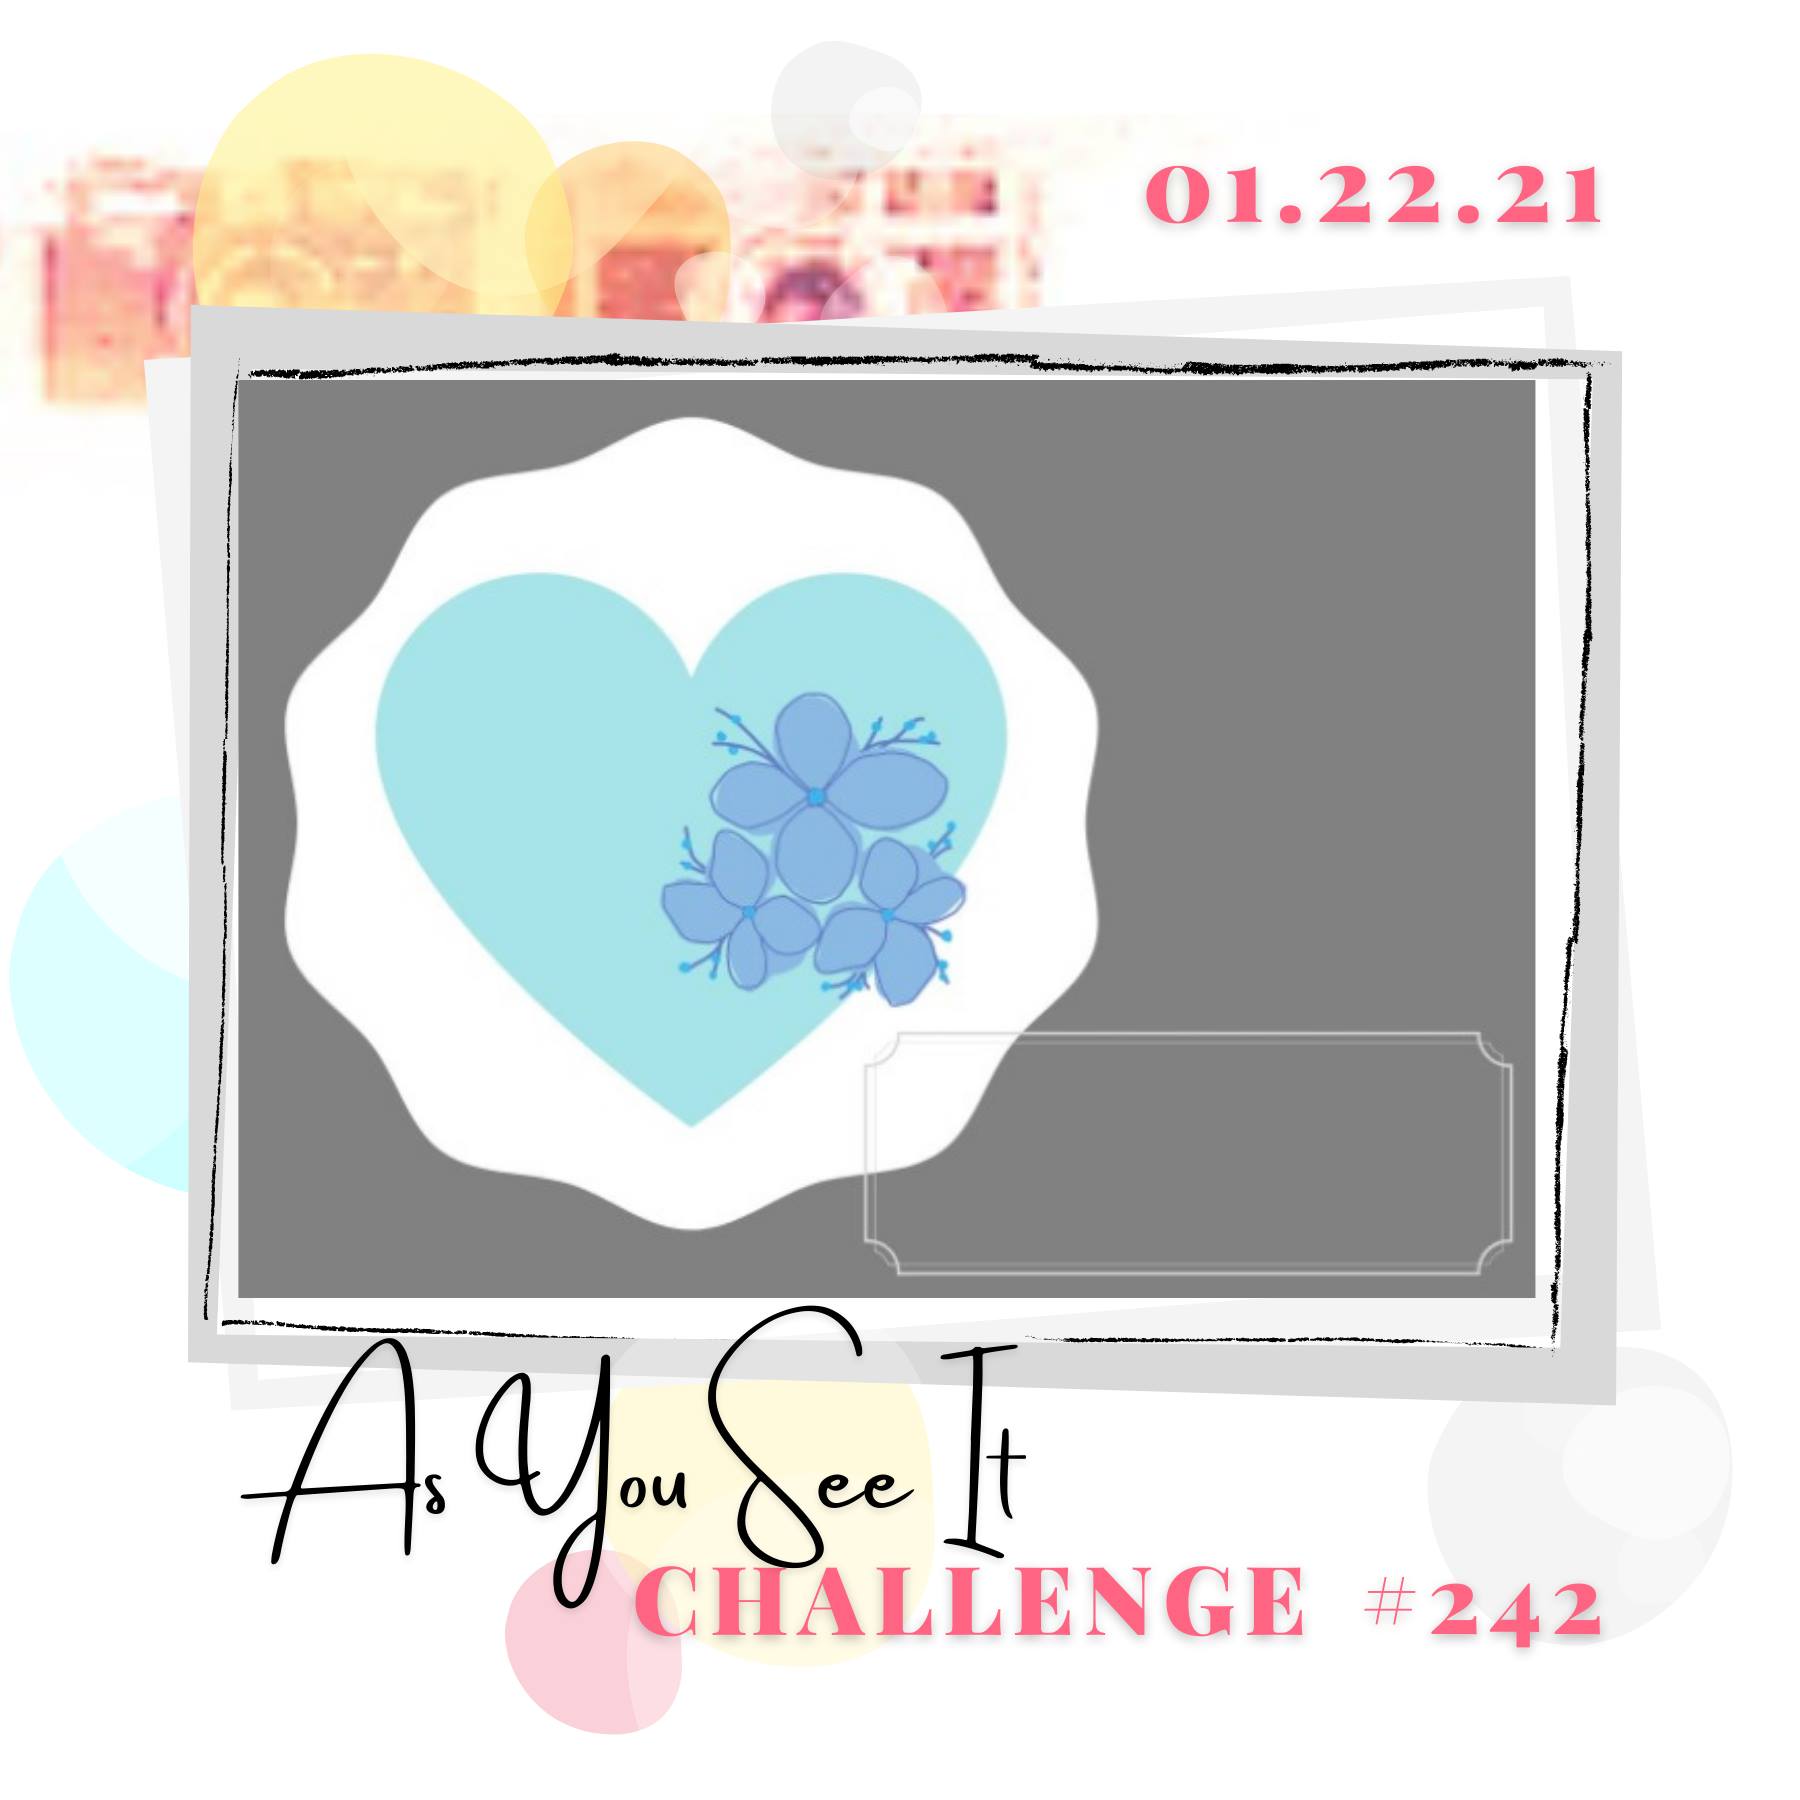

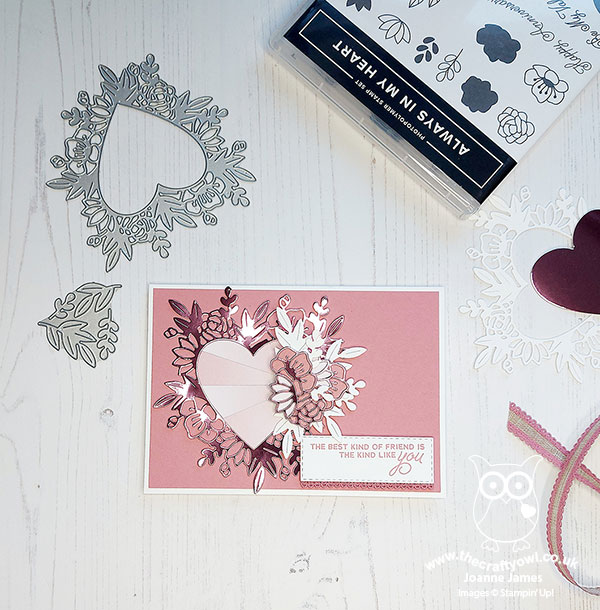
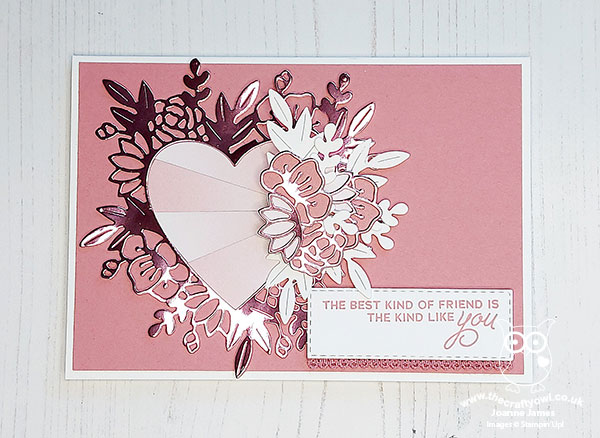
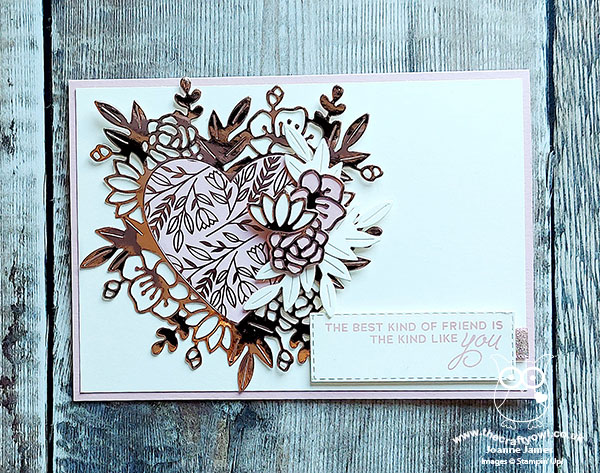
I need to warn you up front - this is a photo-heavy post with lots to look at! I took the sketch quite literally and decided to use that layered shape to make another card using my Floral Hearts Dies. Here's the card I made - take a look:
Here's the low-down on today's card:
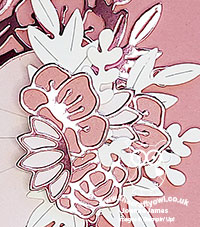
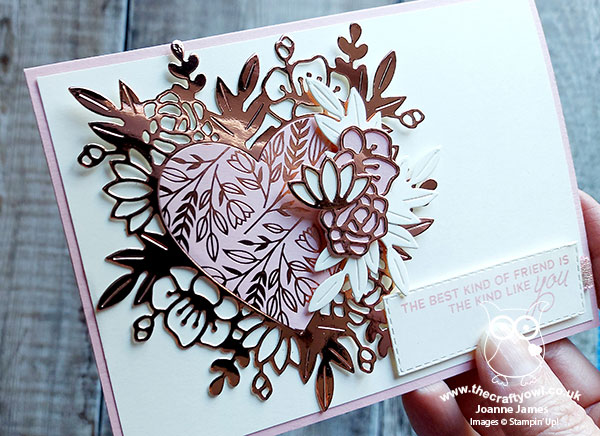
Photographing Foil - I couldn't resist another of those fabulous foil floral hearts, so decided to go with Rococco Rose foil again and a Rococco Rose/White colour scheme. I addition to my heart, I layered a cluster of layered flowers and leaves to the right of my heart. Foil is super tricky to photograph though, whether in natural or artificial light, because of it's reflective qualities. Here's another shot below - I just can't explain how beautiful this foil is in real life:

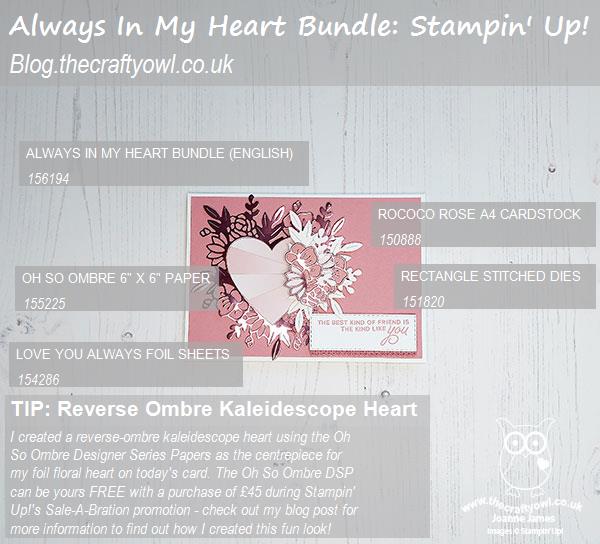
Reverse Ombre Kaleidescope Heart - I had seen a sunburst-type technique using the Oh So Ombre paper (yours free with a £45 purchase during Sale-A-Bration before the end of 28 February) and decided that with the floral cluster on the right of the heart, this would provide the perfect anchor for a similar effect on the centre of my heart. This technique is really easy to achieve: You need to cut two identical shapes, in my case hearts, but with the ombre design of the paper reversed each time, i.e. the first one needs to go light to dark from left to right, and the the second one needs to go dark to light from left to right. You then cut them identically into sections, and switch out alternating pieces before piecing back together. I used the very pale side of the paper for my heart, and I just love the subtle effect. You can see it more closely below:

Even More Foil - I loved this card so much, I decided to make another using Very Vanilla and Blushing Bride, this time using the Love You Always Specialty Foil Papers for the centre of my heart:
Both cards feature the same sentiment and the first one is decorated with the edge of some linen scalloped ribbon, whilst this one has a tab of the pretty metallic Blushing Bride ribbon that features in the suite - check out those specialty foils below:
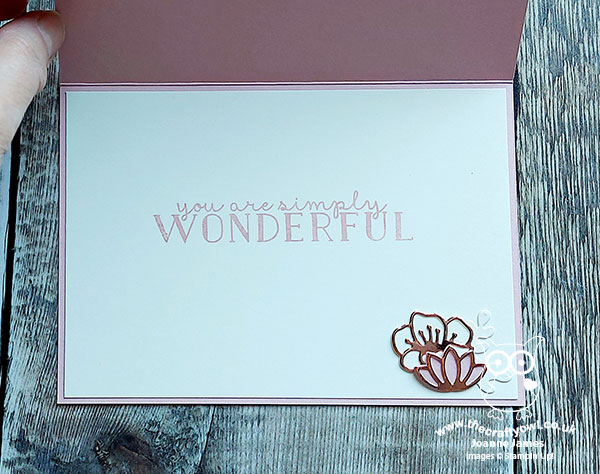
So, so pretty! I also remembered to take a picture of the inside of this one - I finished it with a sentiment from the Bloom & Grow stamp set:
I'm linking the first of today's cards up over at Global Design Project #GDP275 for their Love theme this week, and the second one over at SUO Challenges where they too are celebrating with a Love theme for their current challenge.
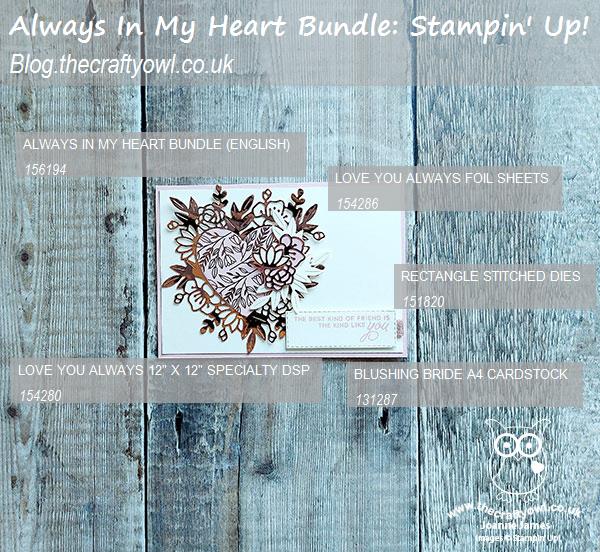
Here is the visual summary of the key products used on today's projects for you to pin for easy reference:
And the second one:
You can see all of my 'How To' summaries on my 'How To - Tips and Techniques' Pinterest board in case you've missed any.
Here's a summary of our challenge rules:
- Create any card, scrapbooking page, 3D project or packaging project that fits the challenge.
- Please include the challenge graphic and link back to the challenge in your blog post. Turn off word verification so we can leave you lots of lovely comments. Make sure you link the post not the whole blog to the Linky. Use #AYSIXXX when uploading to a public gallery.
- If you’re unsure about ‘the rules’, check the details under the Challenge Guidelines tab on the As You See It Challenge homepage
- In a sketch challenge, you are welcome to rotate or flip a sketch. You can replace shapes used such as substituting a circle panel for a square panel. However, we must be able to still see the basis of the original sketch in your finished product.
We look forward to seeing your creations in the AYSI gallery.
Enjoy your day. I have a day of household chores today, but will be rewarded with dinner being cooked for me today - young Master James has his practical Food & Nutrition lesson today and is cooking rissotto, so we are delaying the 'lesson' until dinner so that we can enjoy the fruits of his labour fresh from the stove. I'm looking forward to it already! I'll be back tomorrow with another project. Until then, happy stampin'!
Stampin' Up! Supplies Used: