Yay it's Friday! I really don't know where this week has gone! I started the week on such good form, yet seem to have achieved steadily less and less as the week has flown by! No matter - we have a Bank Holiday weekend to look forward to here in the UK so I'm hoping it will stay nice enough to enable me to get outside and potter in my garden and fit in a little crafty time too!
As promised, I'm back with more sneak peeks for you today and not one, but two cards. Here's the first one using this week's sketch over at Retrosketches:
I decided to get out one of my pre-order stamp sets, 'Sprinkles of Life', this year's charity stamp set benefiting the Ronald McDonald House Charity, for my card:
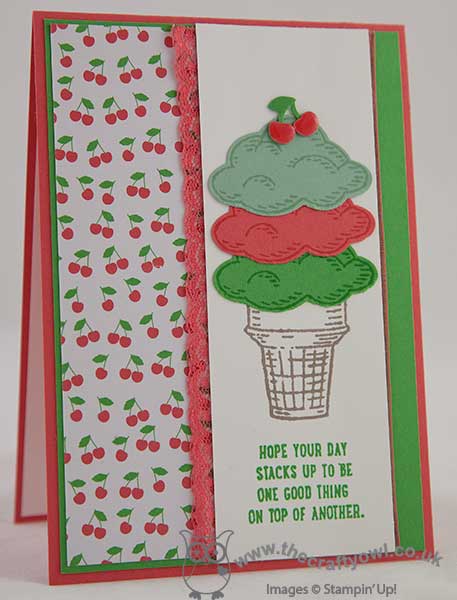
This card is an absolute cornucopia of new product: new in-colour inks Watermelon Wonder, Cucumber Crush, Mint Macaron and Tip Top Taupe, new in-colour cardstock in Watermelon Wonder, Cucumber Crush and Mint Macaron, Cherry on Top DSP stack, some Watermelon Wonder dotted lace trim and of course the Sprinkles of Life stamp set and the co-ordinating Tree Builder punch. I interpreted the stacking cups in the sketch as a very over-the-top ice cream cone with 3 scoops and finished it with a cherry punched from my Build A Cupcake punch that I paper-pieced and covered in Crystal Effects to give a lovely shiny finish. I just love these new bright in colours!
This stamp is oh-so-versatile with so many possibilities - my second card today uses the same stamp set for a totally different look, and is combined with some sponged sunshine using the mask from my 'Simply Created Hooray It's Your Day' card kit:
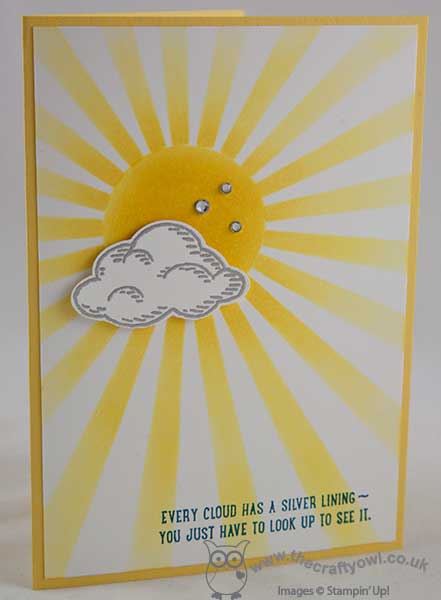
This time my ice cream is a cloud, complete with heat-embossed silver lining, and the perfect co-ordinating sentiment. How clever is that? This stamp set really is so versatile.
I'm linking this CAS card up with the lovely ladies over at Less Is More where the theme for this week's challenge is 'Hello Sunshine' - I missed linking up my water-themed card last week so am glad I've made it in with the sunshine today.
Here's looking forward to an equally warm and sunny weekend. Back tomorrow with another project; until then, happy stampin'!
Stampin' Up! Supplies Used:
As detailed above