
It's Sunday, the start of a new month and time for this week's new challenge over at The Paper Players! The queen of beautiful florals, the talented Sandy, is the hostess this week and her passion is reflected in her chosen theme this week:
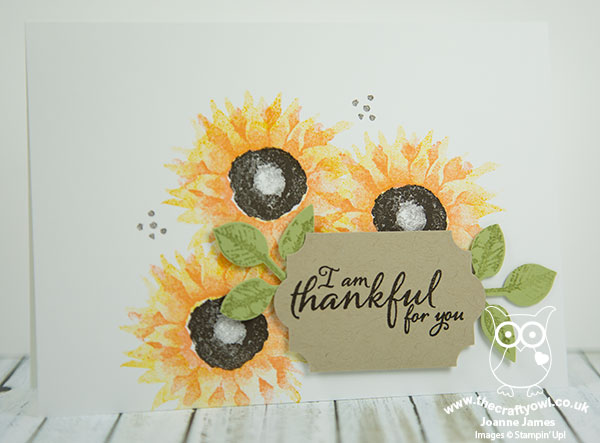
I had the best of intentions of producing a fabulously over-the-top floral to honour the lovely Sandy today, but the last minute preparations for my stand at the Crafting Live Exhibition at Stoneleigh Park this weekend meant that my time rather ran away with me this week and instead I've resorted to sharing much more of a clean and simple card that I already had 'in the bag' as it were. Today's card uses one the runaway success bundles from the current seasonal catalogue - Painted Harvest. Take a look:
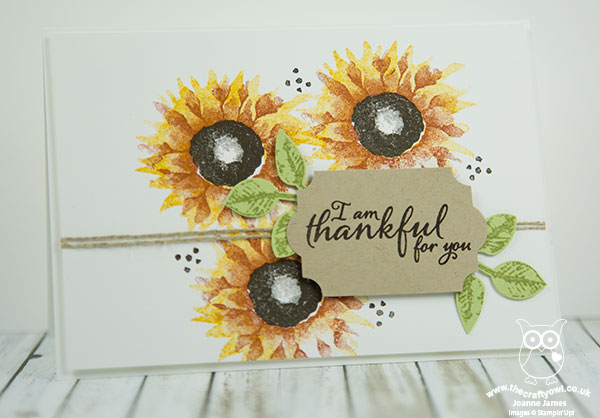
Here's the low-down on today's card:
Painted Harvest - What can I say other than I LOVE these sunflowers! The sentiments in this set are lovely but it's the sunflowers that get me: it is a two-step stamp set that gives a beautiful watercoloured effect and as they are photopolymer it's so easy to stamp. They are so forgiving - they look great however you line them up! If you're a first-time stamper, this would be a great set to cut your teeth on.
Add A Leaf - The leaves in the stamp set also match up with the leaf punch which is the other item that can be bought in the Painted Harvest bundle for a saving of 10% - that's why we all love a bundle!
Autumnal Colour Combinations - These sunflowers can be stamped in both traditional and less traditional colours; here is my sample board showing how they look stamped in a number of autumnal coloured floral combinations:
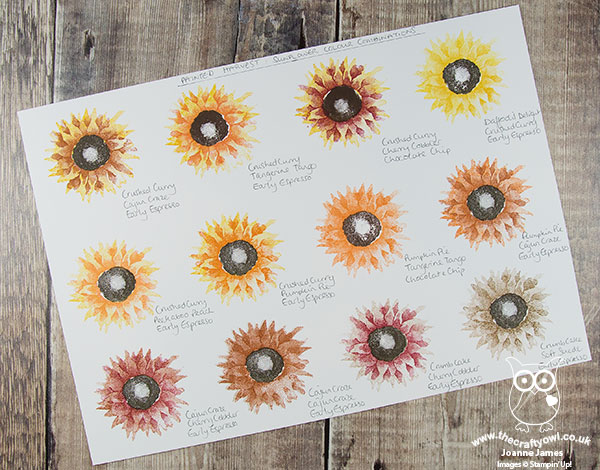
Which one is your favourite? I also made a whole bunch of these cards, minus the twine, to send out to my customers with my seasonal catalogues and as thank you cards to be included with my open house orders - here are some of them up close so you can see the colour combinations in more detail.
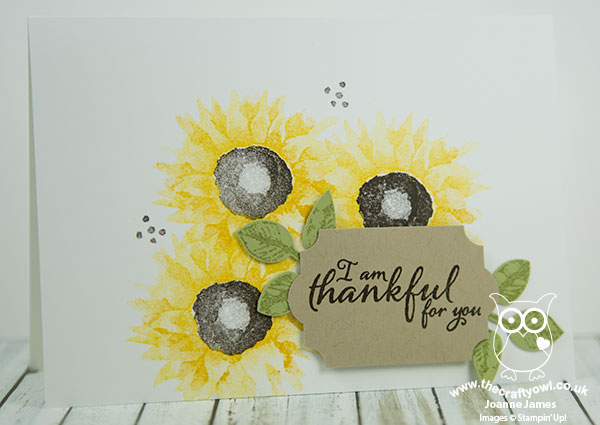
This one is a combination of Crushed Curry and Daffodil Delight:
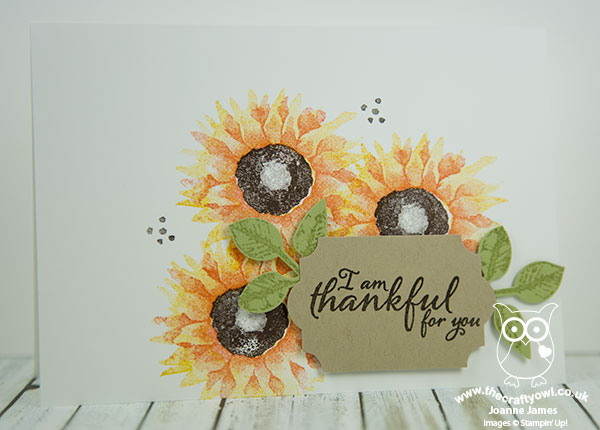
This one is a combination of Crushed Curry and Peekaboo Peach:
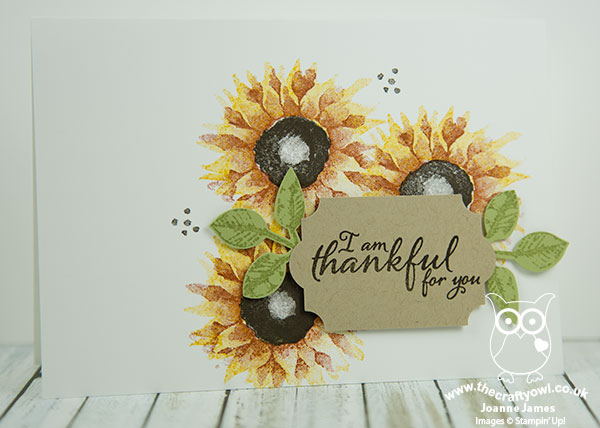
This one is a combination of Crushed Curry and Tangerine Tango:
This one is a combination of Crushed Curry and Cajun Craze:
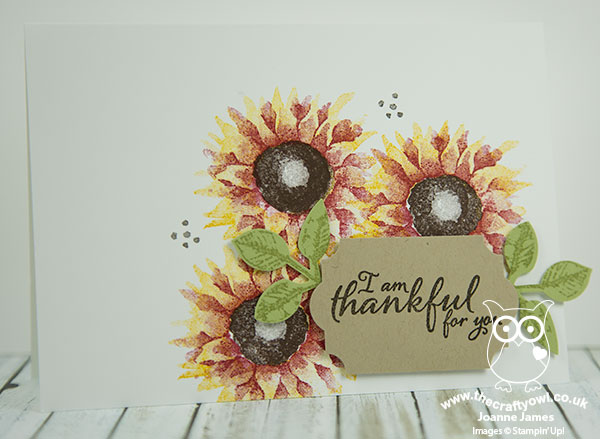
Lastly my favourite of all, this one is a combination of Crushed Curry and Cherry Cobbler:
This is by no means an exhaustive set of colour combinations. Let me know in the comments below which ones are your favourites or what other combinations you've tried that you would like to share.
Also, if you live local to me in or around Northampton, I have a class using this set scheduled for Monday 6th November - read more about it here or contact me to book your place!
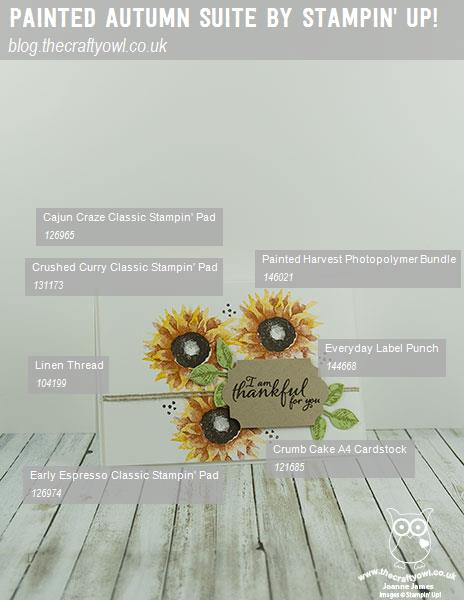
Here is the visual summary of the key products used on today's project for you to pin for easy reference:
You can see all of my Product and 'How To' summaries on my 'How To - Tips and Techniques' Pinterest board in case you've missed any.
Before you reach for your ink and papers, check out what our amazing team has created to inspire you this week:
The Paper Players Design Team
Here's a quick recap of our challenge rules:
1. Create a new paper project
2. Upload your creation to your blog with a link back to us and provide a direct link to the post featuring your challenge submission.
3. Please link your card to no more than four challenges, TOTAL.
4. Have FUN!
I look forward to seeing what you create with this week's theme. Enjoy the rest of your weekend as it will be over all too quickly; I'll be spending a second day at the Crafting Live Show at Stoneleigh Park today - come and say hello to me on stand A10 if a visit is part of your weekend plans. I'll be back tomorrow with another project; until then, happy stampin'!
Stampin' Up! Supplies Used: