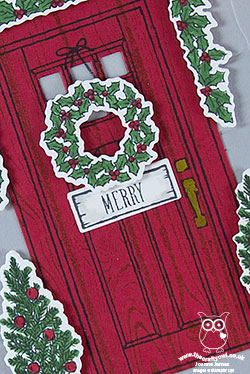
Happy Friday everyone! I'm not sure where the time goes - I can't believe it's the end of the working week already - well, for some anyway! Today I'm sharing a another card along with a matching gift box from one of last month's monthly technique classes using the At Home With You bundle - take a look:
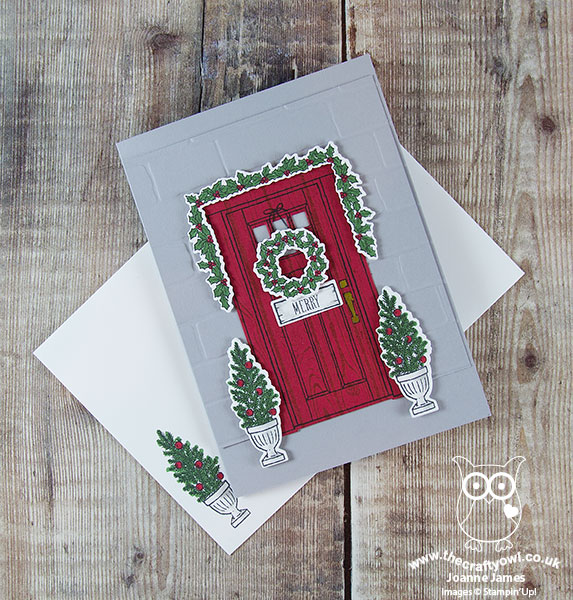
Here's the low-down on today's card:
At Home With You At Christmas - The At Home With You bundle is so versatile and works for lots of different seasons. Today's card features the gorgeous holly bough around the door, along with the holly wreath and the ornamental trees either side of the front door. I coloured them with my Stampin' Write markers and they were easily cut out with the framelits. I even decorated the inside and envelope for complete co-ordination.
More Ways To Add Texture - As with the last card I shared featuring this set (you can see that card here if you missed it), today's card has another three ways in which you can incorporate texture into your projects:
Adding Texture 1: Stamping To add to the Christmas feel, I wanted a red front door; by stamping my Real Red cardstock with the Hardwood stamp in Real Red, before stamping with the door outline in black, to add some tone-on-tone interest and texture for added kerb appeal.
Adding Texture 2: Dry Embossing On both my card and box I embossed the Smoky Slate base cardstock with my Brick Wall textured embossing folder to create some textured walls as a backdrop for my festive entrance.
Adding Texture 3: Embellish Sometimes on a card it helps to minimise bulk especially if you need it to be post-friendly, however this is rarely the case with packaging and the addition of bulky embellishments is less of an issue. On my gift box, in addition to a tag and ribbon, I added a boxwood wreath to my front door - I love the extra texture this adds.
A Matching Gift Box - It's always nice to be able to create fancy packaging for gifts and no more so than at this time of year. I made my simple gift box using the Gift Bag Punch Board (I just didn't score the side indents to make the bag shape) and created a little triangle roof for a lid (it's a simple hinged closure that is held in place with washi tape) that I stencilled some tile on using some Basic Grey ink and my brick pattern Patterned Party Decorative Mask and added a tag punched with the super-useful Everyday Label Punch:
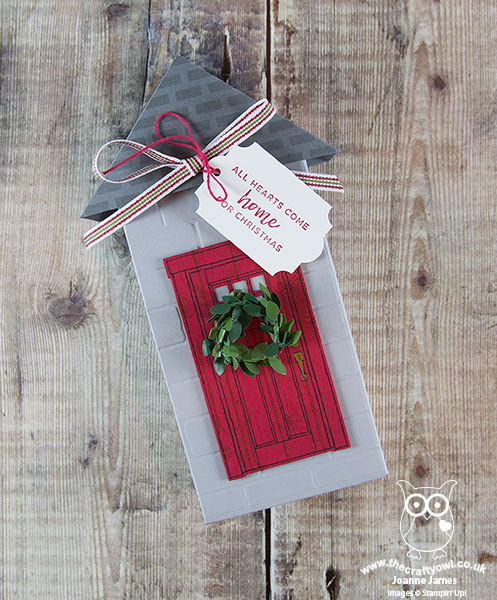
This box measures approx. and is a reasonable size, big enough to accommodate most small gifts. Here's a picture of both items together:
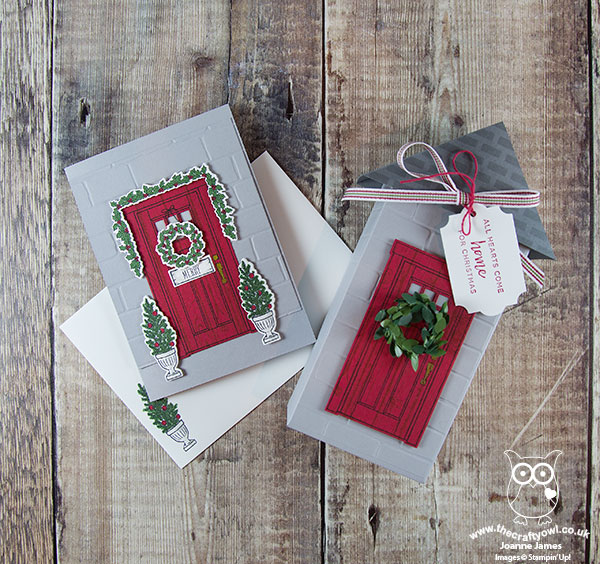
Here is the visual summary of the key products used on today's project for you to pin for easy reference:
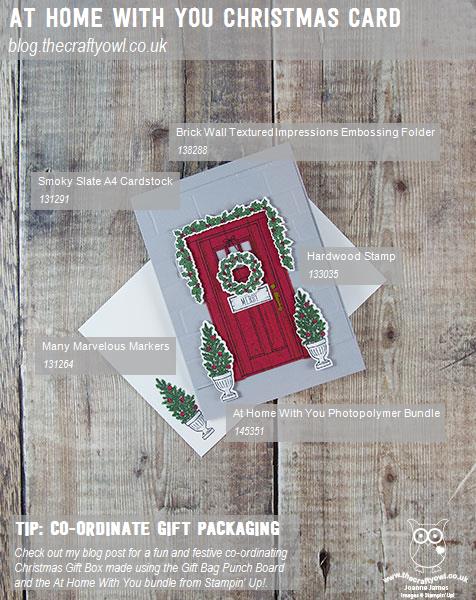
You can see all of my 'How To' summaries on my 'How To - Tips and Techniques' Pinterest board in case you've missed any.
Enjoy the rest of your day and I'll be back tomorrow with another project. Until then, happy stampin'!
Stampin' Up! Supplies Used: