
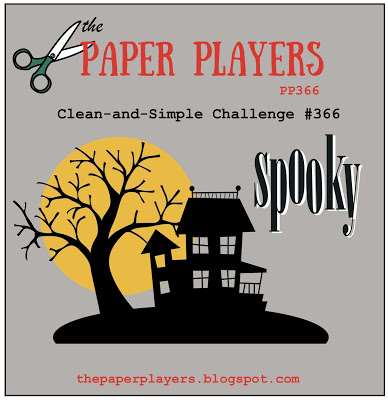
It's Sunday and time for this week's new challenge over at The Paper Players! It's the turn of the queen of diecuts, the talented Laurie, to host this week and she has a timely clean and simple challenge for us to work with:


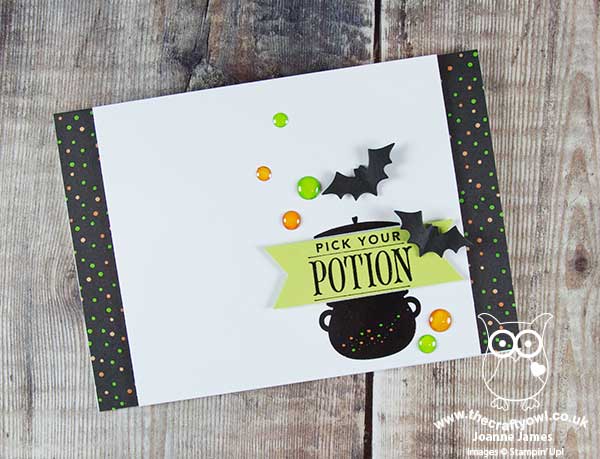
I haven't bought any new Halloween sets this year or any of the Spooky Night Designer Series Paper, so I had to get creative with existing (and a few retired) supplies coupled with a few stamps from some multi-occasion sets. I used the sketch over at Paper Craft Crew and the colours at Stamp Ink Paper and managed to create not one but two spooky Halloween-themed projects for you. The first one is my card - take a look:
Here's the low-down on today's card:
Festive Phrases - I focused both of my projects today around the 'pick your potion' stamp in the Festive Phrases stamp set. I actually bought this set for the elf (who can resist him?!) however the other three stamps in this set will also get plenty of use for other festive occasions. It's difficult to se on my card, but having stamped the cauldron in black, I heat embossed it with clear embossing powder for a lovely added shine.
Add Colour - I used a couple of alcohol-based markers - one of my Pumpkin Pie Blendabilities and a! lime green Sharpie - to add colour to my project: I coloured the white dots green on my retired Halloween paper border, I coloured in the dots on the cauldron and then my favourite part on this card - I coloured a few White Perfect Accents with each colour and added them around my cauldron to look like potion bubbles. I love the shine that they have! I also stamped my sentiment again onto a piece of Lemon-Lime Twist cardstock and cut it with my banner punch add another pop of colour and finally a couple of diecut bats using the retired Halloween Scenes framelits for just the right amount of spooky!
Pick Your Potion - I decided that this card needed an accompanying treat that would fit with the 'pick your potion' theme, so whipped up a little test tube holder using a piece of cardstock and my Scalloped Tag Topper Punch to hold a pair of test tubes (love these!), one filled with a green potion and the other with an orange one. The Scalloped Tag Topper Punch was the perfect width and all I needed to do was punch a couple of 3/4" circle holes into the folded-over piece to slot my colourful potions into - here's my treat holder and card together:
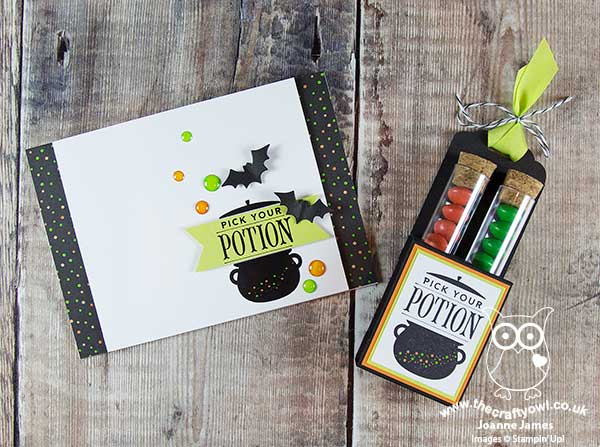
I just love this pair of cute projects and they really didn't take long at all to put together; I'm definitely going to make a whole bunch of these in different colours ready for trick-or-treat time!
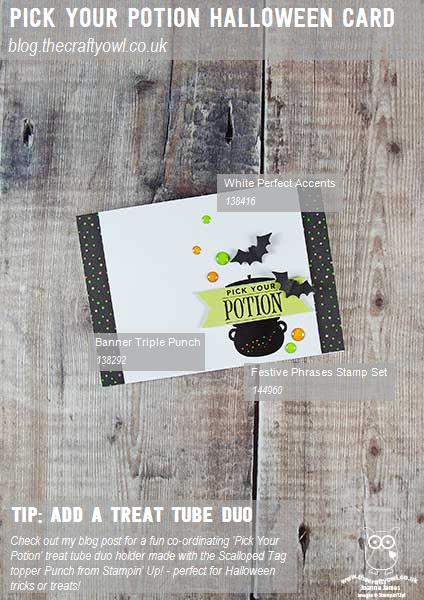
Here is the visual summary of the key products used on today's project for you to pin for easy reference:
You can see all of my Product and 'How To' summaries on my 'How To - Tips and Techniques' Pinterest board in case you've missed any.
Before you reach for your ink and papers, check out what our amazing team has created to inspire you this week:
The Paper Players Design Team
Here's a quick recap of our challenge rules:
1. Create a new paper project
2. Upload your creation to your blog with a link back to us and provide a direct link to the post featuring your challenge submission.
3. Please link your card to no more than four challenges, TOTAL.
4. Have FUN!
I look forward to seeing your clean and simple creations in the gallery this week. Enjoy the rest of your weekend as it will be over all too quickly; we have been having unseasonably warm weather here in the UK these last couple of days - a good ten degrees warmer than usual. I'm sure it won't last so since we have a reasonably sport-free day, I'm hoping to get out and spend some time in the garden before the autumn chill returns. I'll be back tomorrow with another project; until then, happy stampin'!
Stampin' Up! Supplies Used: