Firstly, an apology to my regular readers for my lack of blog posts this week; I was well and truly wiped out following the craft retreat I hosted last weekend! I had a fabulous time, but following my class at the start of this week I needed to take a few days out to catch up on some family things and get my office straight in order to start again.
As it's Sunday, I'm back with this week's new challenge over at The Paper Players! It's my turn to host this week and I have my personal nemesis, a colour challenge for you to work with:
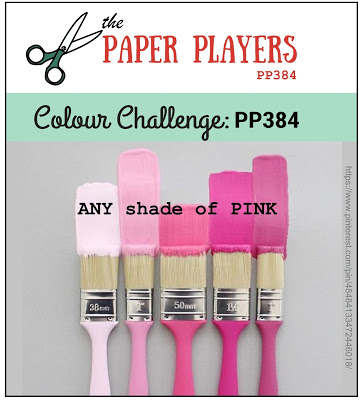
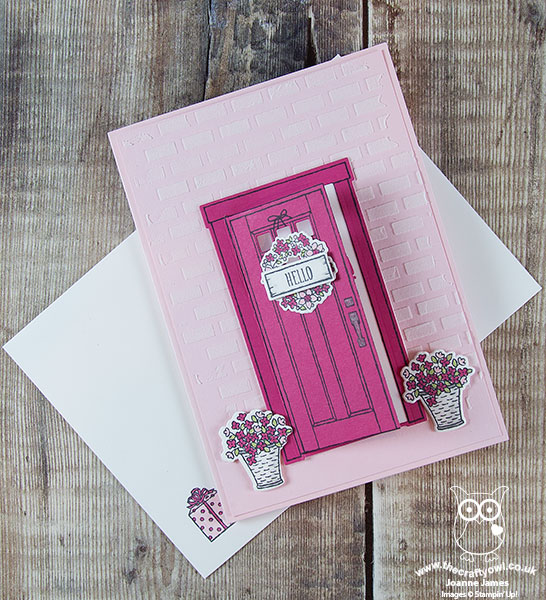
Now since it's Mothering Sunday here in the UK today, you might think I would have a Mother's Day card to share with you, or maybe something floral - but no, instead I have a rather girly birthday card to share with you this week, with a fun surprise element too - take a look:
Here's the low-down on today's card:
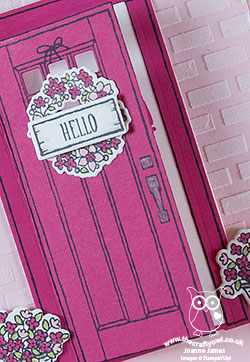
Pretty In Pink - I chose to feature a combination of Pink Pirouette and Melon Mambo on my card today - who wouldn't love a pink house with a pink front door, right?! Using the stamps and framelits in the At Home With You bundle featured in the annual catalogue, I also added a pretty spring floral wreath and two flower pots, all coloured with my Stampin' Write markers to complete my doorstep scene.
A Birthday Surprise - The At Home Framelits Dies include a framelit that cuts and scores a hinged door, that allows for a fun feature and a hidden birthday surprise - take a look:
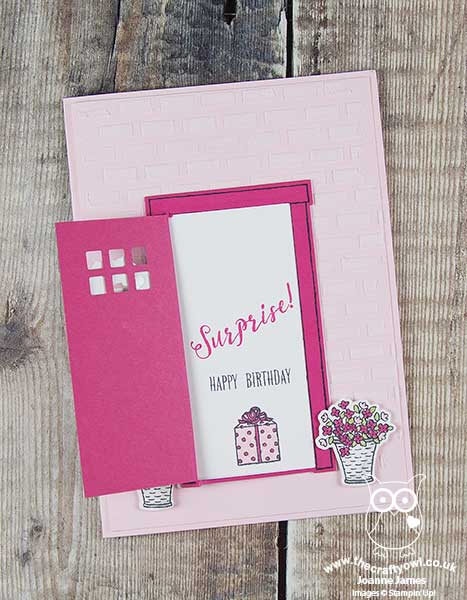
A birthday message and a gift too!
Textured Brick Wall - I continued the house theme by adding some textured bricks around the door using embossing paste and a stencil - I think it gives my card something of a cottage feel. I continued my stamping inside my card and onto my envelope for a finishing touch.
Here is the visual summary of the key products used on today's project for you to pin for easy reference:
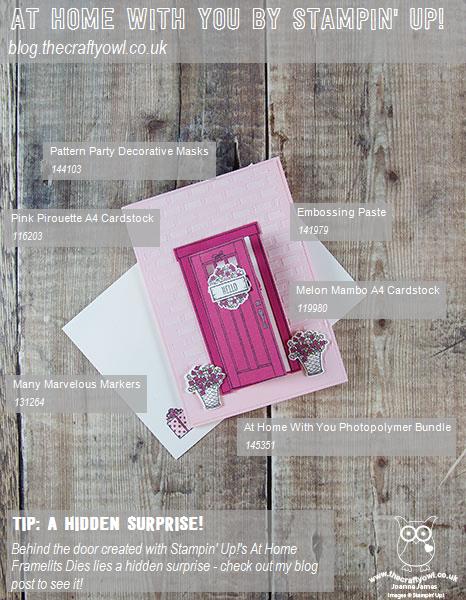
You can see all of my Product and 'How To' summaries on my 'How To - Tips and Techniques' Pinterest board in case you've missed any.
Before you reach for your ink and papers, check out what our amazing team has created to inspire you this week:
The Paper Players Design Team
Here's a quick recap of our challenge rules:
1. Create a new paper project
2. Upload your creation to your blog with a link back to us and provide a direct link to the post featuring your challenge submission.
3. Please link your card to no more than four challenges, TOTAL.
4. Have FUN!
I can't wait to see what you create with this week's colours and look forward to visiting your blogs this week! Enjoy the rest of your weekend as it will be over all too quickly. I have had an early start today as I needed to be up at 4am to see one of my James Juniors off to school to board the coach for a week long school trip to Normandy, so I suspect that my day will involve a lot of caffeine and need to finish rather earlier than usual! I'll be back tomorrow with another project; until then, happy stampin'!
Stampin' Up! Supplies Used: