Today I'm sharing a card from one of my recent monthly technique classes featuring the At Home With You bundle. This class was also all about ways to incorporate texture into your projects and so is perfect to link up with the team over at Just Add Ink this week where the theme is 'Just Add Texture':

Each of the cards that we made used texture in different ways: one using embossing paste, another using stencilling and dry embossing and this Autumnal new home doorstep card which actually features three different ways to incorporate texture into your project - take a look:
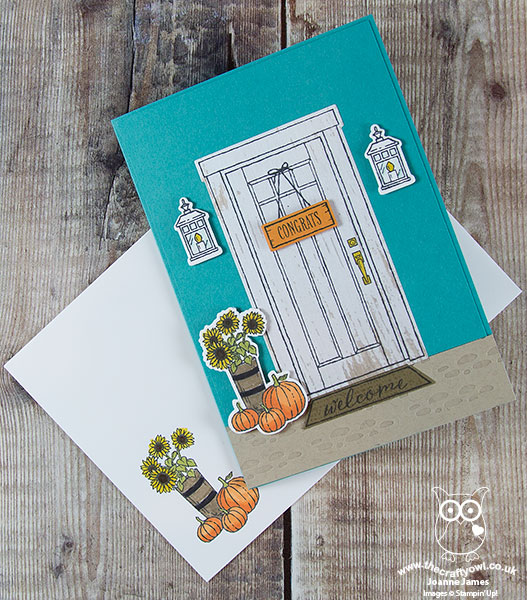
Aside from the obvious texture created by layering my diecut pieces, there are also more subtle textures added to this card. Here's the low-down on how I did it:
Adding Texture 1: Use Patterned Paper - I used a piece of the Wood Textures Designer Series Paper Stack for my front door - this is a quick and easy way to add texture to your project. I chose a piece of whitewashed wood pattern to stand out against my Bermuda Bay walls, however with each DSP stack containing 4 sheets each of 12 double-sided designs, you have 24 different wood effects to choose from - seriously spoilt for choice!
Adding Texture 2: Dry Embossing - To ground my door I added a strip of Crumb Cake cardstock across the lower part of my cardfront, but before I glued it in place I first embossed it with one of the hidden gem pieces in the Bike Ride Framelits set; did you know that this set, just like the Eclectic Layers Thinlits, includes a piece that embosses as opposed to diecuts? I've circled it so that you can see it in the set below:
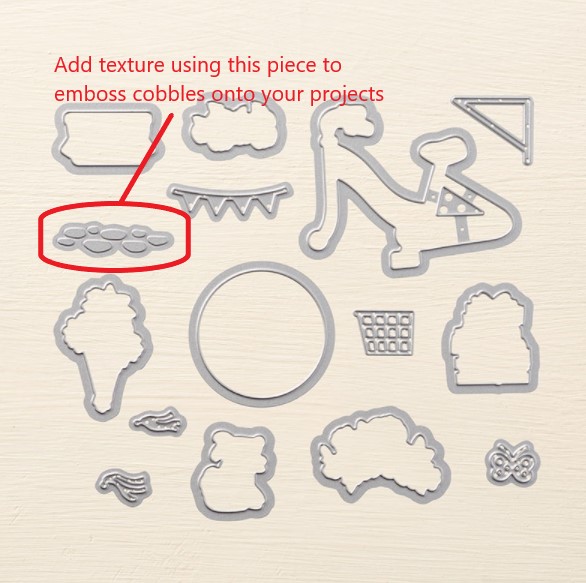
This added a fun cobblestone-textured path outside my front door.
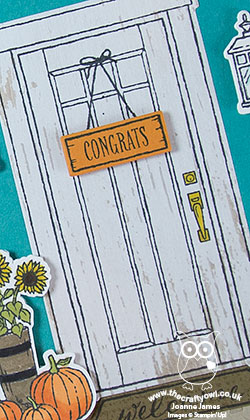
Adding Texture 3: Stamping - Lastly, I wanted my doormat to look like one of those rough, coir mats that are a traditional feature of a front doorstep. To achieve this look, I used one of the stamps in the 'Timeless Textures' stamp set and stamped it in Soft Suede onto Soft Suede cardstock, for a tone-on-tone textured look. I stamped off first so the effect is subtle, yet it adds a little detail that definitely contributes by adding further texture to my card.
There are lots of ways to add texture to your projects; I will have a few more to share in the other projects from this class and the gallery over at Just Add Ink also has lots of inspiration too.
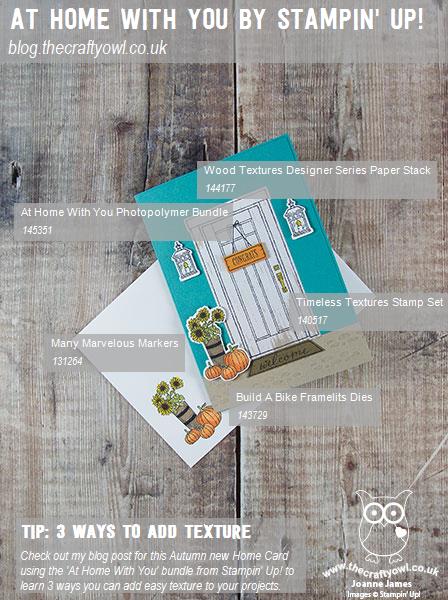
Here is the visual summary of the key products used on today's project for you to pin for easy reference:
You can see all of my 'How To' summaries on my 'How To - Tips and Techniques' Pinterest board in case you've missed any.
Enjoy your day and I'll be back tomorrow with another project. Until then, happy stampin'!
Stampin' Up! Supplies Used: