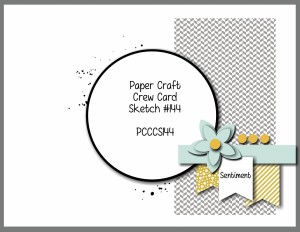
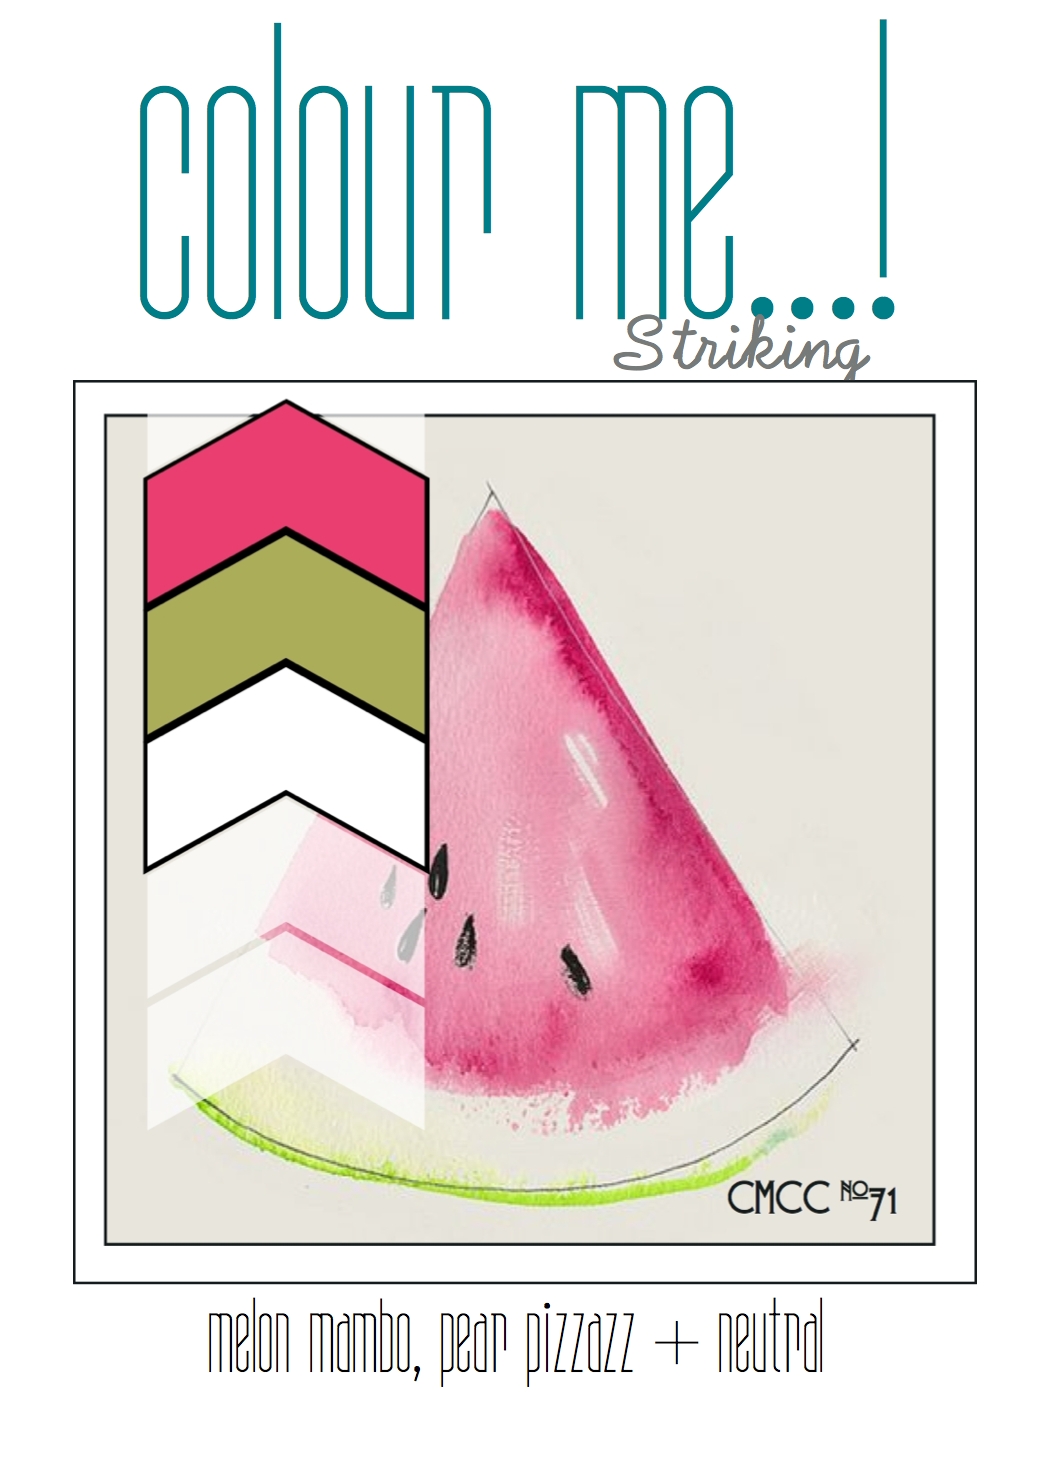
Today I've been at a Stampin' Up! UK regional training event in Telford. These events are both exhilarating and exhausting at the same time! It's a great opportunity to get together with team members, other SU! demos and the Stampin' Up! UK and European Home Office teams, to see lots of new and exciting product and swap work with others as a means of creative inspiration. I love creating swaps for this type of event although they can be time-consuming and always seem to create something rather too elaborate for mass production, hence no post yesterday and a late one today. I made a card for this week's challenges over at The Paper Craft Crew and Colour Me! and then based my swap on this as it features a stamp that is new to us here in the UK so is an annual catalogue 'sneak peek', although if you are a USA reader this set will be familiar to you as it has been available as a photopolymer set for some time: Endless Birthday Wishes.
So here is my original challenge card:
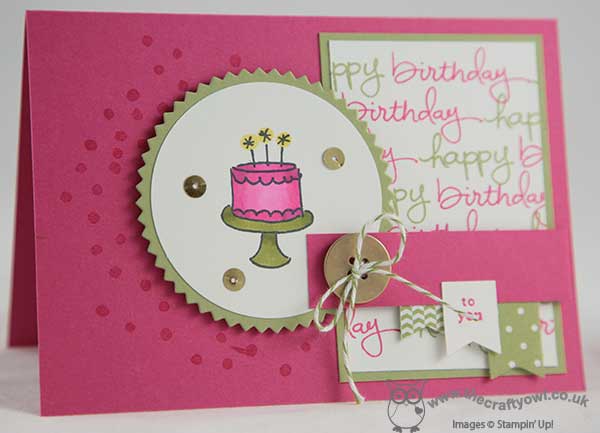
I stamped the sprinkles stamp on my base of Melon Mambo and used the challenge colours to create my own custom happy birthday DSP which I used for the right hand panel - thank heavens for photopolymer stamps, they made lining up a doddle! I then stamped the cake in Memento Black on Whisper White and coloured with my retired Blendabilities, before mounting on a starburst cut with the retiring Starburst framelits - still available and a bargain at only £11.48 for the set! I added a few sequins for sparkle and to tie in my gold button, and then added a strip with a few DSP banners and the second part of my sentiment (the stamp has these words side by side, so I stamped it in two separate goes, so that the words sat on top of each other and fitted my banner better).
I liked this card so much I created a (only slightly!) simpler version as my swap for the Stampin' Up! regional event. Here it is in the same colours:
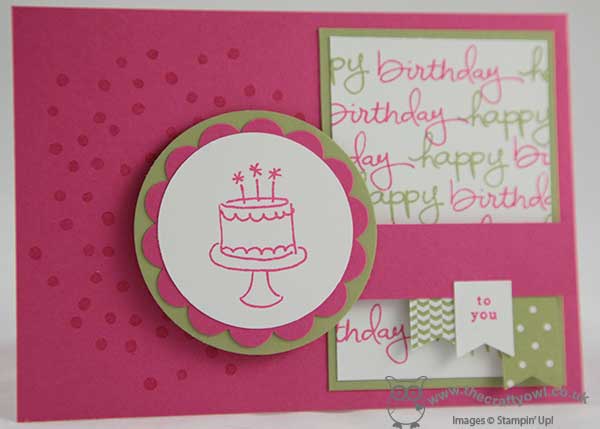
The background and DSP panel was the same, however to save on colouring I stamped the cake in a single colour and mounted on a combination of a 2" circle, 2 3/8" scallped circle and 2 1/2" circle instead and I left off the button and twine. I also created it in three other colour combinations, but totally forgot to take photos of the whole pile when finished! I do however have this 'work in progress' shot of the chaos on my office desk last week:
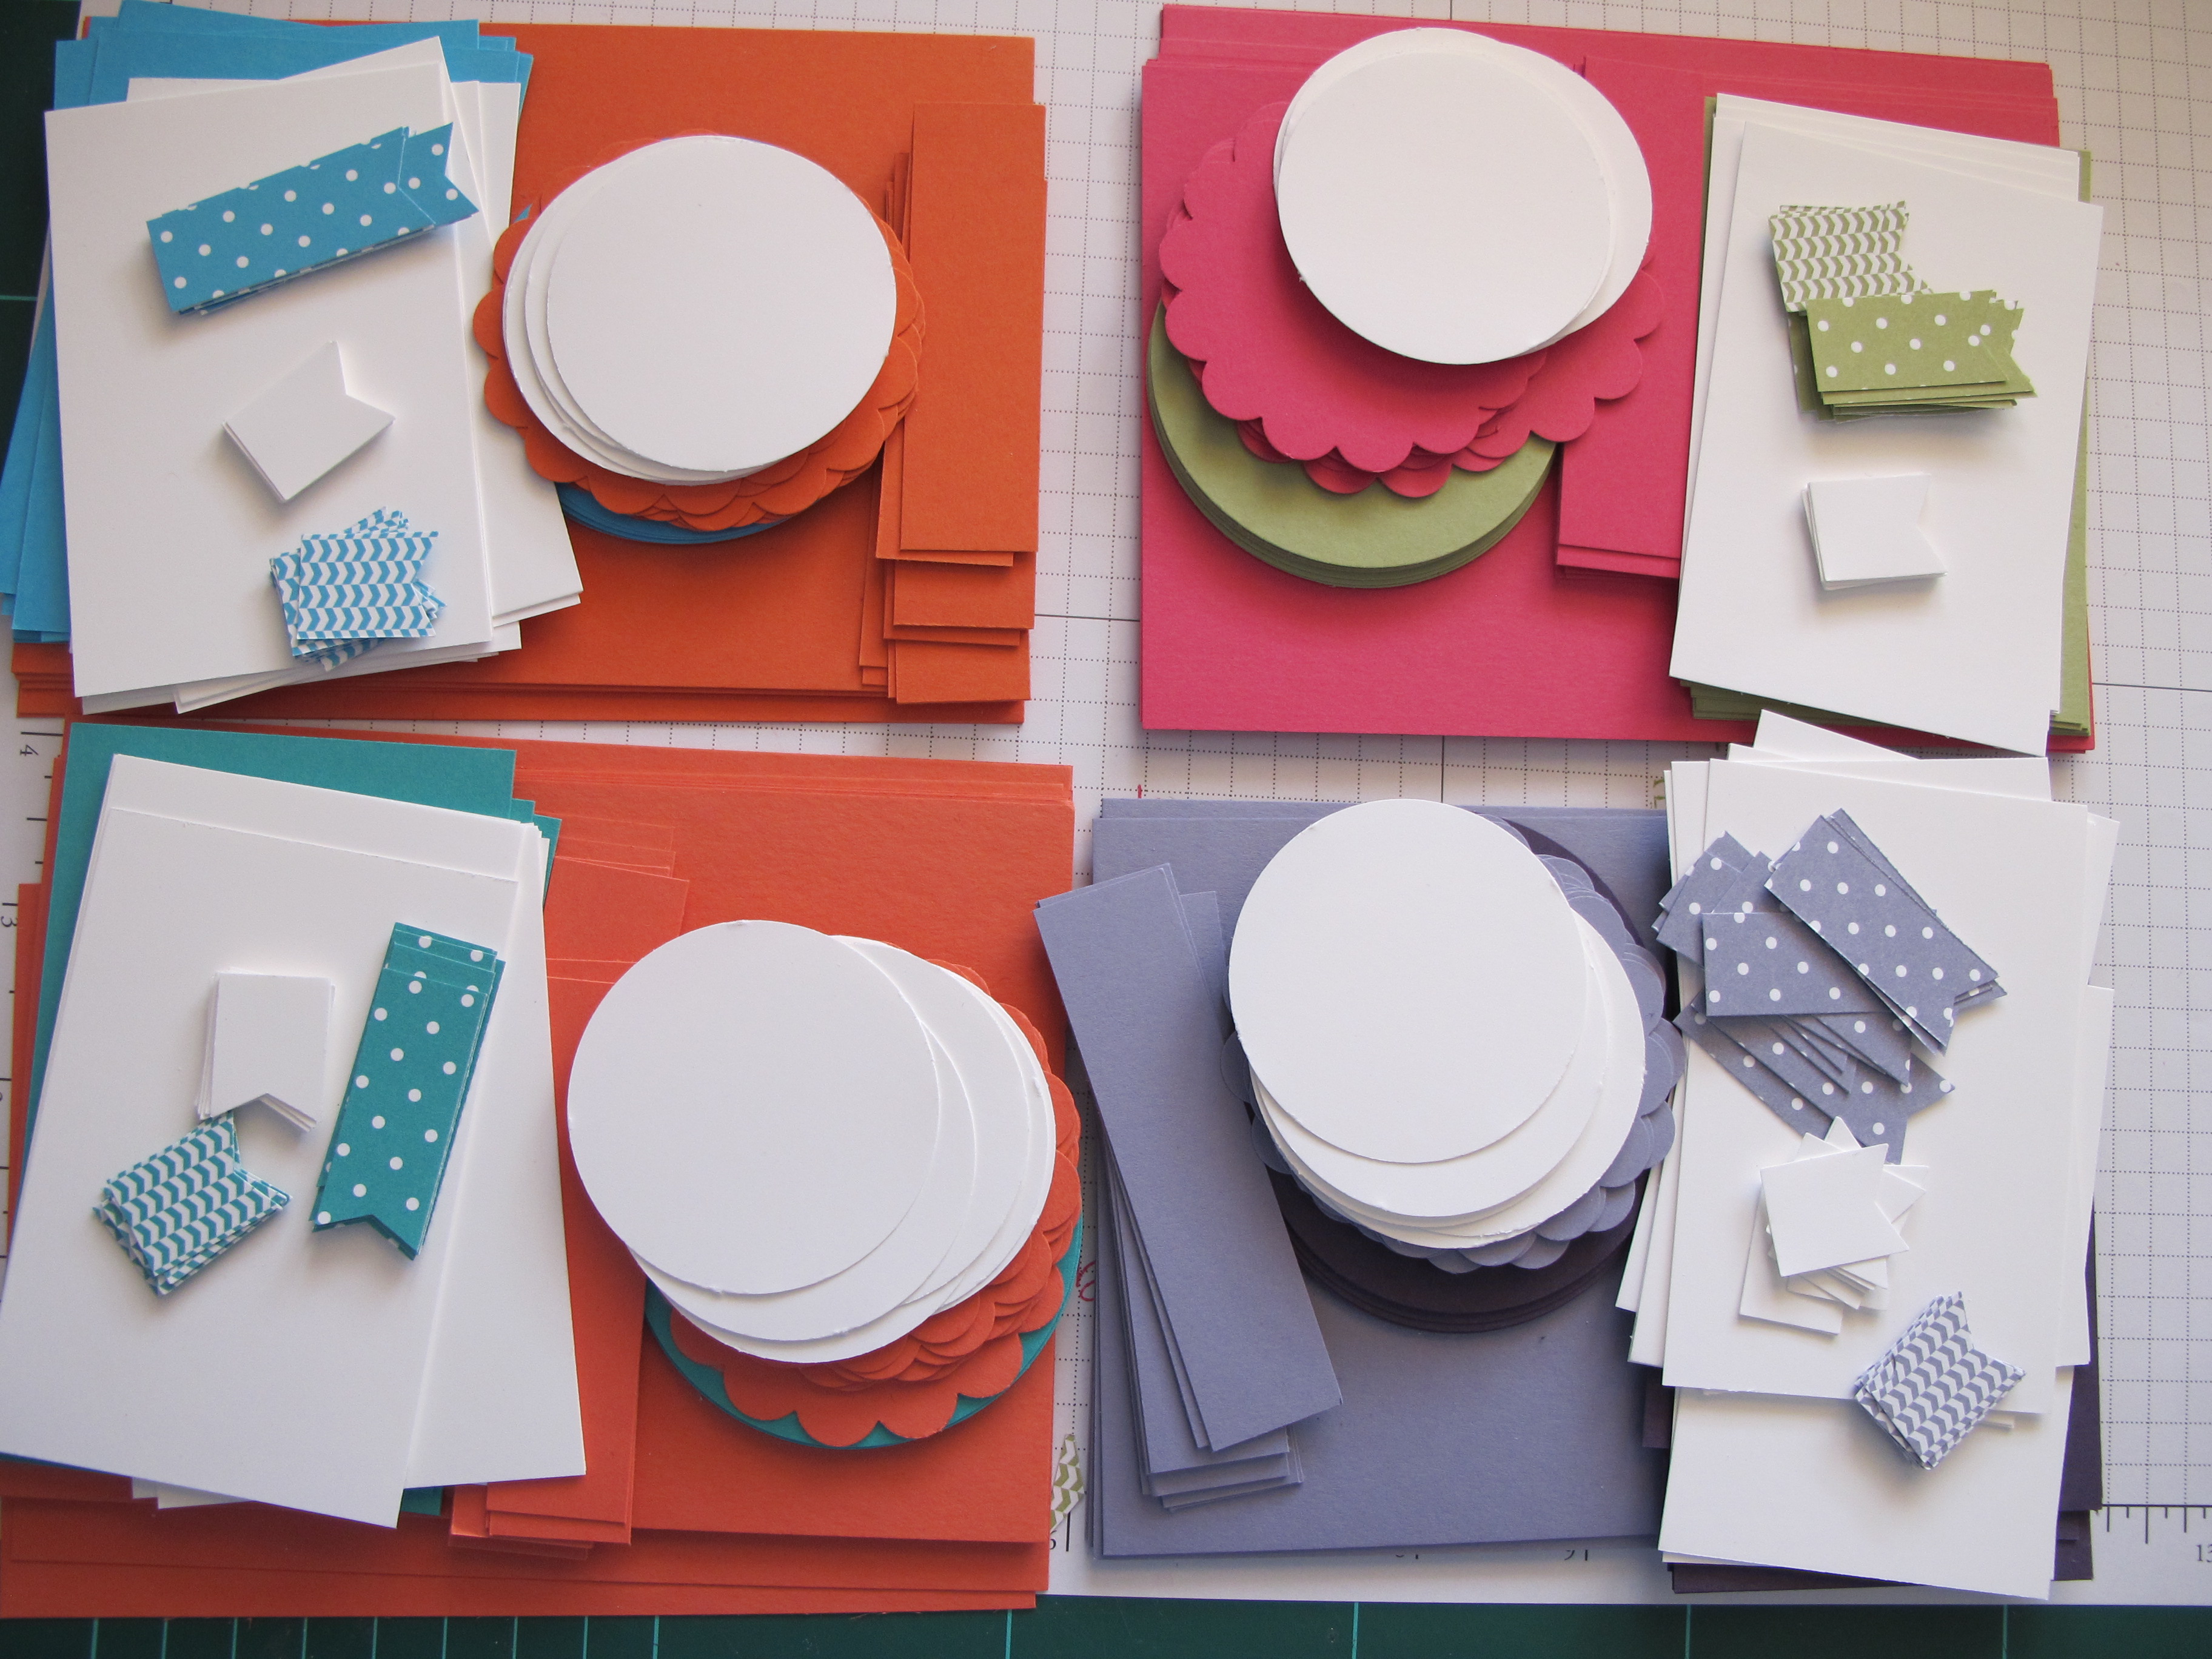
Well, organised chaos! Here are the other colour combinations: Tangerine Tango and Tempting Turquoise (top left), Calypso Coral and Bermuda Bay (bottom left) and Wisteria Wonder and Elegant Eggplant (bottom right).
Thanks to everyone who swapped with me - I have some lovely samples that I'm looking forward to sharing with my customers. Also, before I go here's another quick photo of some of my downline and team members who I was lucky enough to spend the day with:
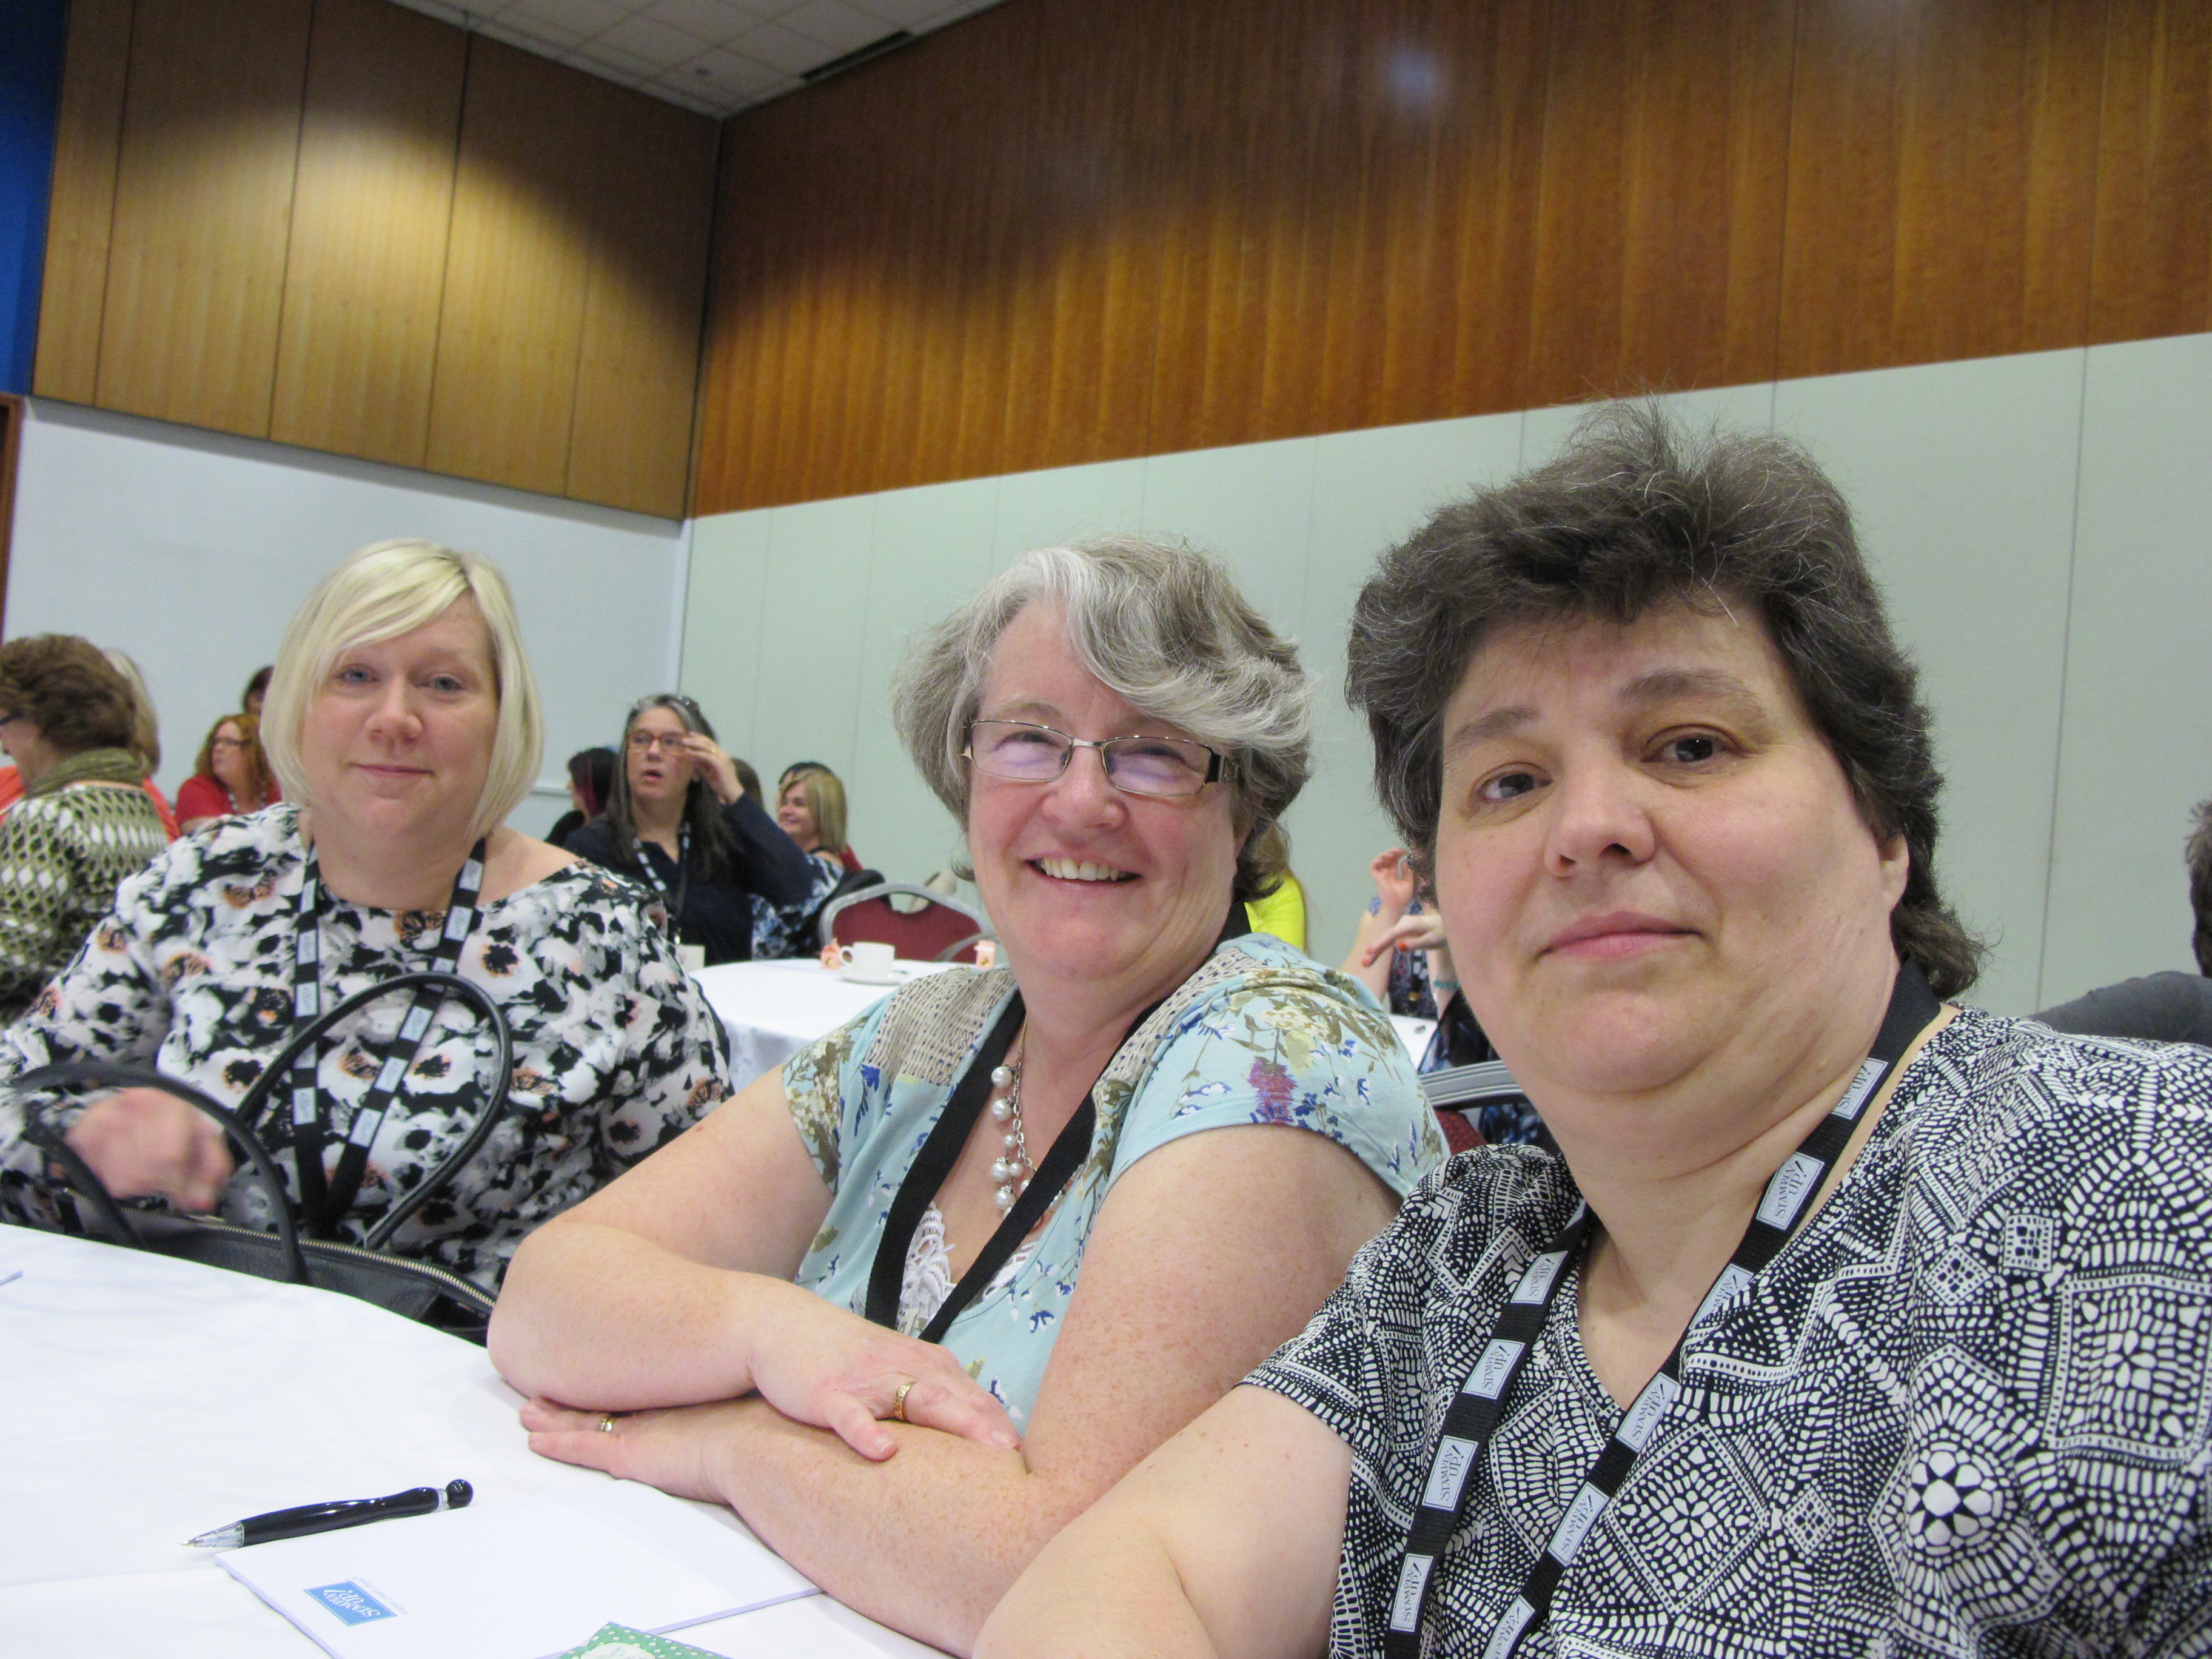
Even the camera-shy Samantha doesn't look to cross to have been snapped in this one :-) Love you ladies!
I'm looking forward to sharing lots more of the new and fun things that we got to see and create with at our training in the coming weeks; only a couple more weeks until the new 2015 Stampin' Up! annual catalogue launches!
Back tomorrow with another project; until then, happy stampin'!
Stampin' Up! Supplies Used (challenge card):
Stampin' Up! Supplies Used (swap card):