Today it's Sunday and time for this week's new challenge over at The Paper Players! It's the turn of the fabulous Ann to host this week and she has my favourite, a sketch challenge for us to work with:

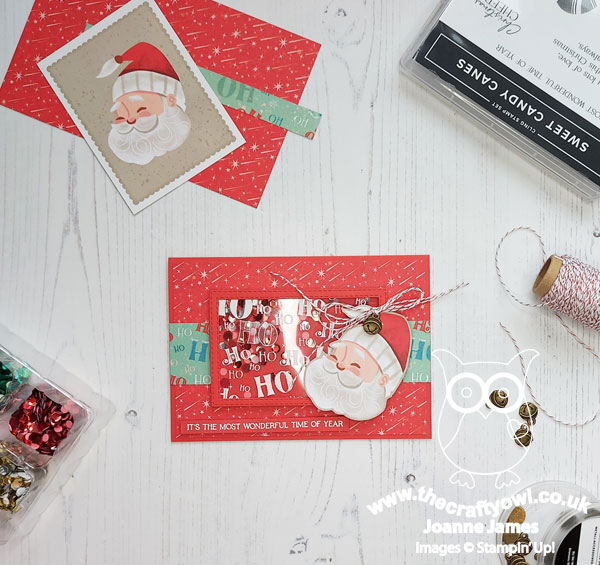
I saw Ann's sketch and immediately knew what I wanted to do with it - I love it when that happens! I mirror-flipped the sketch on the vertical and this is what I came up with - take a look:
Here's the low-down on today's card:
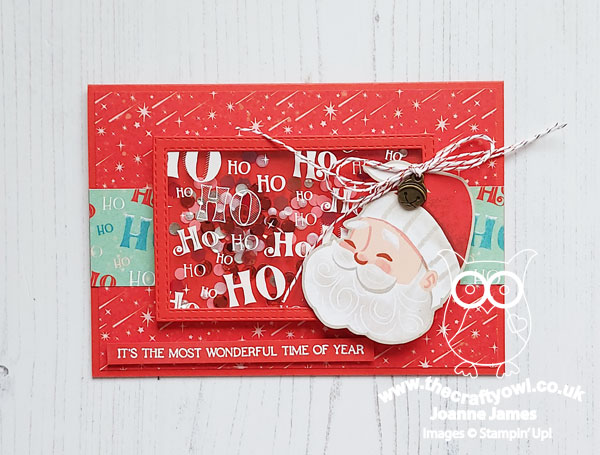
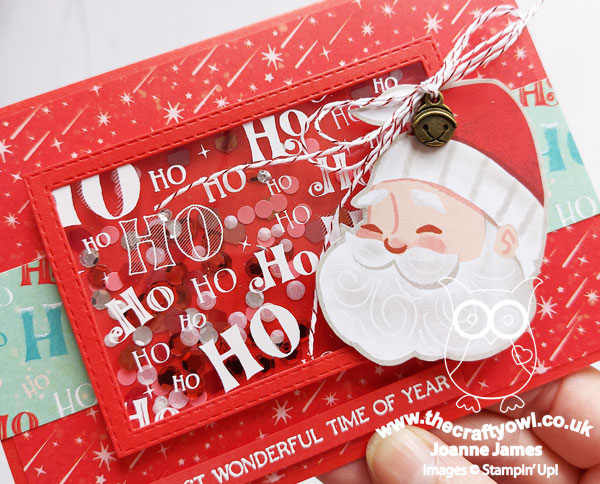
A Christmas Shaker - Who can resist a shaker, let alone one that is this colourful and festive?! I thought that central frame would be perfect for a feature shaker, filled with red, white and silver sequins. I made a frame using my Rectangle Stitched Framelits and used one of the patterned acetates from the Santa Express Memories and More Cards for my shaker front:
I chose some complimentary papers from the Santa Express designer series paper pack in Poppy Parade and a colourful 'ho, ho, ho' design for my frame and central border element to tie in with my shaker frame.
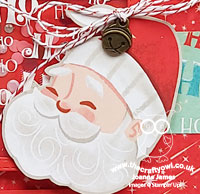
Ho Ho Santa - I accented my shaker frame with a jolly santa that I fussy cut from one of the Santa Express Memories and More cards, to which I added one of the flat jingle bell trinkets using some co-ordinating (retired) festive baker's twine.
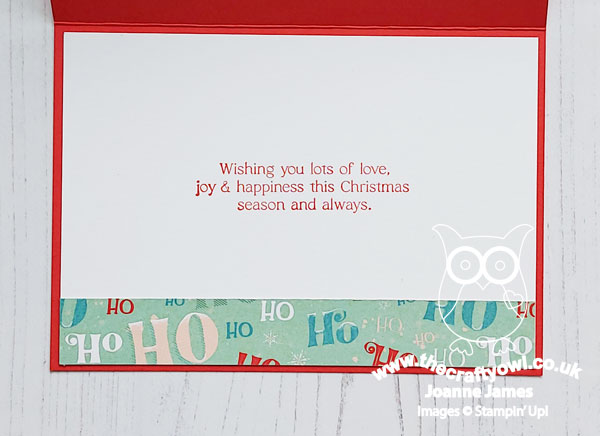
Don't Forget The Inside - I finished the inside of my card with another offcut of designer paper and a sentiment from the Sweet Candy Canes stamp set - I also used a narrow one from the same set on the front of my card:
I just love this card - so fun!! The Santa Express Memories & More cards are just fantastic - so useful for cards and scrapbooking alike! This is the first one of the included acetates that I've used; I also love the wood word diecuts too. An all-round, super useful set!
Here is the visual summary of the key products used on today's project for you to pin for easy reference:
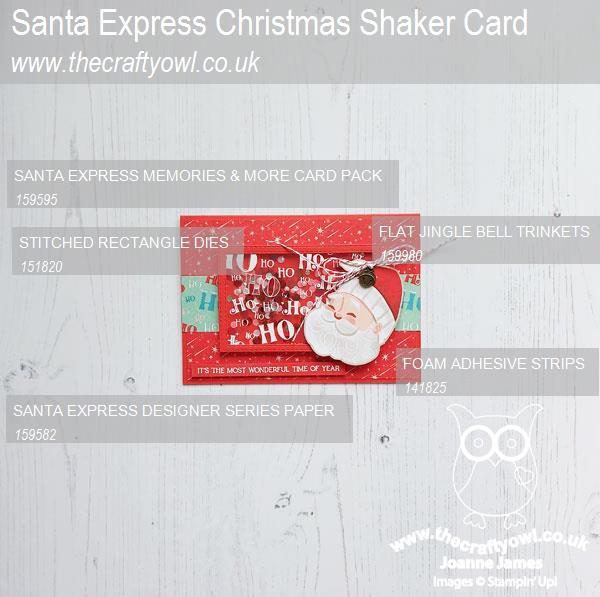
You can see all of my Product and 'How To' summaries on my 'How To - Tips and Techniques' Pinterest board in case you've missed any.
Before you reach for your ink and papers, check out what our amazing team has created to inspire you this week:
The Paper Players Design Team
Here's a quick recap of our challenge rules:
1. Create a new paper project
2. Upload your creation to your blog with a link back to us and provide a direct link to the post featuring your challenge submission.
3. Please link your card to no more than four challenges, TOTAL.
4. Have FUN!
Enjoy your day; we are taking it easy following our early start; I think ironing and an afternoon movie might be required! I'll be back tomorrow with another project. Until then, happy stampin'!
Stampin' Up! Supplies Used: