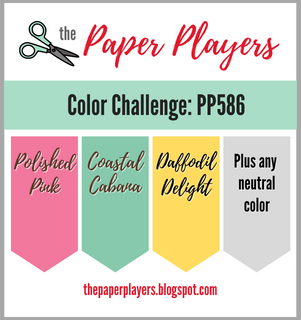
Today it's Sunday and time for this week's new challenge over at The Paper Players! It's the turn of the fabulous Anne Marie to host this week and she has a bright colour challenge for us to work with:
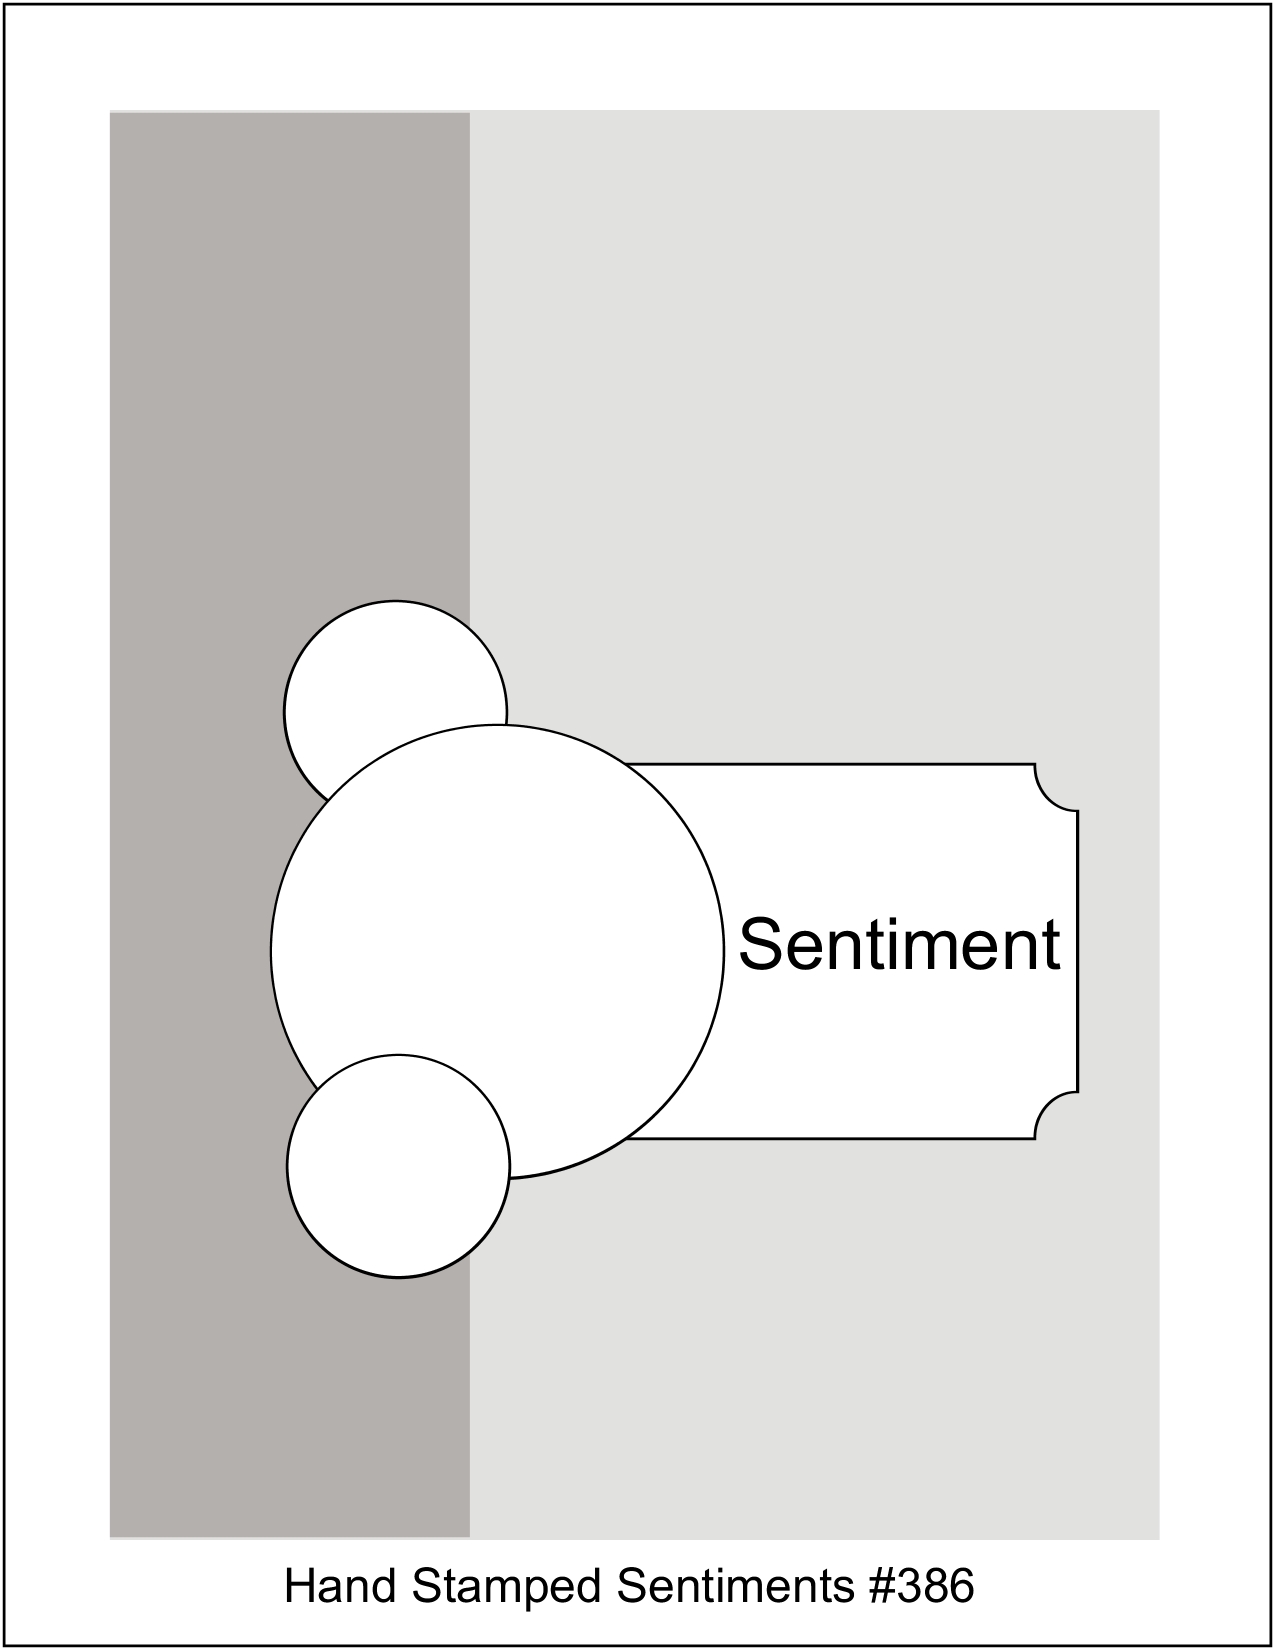
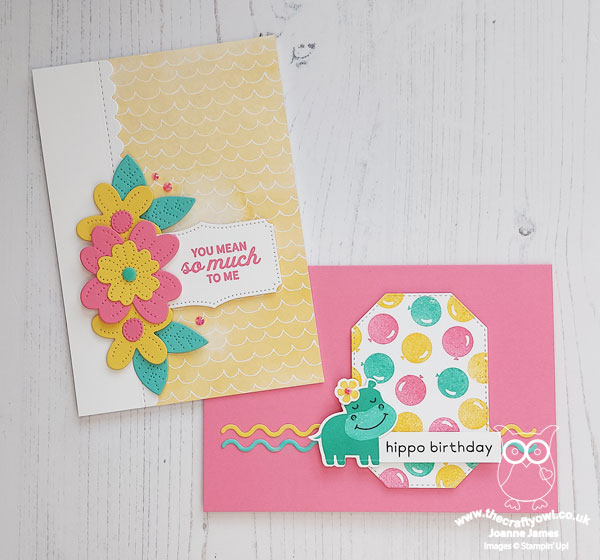
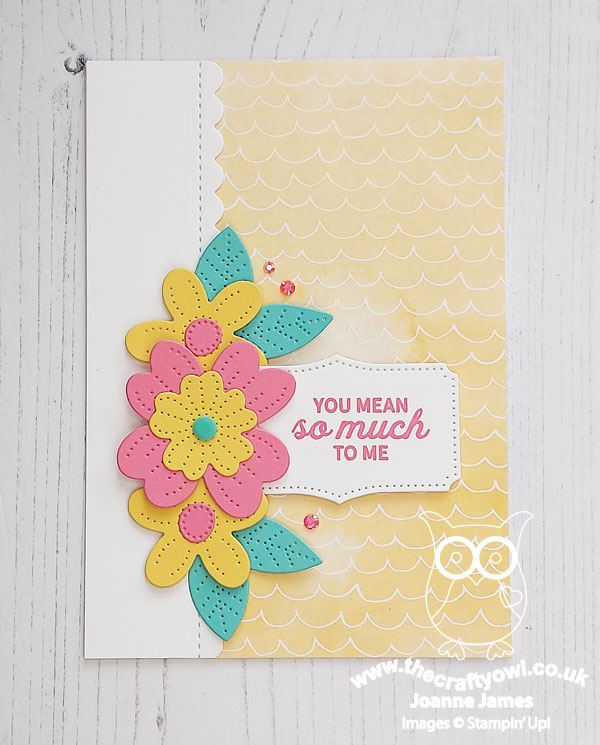
I love Anne Marie's bright and sunny colours this week and ended up making a couple of cards. First up I used this week's layout over at Hand Stamped Sentiments and went with some florals, care of my Pierced Blooms Dies - take a look:
Here's the low-down on today's card:
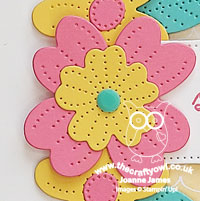
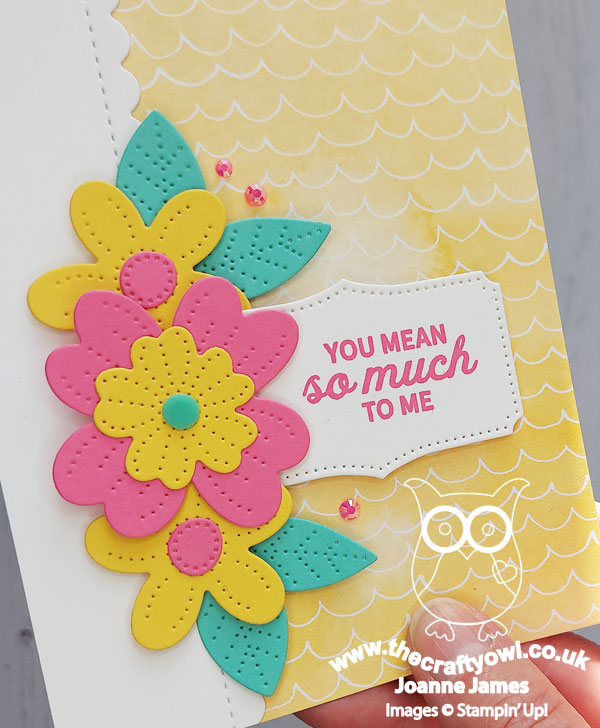
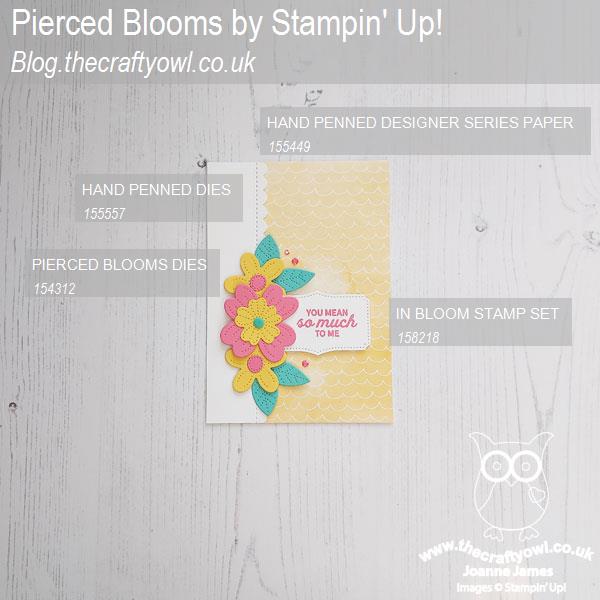
I diecut a trio of layered flowers and leaves and paired them with a piece of Daffodil Delight coloured Hand Penned designer series paper and used white as my neutral. A few polished pink gems add a touch of sparkle to the front of my card:
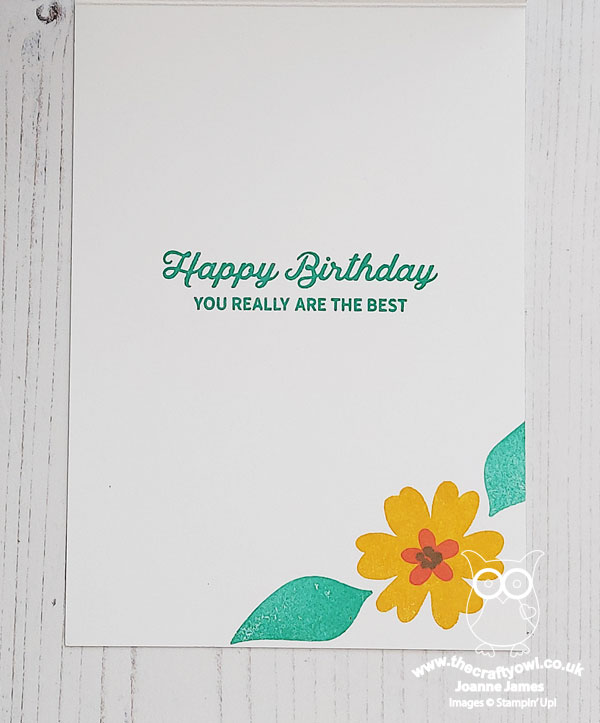
And a little extra stamping inside completes my card:
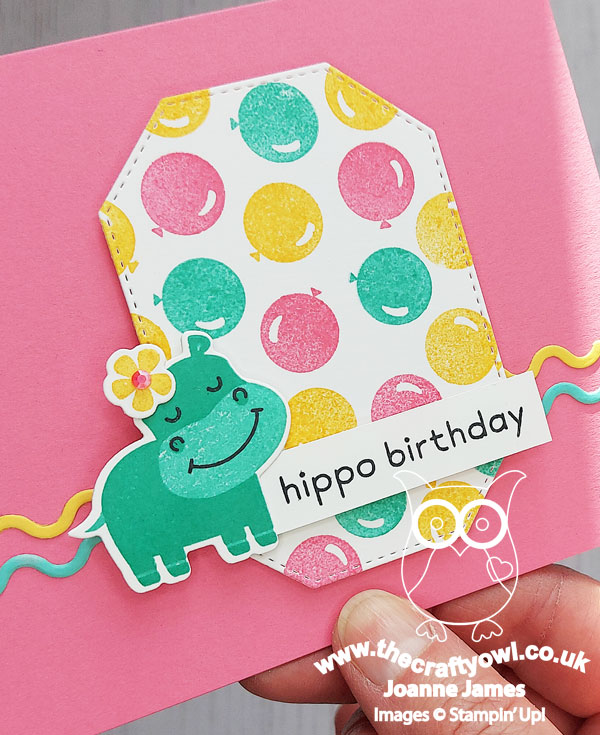
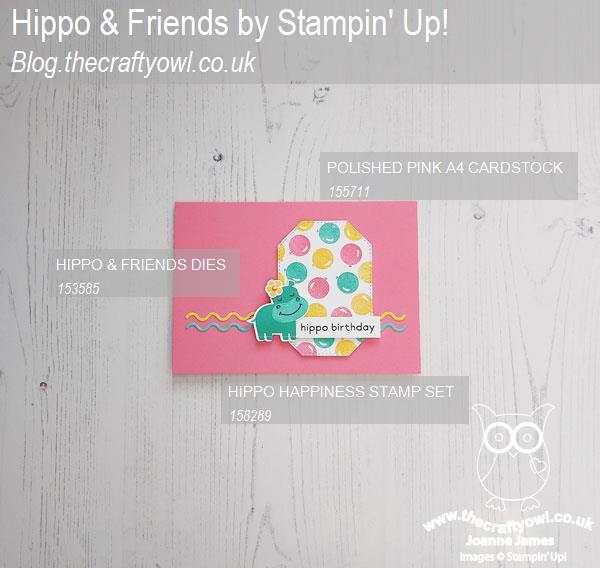
I wanted to try and use these colours on something other than flowers, so made a second card using the retiring 'Hippo Happiness' stamp set and co-ordinating Hippo & Friends Dies:
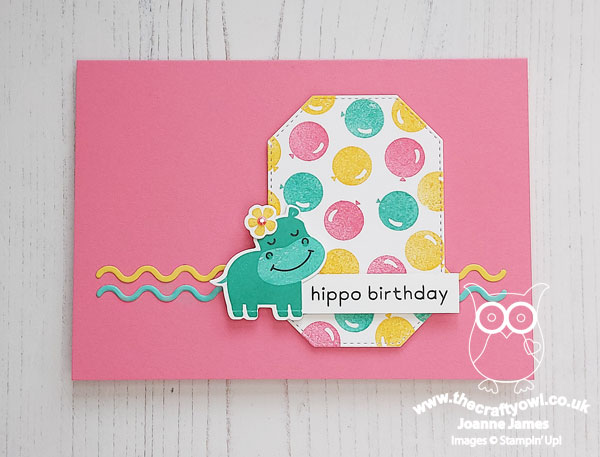
Some simple stamping and diecutting is all there is to it. The best part about this card is definitely the punny sentiment though - Hippo birthday...
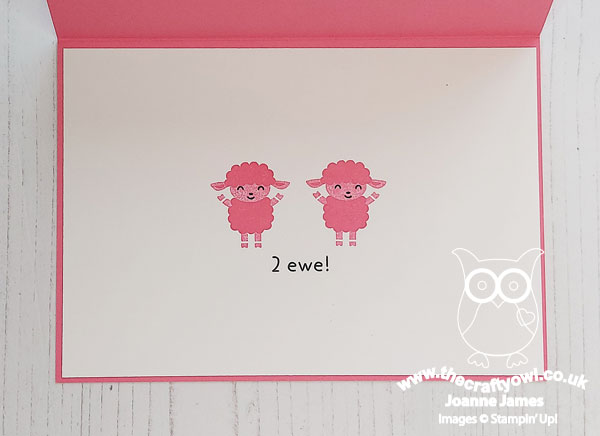
... 2 ewe! Isn't that just so sweet?!
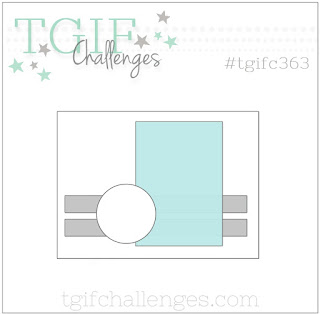
I used the sketch over at TGIF Challenges this week for the layout for this card and I am also linking up over at SUO Challenges where they are all about 'animals and critters' for their current challenge.
Two very different cards but I think both work with these colours. Which one do you prefer? Do leave me a comment below - I'd love to hear your thoughts.
Here is the visual summary of the key products used on today's projects for you to pin for easy reference:
You can see all of my Product and 'How To' summaries on my 'How To - Tips and Techniques' Pinterest board in case you've missed any.
Before you reach for your ink and papers, check out what our amazing team has created to inspire you this week:
The Paper Players Design Team
Here's a quick recap of our challenge rules:
1. Create a new paper project
2. Upload your creation to your blog with a link back to us and provide a direct link to the post featuring your challenge submission.
3. Please link your card to no more than four challenges, TOTAL.
4. Have FUN!
Enjoy your day; we have some chores to take care of and we are out to lunch - should be a good day! I'll be back tomorrow with another project. Until then, happy stampin'!
Stampin' Up! Supplies Used (where still available):