It's Thursday and time for a new challenge over at TicTacToe! It's the turn of Team X to host this week and I am the featured designer this week. This is the fun board that we are playing along with:
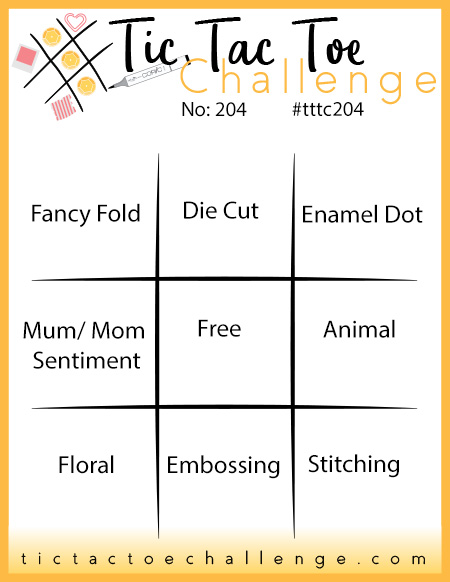

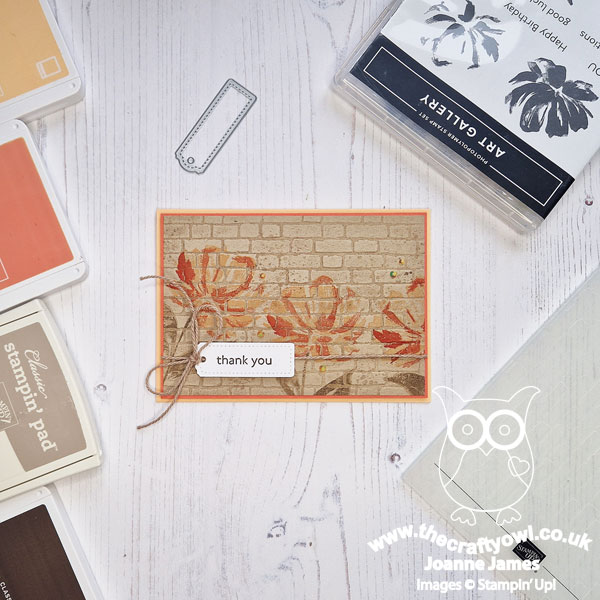
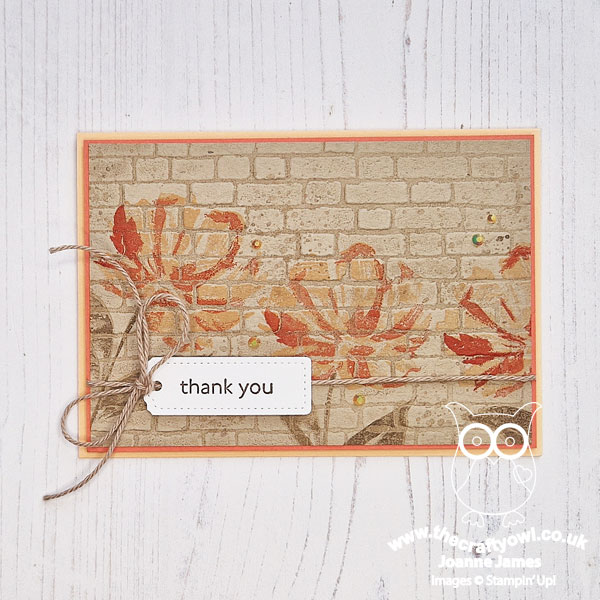
I went across the bottom with floral, embossing and stitching and took the opportunity to work with the current Color Hues palette of peach and kraft and decided to try out a fun technique that I saw on Instagram recently - take a look:
Here's the low-down on today's card:
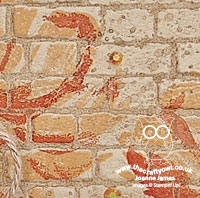
Graffiti Art - I saw a reel on Instagram recently by the New Zealand demonstrator, Jacque Williams, where she created a fun graffiti art-style card and I really wanted to give it a go! It's actually not that tricky to do: you choose your background wall colour (I used Crumb Cake) then ink one side of your Bricks and Mortar embossing folder before inserting your card and running it through your Big Shot machine. This gives you your inked 'cement' lines and the base onto which you then stamp the rest of your design. Simple! This embossing folder is great for this technique and makes a great background too. I can't believe it's retiring - if you don't have one, I'd seriously consider adding to your collection whilst you still can!
Floral Art Gallery - I chose to add some bold florals for my wall art, using the large bloom from the Art Gallery stamp set, with a Pale Papaya base and top layer of Calypso Coral for some pretty peachy florals, and I stamped the stems in a neutral brown. I also added some splatters in Crumb Cake randomly across my wall to add to the artsy feel.
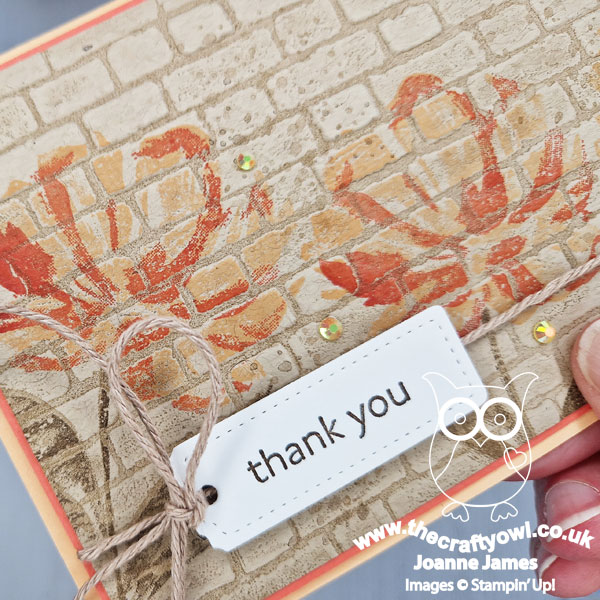
Art Gallery is another stamp set I haven't used in ages but is leaving us with the current outgoing annual catalogue. I'll be keeping mine though - these florals are a no-brainer and the simple block sentiments are so useful with all kinds of cards, not to mention the large diecut sentiment in the set too. Pale Papaya is leaving too - so get yours now whilst you still can!
Tailormade Tag - I finished my card with some Crumb Cake baker's twine and a tiny tailor made tag with a simple thank you sentiment. I am sending this card to a dear customer of mine who loves a messy card - mixed media and grunge are totally her thing, so I know she will appreciate my attempt at getting even close to her signature style!!
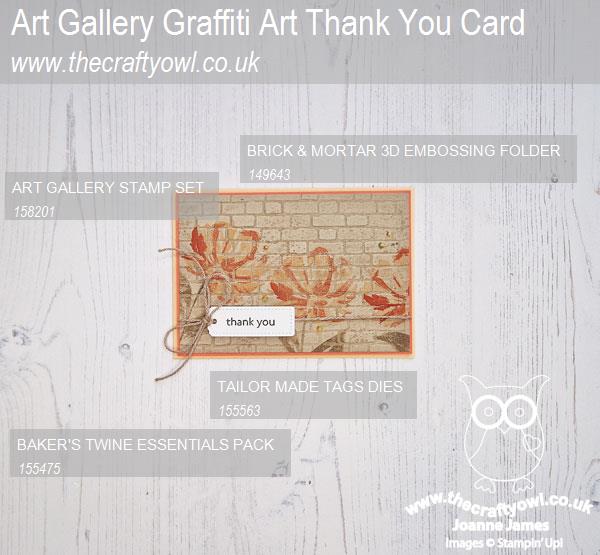
Here is the visual summary of the key products used on today's project for you to pin for easy reference:
You can see all of my Product and 'How To' summaries on my 'How To - Tips and Techniques' Pinterest board in case you've missed any.
A tictactoe board offers so many creative possibilities - how does this week's board inspire you? Why not have a go? We would love to see you in the gallery and who knows - you might be selected for Designer's Choice and be eligible to be a guest designer on a future challenge. You should definitely check out the design team's cards this week too - they are amazing!
Enjoy your day; I'm hoping to get a few cards made today in between errands and laundry. I'm hopeful to be able to use the washing line today, as right now it's a lovely bright and breezy day. Not sure I'll be still in luck by the time the washing machine cycle has finished - we are experiencing proper April showers here in the UK at the moment. The constant to and fro the washing line is definitely keeping me fit though! I'll be back tomorrow with another project. Until then, happy stampin'!
Stampin' Up! Supplies Used: