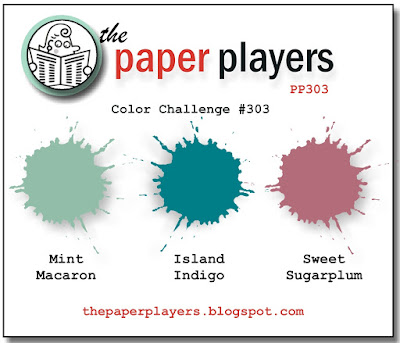
It's Sunday and time for a new challenge over at The Paper Players! It's the turn of our fearless leader the awesome Nance to host this week and she has a colour challenge for us to play along with:
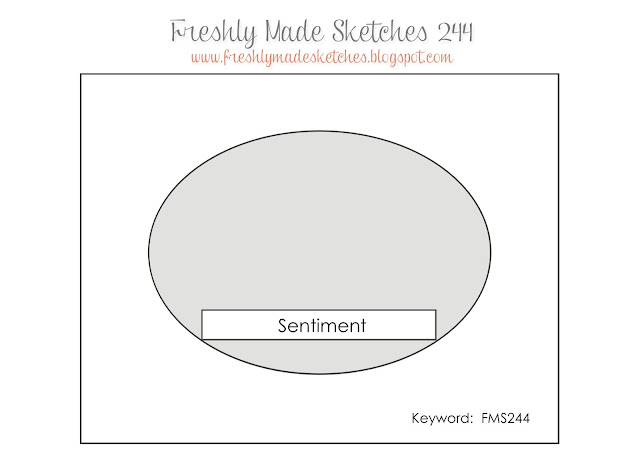
For my card this week I decided to use this week's Freshly Made Sketches sketch and took my inspiration from the Blooms and Bliss suite to create my card today:
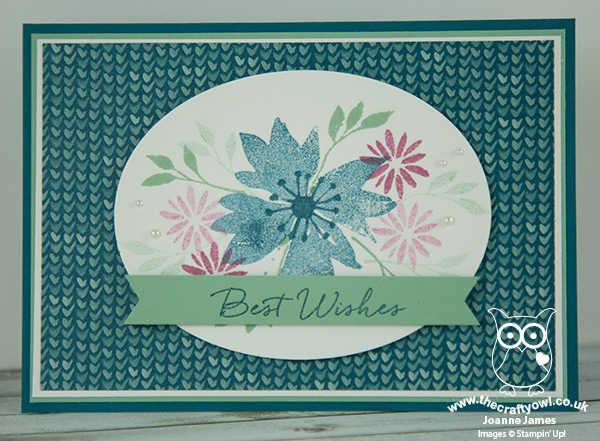
Here's the low-down on today's card:
Blooms and Bliss Colour Combo - The trio of colours chosen by Nance for today's challenge all appear in the Blooms and Bliss Suite and in particular the designer series paper of the same name, so I was drawn here for the starting point for today's card. Having ooh-ed and ahh-ed at the whimsical floral patterned papers, I eventually settled upon this rather bold, mostly Island Indigo, patterned paper for the base of my card. This pattern is great for a background as it doesn't interfere with the detail of the focal image and the watercolour-like flecking adds a softness to this otherwise strong colour.
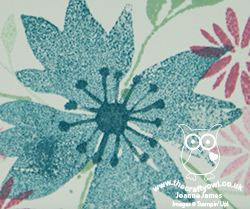
Blooms and Wishes - I decided to create a randomly stamped floral panel as the focal point for my card, featuring each of the challenge colours and using the co-ordinating Blooms & Wishes stamp set to create an almost watercoloured effect. I used a combination of both first and second generation stamping for each of the colours to add depth and overlapped the flowers slightly too. This is the only place where there is any Sweet Sugarplum on my card, yet it performs an important role: without it the card would be perfectly co-ordinated, but rather flat. The addition of the warm lilac tones prevents this card from being too 'cold' and clinical I think. I finished with my sentiment stamped in Island Indigo onto Mint Macaron cardstock, for an additional burst of strong colour.
A Simple Oval - I don't use ovals all that often on my cards, but since the sketch asked for one here I thought I would follow it literally and do think it makes a pleasant change from squares or circles and is the perfect shape for my florals. I left it frameless to enable the white to really stand out against the background and added nothing more than a few pearls for a subtle embellishment.
The Blooms and Bliss suite is such a pretty set of co-ordinating products, with plenty of scope for artistic expression.
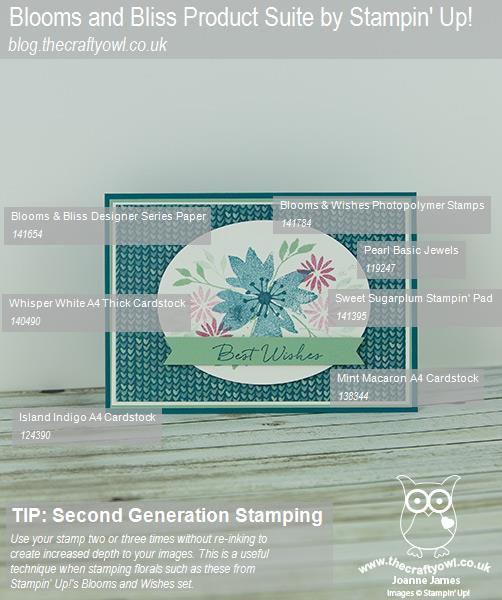
Here is the visual summary of the key products used on today's project for you to pin for easy reference:
You can see all of my 'How To' summaries on my 'How To - Tips and Techniques' Pinterest board in case you've missed any.
Before you reach for your ink and papers, check out what our amazing team has created to inspire you this week:
The Paper Players Design Team
Here's a quick recap of our challenge rules:
1. Create a new paper project
2. Upload your creation to your blog with a link back to us and provide a direct link to the post featuring your challenge submission.
3. Please link your card to no more than four challenges, TOTAL.
4. Have FUN!
I look forward to seeing what you create with Nance's colour combination this week.
I am looking forward to a day of rest and relaxation in the sun today and some quality family time. Back in the next day or so with another project; until then, happy stampin'!
Stampin' Up! Supplies Used: