Lots to share today: new Stampin' Up! offers, some lovely makes and a 'sneak peek' of tomorrow's post - but you'll have to read everything else first!
Stampin' Up! has announced two great offers that will run from April 15th-May 30th: If you host a £250 party, you will earn an additional £25 in hostess credits to spend on any items you like from the current annual and Spring-Summer catalogues - that's a whopping £65 worth of product absolutely free, just for hosting a party. All you need to do is contact me to arrange a date, invite your friends round and pop the kettle on - I'll take care of the rest.
If you've ever thought about becoming a Stampin' Up! demonstrator, there's another great offer that will be of interest to you: if you sign up before 30th May, you will receive an extra £25 worth of product of your choice in your starter kit - that's a total of £155 worth of product for £99 cost - bargain! You will also receive a business supplies pack worth £45, which brings the total value of the starter pack to £200 - a great deal at half the price. Whether you want to be a hobby demonstrator and simply take advantage of the opportunity to purchase your craft supplies at a discount, supplement your existing income or work with a specific financial goal in mind, or build a business out of your love of crafting that has endless opportunities and the flexibility to work the hours of your choice and do a much or as little as you like, Stampin' Up! has something for everyone. In addition to the extensive resources that Stampin' Up! offers, I like to give my team members something 'extra'. In addition to my personal support in helping you make the most of everything that Stampin' Up! has to offer, I like to share my enthusiasm and passion and inspire them to create great things. Here's the welcome card and gift I made for new members of my team during Sale-A-Bration earlier this year, inspired by something similar I had seen on the SU corporate blog:
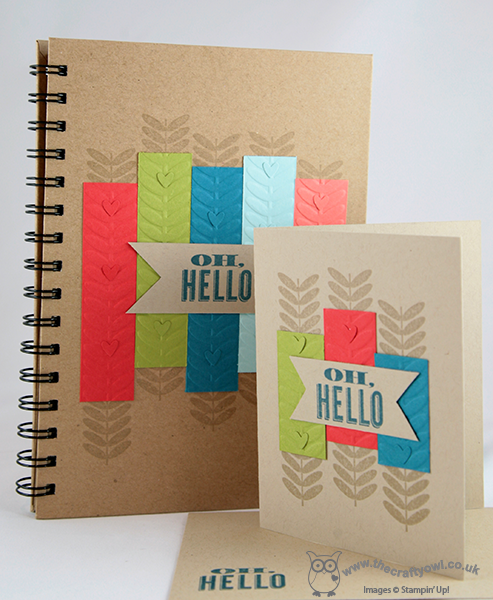
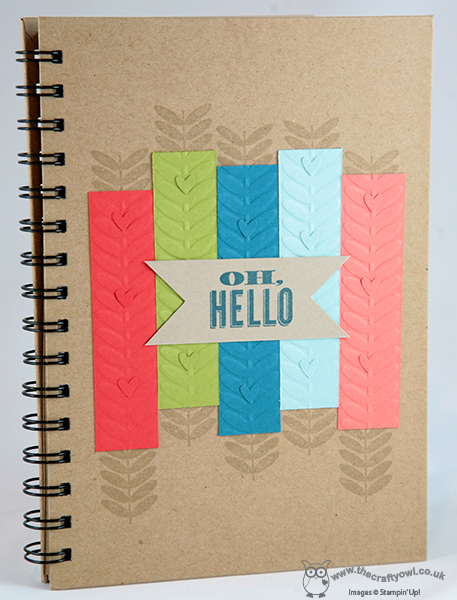
A lovely decorated notebook for those all important moments when inspiration strikes and a co-ordinating welcome card. I used the Vine Embossing Folder and co-ordinating stamp from the Madison Avenue stamp set, highlighting with some hearts from my Owl Punch and the 'Oh Hello' stamp set from the stamp set of the same name. Here's a close-up of the notebook:
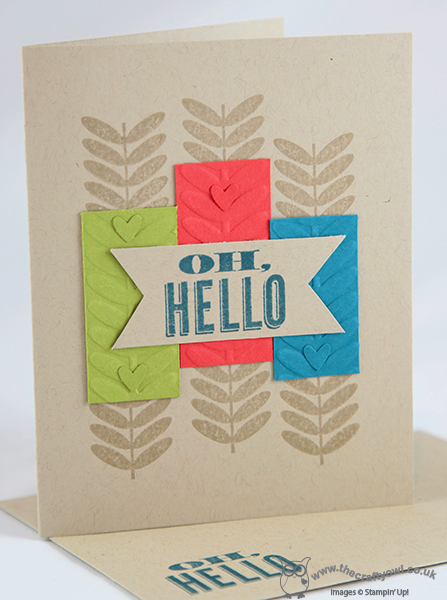
And here's a close-up of the co-ordinating welcome card:
So if you would like to say 'Oh Hello' and join my team of Crafty Owls, do get in touch with me here if you'd like more information. Alternatively, if you've already decided and are ready to order your starter pack, just click here to complete the form online - it's really straightforward.
Lastly, I promised a 'sneak peek' of tomorrow's post, which will feature one of the cards from my class tomorrow evening - so here it is:
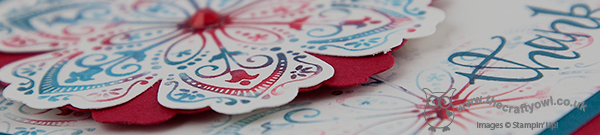
You'll have to come back tomorrow to see the whole thing though - until then, happy stampin'!
Stampin' Up Supplies:
Stamps: Oh Hello, Madison Avenue (Sale-A-Bration - retired)
Cardstock: Island Indigo, Pool Party, Lucky Limeade, Calypso Coral, Poppy Parade (retired)
Inks: Crumb Cake, Island Indigo
Tools: Vine Embossing Folder (Sale-A-Bration - retired), Stamp-a-ma-jig, Owl Punch