by Joanne James5. July 2023 16:00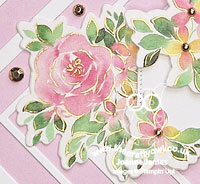
Today I'm sharing a card I made using the current sketch over at Sunday Stamps which is a slimline and using a pastel colour palette for the challenge over at Just Us Girls this week:


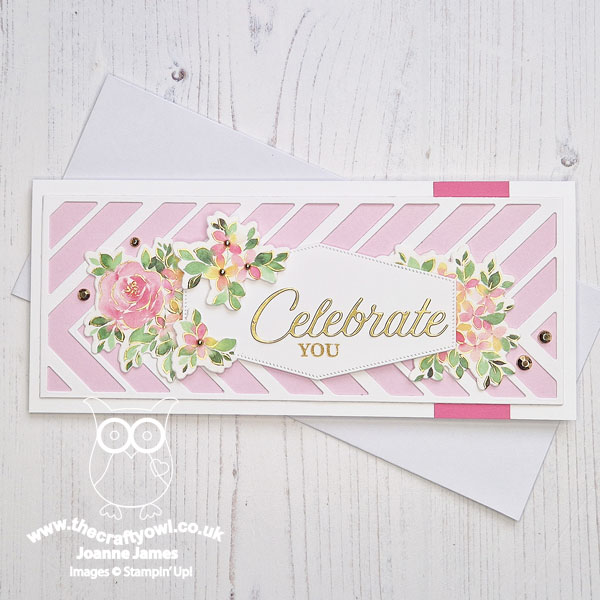
I'm not usually big on pastels, but I do LOVE the new Lemon Lolly and Bubble Bath colours, and when I received a crafty gift in the post from a crafty friend I was inspired to create something pretty in pink - take a look:
Here's the low-down on today's card:
One of my dear friends, Elizabeth Stewart of Paper Sweetness fame, sent me a whole collection of fabulous washi diecuts after I was wowed by a card she made using some, so I couldn't wait to create something with them! Since she is the hostess over at Just Us Girls this week it seemed only fair I showed that I was putting her sweet gift to good use! I paired them with existing bits and pieces from my stash, including a decorative panel cut from the (retired) Slim Card Dies in white layered over a base of Bubble Bath and my favourite shape of the Nested Essential Dies, to which I added a diecut 'celebrate' in gold foil from the Wanted To Say DIes and a gold heat-embossed 'you' from an old set:
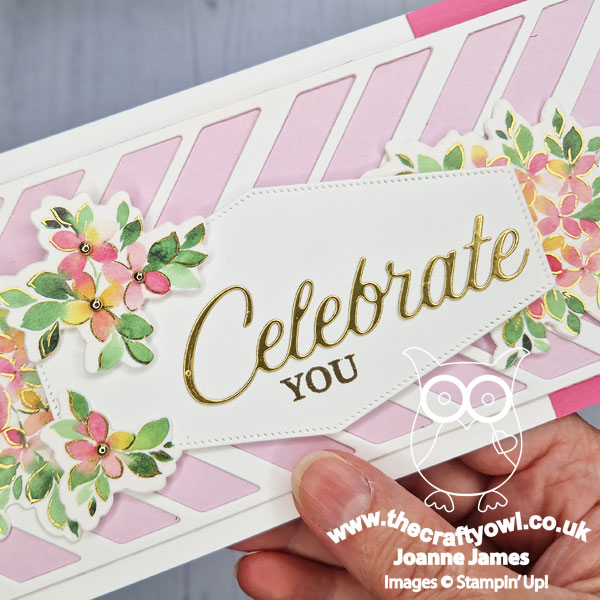
An extra sprinkle of gold festive pearls completed my card. I love the pretty pastels in the washi tape and the way the elements 'frame' my label and extend along the slimline. Pretty in pink, for sure!
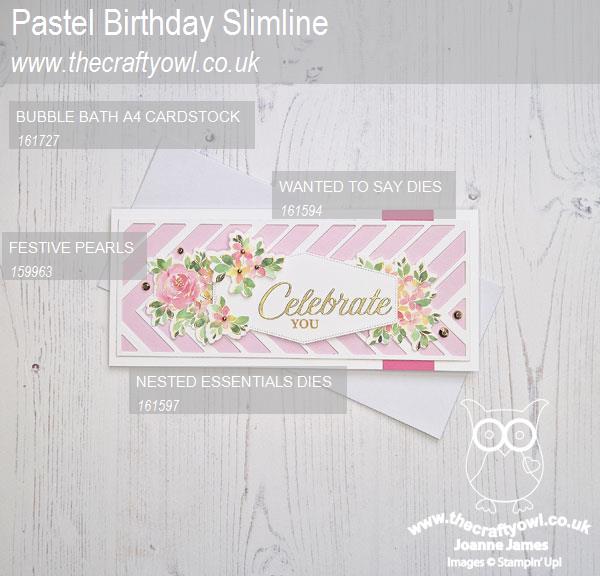
Here is the visual summary of the key products used on today's project for you to pin for easy reference:
You can see all of my 'How To' summaries on my 'How To - Tips and Techniques' Pinterest board in case you've missed any.
Enjoy your evening and I'll be back tomorrow with another project. Until then, happy stampin'!
Stampin' Up! Supplies Used:
fd9facda-fc30-4a0b-a51c-af430b753cb3|0|.0|96d5b379-7e1d-4dac-a6ba-1e50db561b04
Tags: Stampin' Up, Stampin' Up Card, Stampin' Up Card ideas, Stampin' Up Supplies, Shop online, Shop Stampin' Up online, Shop Stampin' Up! Online, Slim card Dies, Slimline Envelopes, Washi Tape, Nested Essentials Dies, Wanted To Say Dies
Cards | Shop Online | Shop Stampin' Up! Online | Stamping
by Joanne James5. May 2022 17:00
It's Thursday and time for a new challenge over at TicTacToe! It's the turn of Team X to host this week and the lovely Vicky is our featured designer this week. This is the fun board that we are playing along with:
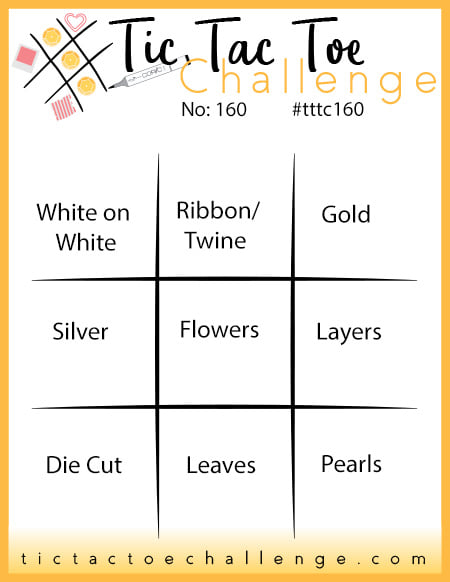
I went down the middle column with twine, flowers and leaves and today paired something old with something new - take a look:

Here's the low-down on today's card:
Color Throwdown - Today's card features the colours over at Color Throwdown this week - check out these fresh colours:
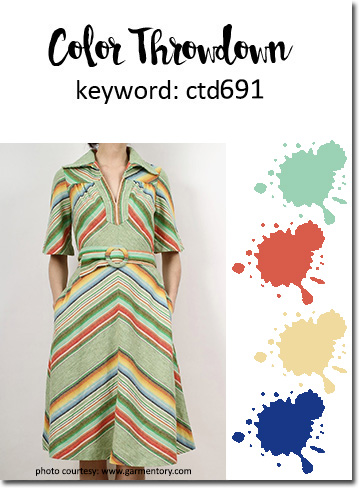

I was supposed to be this week's Featured Stamper over at Color Throwdown following my win with this card here a couple of weeks ago. But I got my dates muddled and thought I needed to be ready for next week not this week! So I added some twine to the card I'd prepared and thought I'd share with you today instead. Isn't this a great mix of colours?
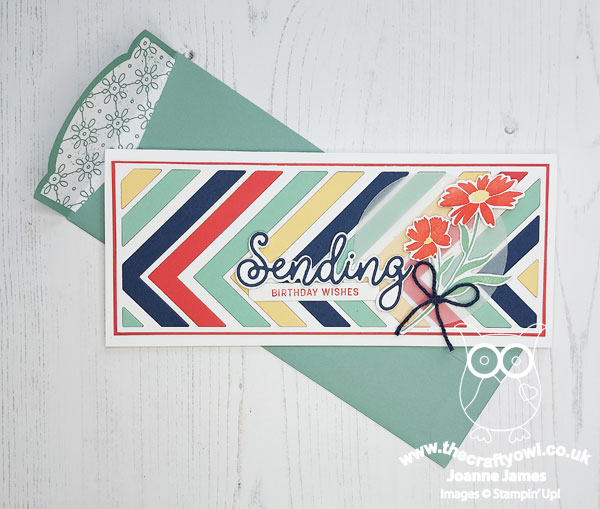
Slimline Stripes - Today's card was not only inspired by the colours but also the striped pattern on the dress of the CTD inspiration photo. I thought the Slimline Dies would be a great way to incorporate the colours but also add interest to the front of my card, don't you think? The Mint Macaron co-ordinates beautifully with the slimline envelopes too.
Sending Smiles - I couldn't resist another outing with the Sending Smiles bundle on today's card. I backed my flower stem with a circle of vellum so that it wouldn't get lost against the background. The real star of today's card though is the sentiment; I just love that layered 'sending' diecut and it's so versatile as it can be paired with lots of other greetings in the set: 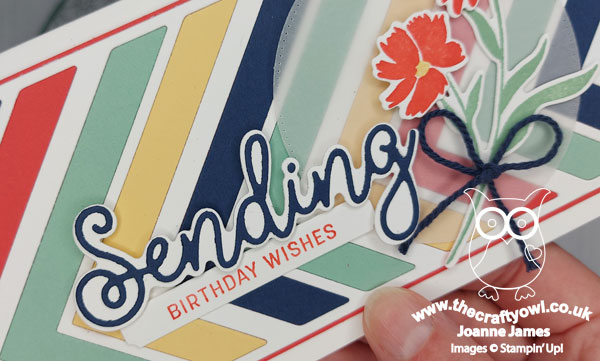
I'm also linking up with the lovely ladies over at SUO Challenges who are featuring sentiments for their current challenge. They are also celebrating their 300th challenge - way to go!
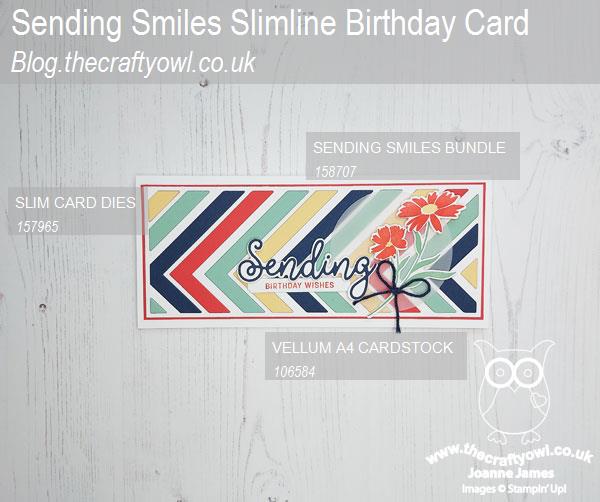
Here is the visual summary of the key products used on today's project for you to pin for easy reference:
You can see all of my Product and 'How To' summaries on my 'How To - Tips and Techniques' Pinterest board in case you've missed any.
A tictactoe board offers so many creative possibilities - how does this week's board inspire you? Why not have a go? We would love to see you in the gallery and who knows - you might be selected for Designer's Choice and be eligible to be a guest designer on a future challenge.
Enjoy your day; I'm out at an art exhibition this evening, so looking forward to that. I'll be back tomorrow with another project. Until then, happy stampin'!
Stampin' Up! Supplies Used:
0687de9d-2302-4a46-9b13-7459fb281c43|0|.0|96d5b379-7e1d-4dac-a6ba-1e50db561b04
Tags: Stampin' Up, Stampin' Up Card, Stampin' Up Card ideas, Stampin' Up Supplies, Shop online, Shop Stampin' Up online, Shop Stampin' Up! Online, TicTacToe Challenge, Stylish Shapes Dies, Slim card Dies, Slimline Envelopes, Sending Smiles, Sending Dies
Cards | Shop Online | Shop Stampin' Up! Online | Stamping
by Joanne James7. March 2022 14:30
Happy Monday everyone! After a weekend out of action, I am feeling slightly better today and this morning had time to finish my card for this week's Freshly Made Sketches challenge:

I love Karren's sketch this week - wide open to interpretation. So much so, the eagle-eyed amongst you will have noticed I used the same layout for my Paper Players card that I posted yesterday (you can see that card here if you missed it). I didn't link that one up as whilst I loved the end result I felt it wasn't really 'clean' enough to do Karren's sketch justice. Not the case for today's card though - take a look:
Here's the low-down on today's card:
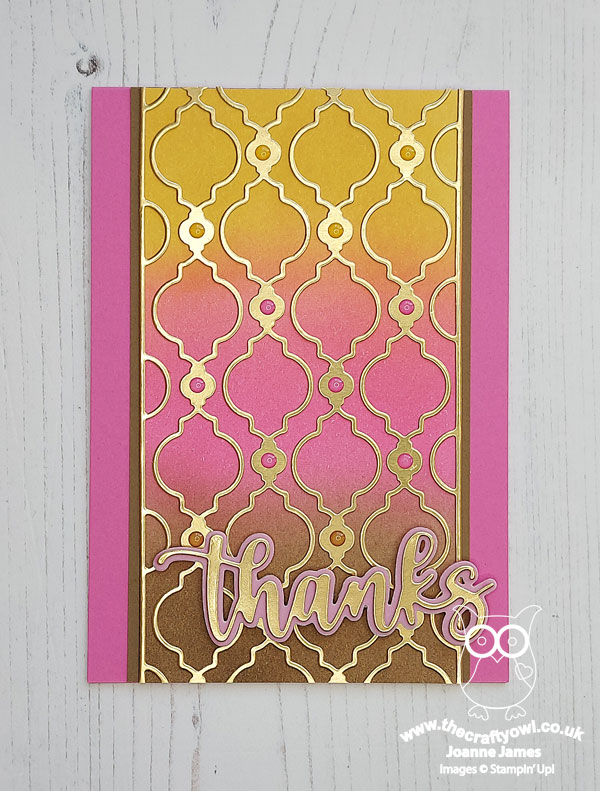
Slim Card Dies Trellis - The central panel of the sketch is perfect to showcase diecut detail; I used one of the Slim Card Dies in gold foil to create something that reminds me of a Moroccan trellis, cut down though to fit a standard sized card front. Just because the dies are made for slimline cards, doesn't mean they can't be used in this way too.
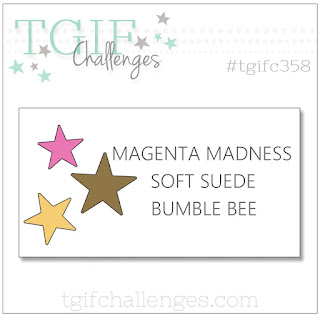
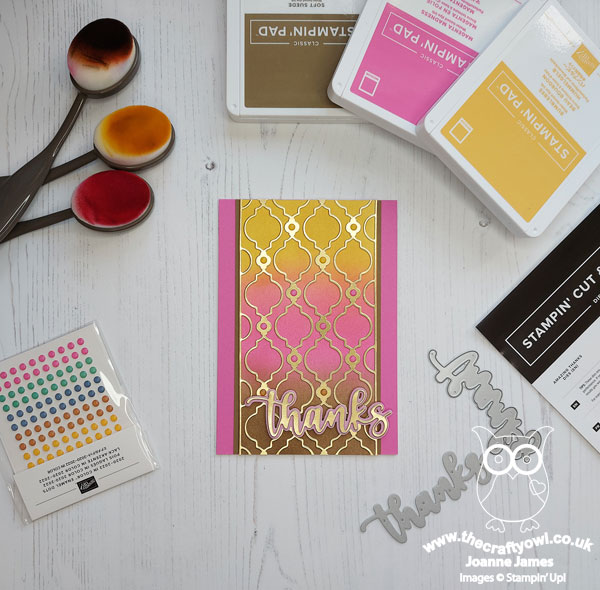
Jewels of Colour - The colour scheme for today's card comes from the palette over at TGIF Challenges this week. This is not a trio of colours I would usually use together, but I thought they would make a rich blended backgound of graduated colour - the perfect backdrop for my trellis. As a bonus, I wanted to pick out elements of the trellis design with rhinestones or similar, and following a perusal of my collection found that the 2020-22 In Color Enamel Dots were perfect; two of the colours were spot on, and the Cinnamon Cider ones worked for the Soft Suede portion of my card where I only needed a couple because of my sentiment position (which I chose with this in mind). I think the addition of the enamel dots really makes a feature of the design:
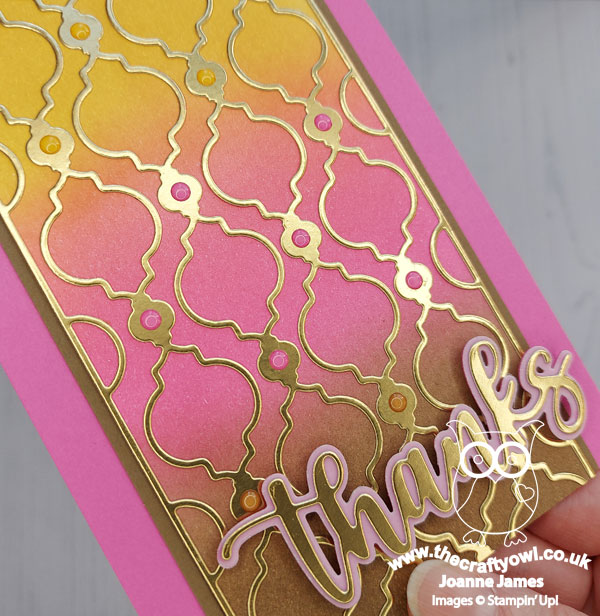
Amazing Thanks - This is one of those rather rare no-stamping cards; I chose to use a layered 'thanks' diecut from the Amazing Thanks dies for my sentiment, layering gold foil onto Magenta madness layered with vellum to tone down the pink. These dies really are a keeper - so very useful! There will be some stamping on the inside of this card, but for the time being it's blank as I might use it for a specific type of thank you card.
I really like this card and whilst this isn't a colour combo I would ordinarily have chosen (and in fact I originally made this card in an alternative colourway) I think it really makes it. I think it has a very Aladdin and Arabian Nights vibe!
Here is the visual summary of the key products used on today's project for you to pin for easy reference:
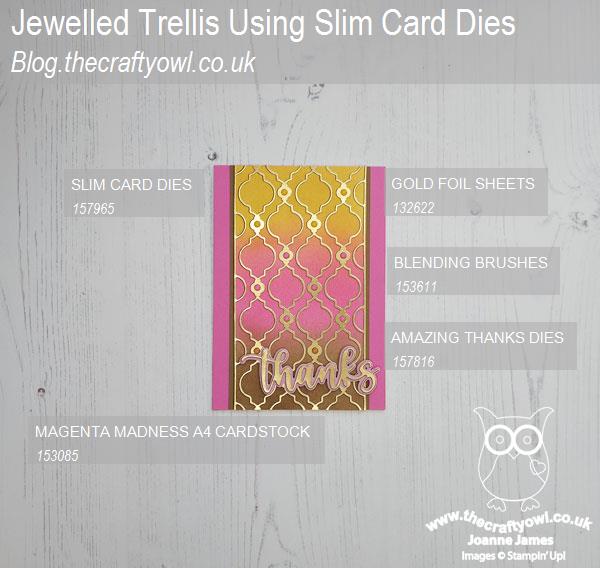
You can see all of my 'How To' summaries on my 'How To - Tips and Techniques' Pinterest board in case you've missed any.
Right - I'm off to squeeze in a few jobs before heading out on the school run. Enjoy the rest of your day and I'll be back tomorrow with another project. Until then, happy stampin'!
Stampin' Up! Supplies Used:
c0c4050f-2edb-4c0b-af68-089297e53cbe|0|.0|96d5b379-7e1d-4dac-a6ba-1e50db561b04
Tags: Shop Stampin' Up! Online, Stamping Shop Stampin' Up online, Shop online, Stampin' Up, Stampin' Up Card ideas, Stampin' Up Supplies, Stampin' Up Card, Amazing Thanks Dies, Slim card Dies, In Colors, In Colours
Cards | Shop Online | Shop Stampin' Up! Online | Stamping
by Joanne James6. March 2022 08:00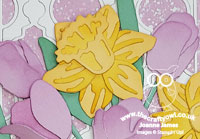
Today it's Sunday and time for this week's new challenge over at The Paper Players! It's the turn of the fabulous Jaydee to host this week and she has a timely seasonal theme challenge for you to work with:
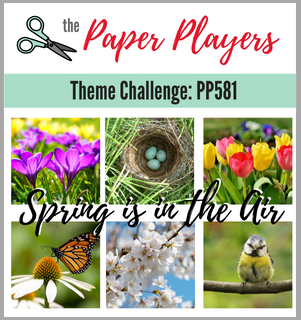
Nothing says spring to me more than daffodils and tulips, so I decided to go all out and diecut a spring bouquet for the front of my card that have these as the centrepiece - take a look:
Here's the low-down on today's card:
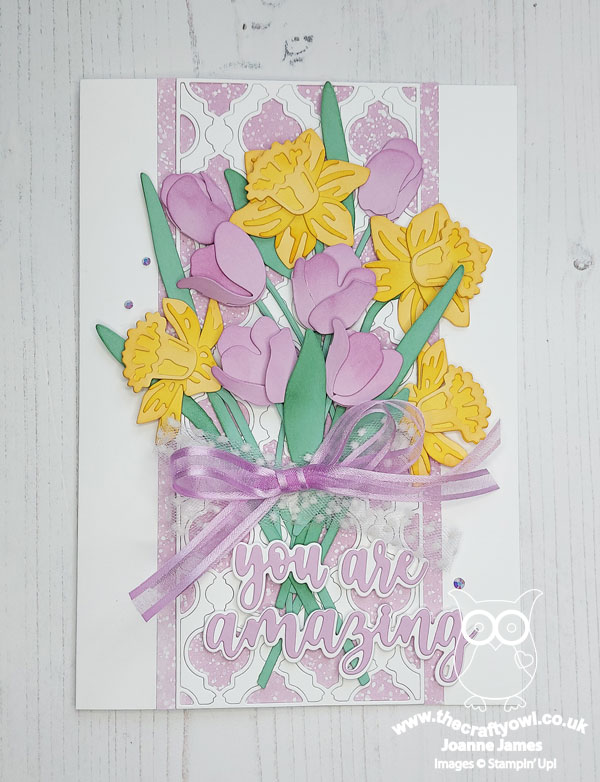
I added a panel of (retired) Sale-A_Bration Friendly Hello DSP to the centre of my card and overlaid this with a slimline die coverpiece, leaving the long inset pieces intact, then built up my bouquet from Daffodil Delight and So Saffron daffodils and Fresh Freesia tulips:
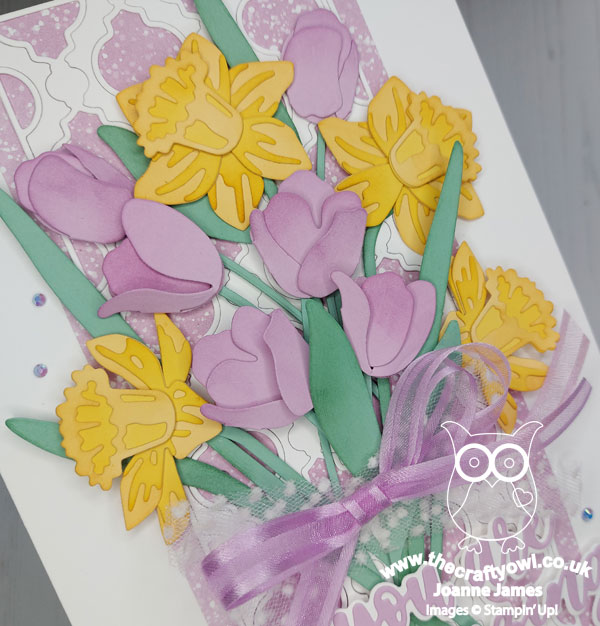
I finished with an over-the-top ribbon bow and a layered 'you are amazing' diecut sentiment cut with my Amazing Thanks Dies. This card is larger than usual (15cm x 21cm) to accommodate my spring blooms. I'm afraid I succumbed to the most dreadful cold this week, so I haven't finished decorating the inside of this card. Hence no inside photos - a job for another day.
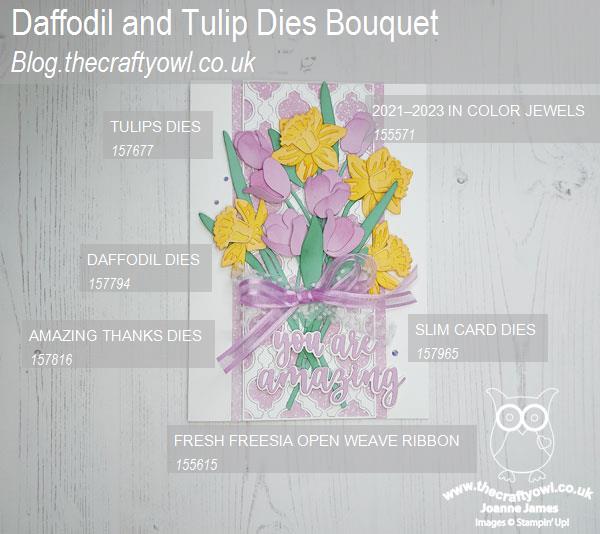
Here is the visual summary of the key products used on today's project for you to pin for easy reference:
You can see all of my Product and 'How To' summaries on my 'How To - Tips and Techniques' Pinterest board in case you've missed any.
Before you reach for your ink and papers, check out what our amazing team has created to inspire you this week:
The Paper Players Design Team
Here's a quick recap of our challenge rules:
1. Create a new paper project
2. Upload your creation to your blog with a link back to us and provide a direct link to the post featuring your challenge submission.
3. Please link your card to no more than four challenges, TOTAL.
4. Have FUN!
Enjoy your day; I will be hiding under my blanket with a box of tissues feeling sorry for myself! Hope normal service will resume soon! Until then, happy stampin'!
Stampin' Up! Supplies Used:
d7f4f05c-652d-4f92-ad3a-7585cf258b37|0|.0|96d5b379-7e1d-4dac-a6ba-1e50db561b04
Tags: Shop Stampin' Up! Online, Stamping Shop Stampin' Up online, Shop online, Stampin' Up, Stampin' Up Card ideas, Stampin' Up Supplies, Stampin' Up Card, The Paper Players, Daffodil Dies, Tulips Dies, Slim card Dies, Amazing Thanks Dies, Mother's Day
Cards | Shop Online | Shop Stampin' Up! Online | Stamping
by Joanne James28. February 2022 14:27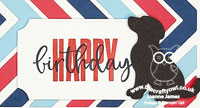
Today I'm sharing a second card that I made last week; squeaking this one in for the current challenge over at The Card Concept - check out their inspiration photo:
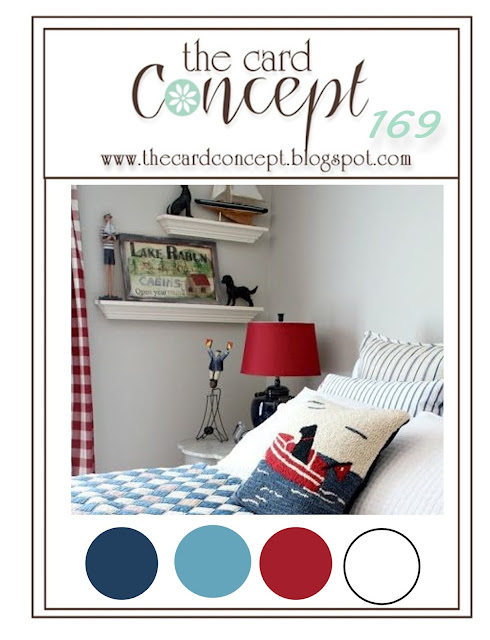
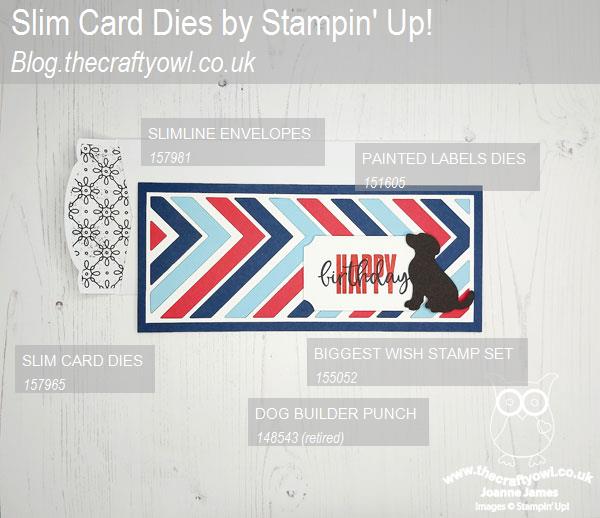
I love the nautical colours and strong geometrical prints in the inspiration photo and though they would be perfect for a similarly coloured clean and layered card featuring the Slim Card Dies - take a look at what I came up with:

Here's the low-down on today's card:
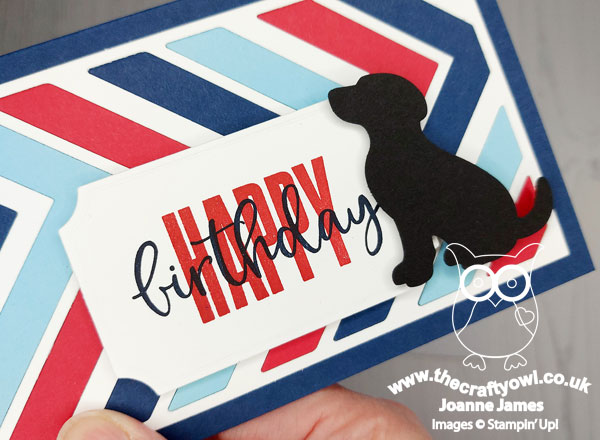
I diecut the slim card die with the angles lines out of 4 different colours of cardstock, then paper-pieced the negative pieces back into the diecut outline for some fun nautical stripes.
I didn't have a boat that was the right size for this card (the new Sailboat Builder Punch would have been perfect, but the boats in the 'Sailing Home' set were both too small) but on closer inspection I noticed there were a number of black dogs in the photo too, so thought a black labrador silhouette punched with my now retired Dog Builder Punch would work a treat. I added him to a sentiment stamped with the 'Biggest Wish' stamp set that was stamped and cut out with one of the Painted Labels Dies:
And that was my card complete! Stampin' Up! even has a new range of slimline envelops the perfect size for my finished card, so I don't have to make my own - bonus!
I have a friend with a black labrador that looks just like this one so I think that's where this card will be headed when their birthday rolls around. The Slim Card Dies are super easy to use and great for paper-piecing; not only that, if you save all of the pieces you can make a number of cards in one go - here's a shot of the other cards I started to make whilst making this one:
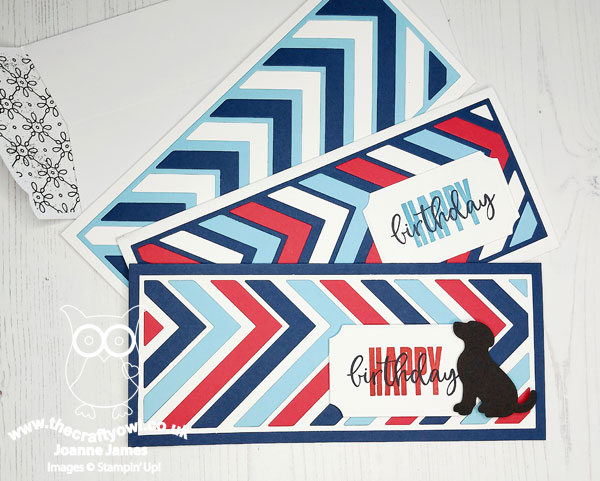
One of them still needs a sentiment and they both require additional decoration, but it's good to have the bases already made.
Here is the visual summary of the key products used on today's project for you to pin for easy reference:
You can see all of my 'How To' summaries on my 'How To - Tips and Techniques' Pinterest board in case you've missed any.
Enjoy the rest of your day and I'll be back tomorrow with another project and some exciting news for the month of March. Until then, happy stampin'!
Stampin' Up! Supplies Used:
e590b9ef-eda0-4367-a718-9e761bbd7115|0|.0|96d5b379-7e1d-4dac-a6ba-1e50db561b04
Tags: Slim card Dies, Slimline Envelopes, Biggest Wish, Painted Labels Dies, Dog Builder Punch, Shop online, Shop Stampin' Up! Online, Stampin' Up, Stampin' Up Card, Stampin' Up Card ideas, Stampin' Up Supplies
Cards | Shop Online | Shop Stampin' Up! Online | Stamping