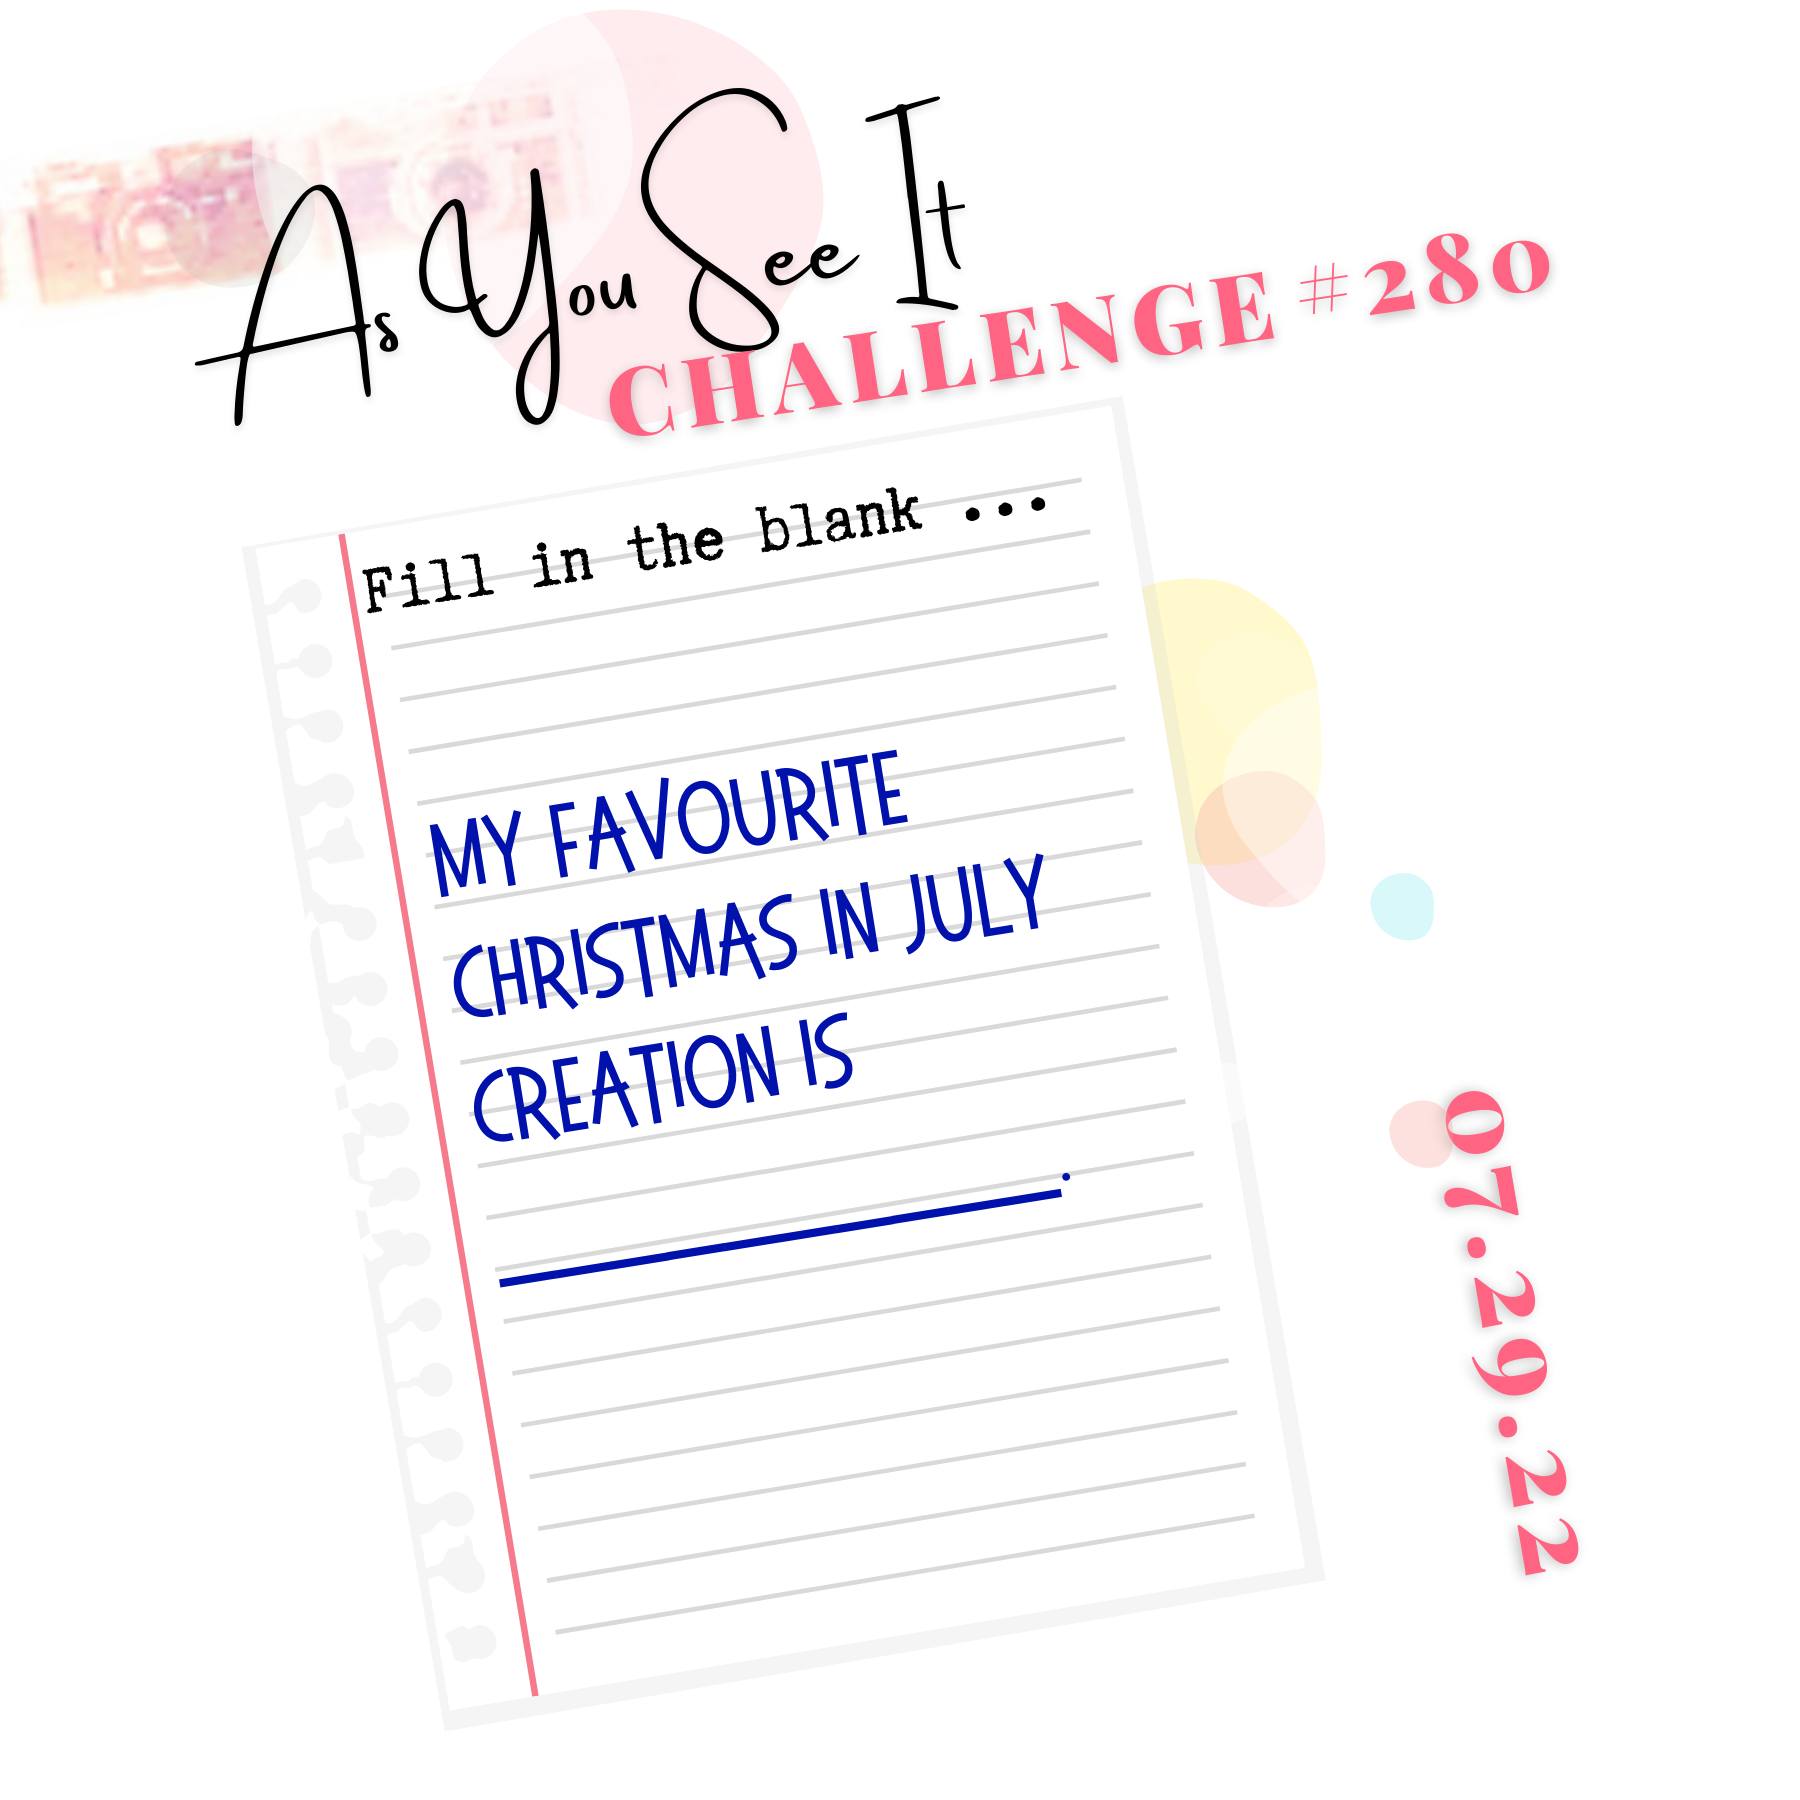
Today I'm sharing my design team card for our new challenge over at As you See It where it's time for a festive 'fill in the blank' challenge:

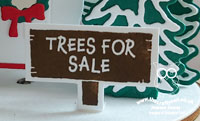
Today we are all about Christmas in July. I do like to get a start on Christmas cards at this time of year, but when it come to my favourite Christmas in July creation it has to be home decor and table favours; these always take longer to make than you think they will and in the busy run up to Christmas there is rarely time to devote large chunks of time to crafting, so I like to get a good headstart on these kinds of projects - it makes me feel organised! I have two projects for you today - a piece of home decor and a co-ordinating table favour. Both use the Tree Lot Dies, available free with a £90 purchase during the current Sale-A-Bration promotion - and I took the inspiration for my festive caravan and 'trees for sale' scene from the top right photo over at Hand Stamped Sentiments - what a great inspo board! First up - here's my home decoration piece:

Here's the low-down on today's projects:
I used a dome that I had in my office that I bought last year that was just waiting to be made into something, and built my little scene onto the base, having first covered the base with snowy white velvet paper (cut with a retired layering circles die). The string of lights, embellished with the pretty Festive Pearls, the trees and the 'trees for sale' sign are all one dimensional and stand with the aid of small supports behind them. The caravan is made by diecutting two of the diecut caravan pieces and adding a base (described in more detail with the table favour below) and a second curved piece of cardstock for the roof (the roof piece measures 3 1/2" x 1 1/2", scored at 1/2" on each side and 1/4" on each side respectively). I added some red ribbon to the top of my dome and red glimmer to the base of my dome for extra festive feel. Here's a close up of my little scene, with the dome removed so that you can see the detail more easily:
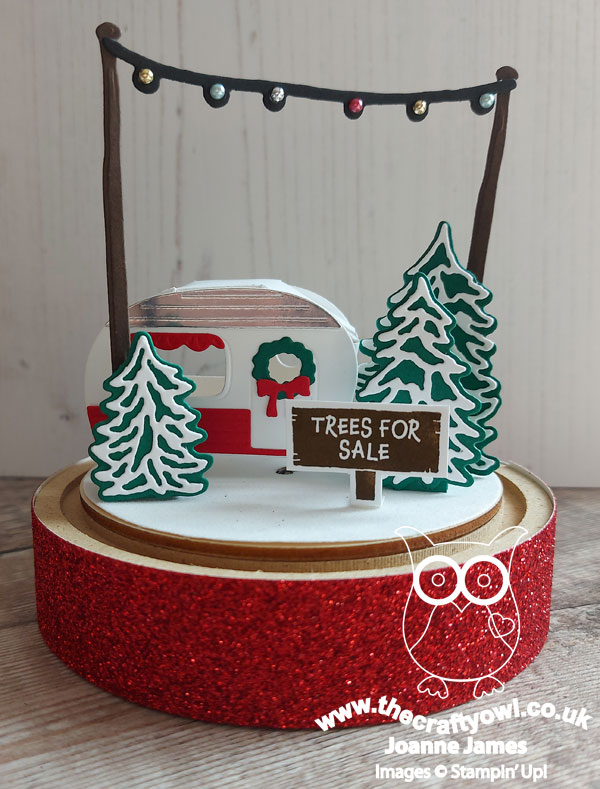
My finished dome measures 11cm wide by 19cm tall and that's not all - it lights up too!
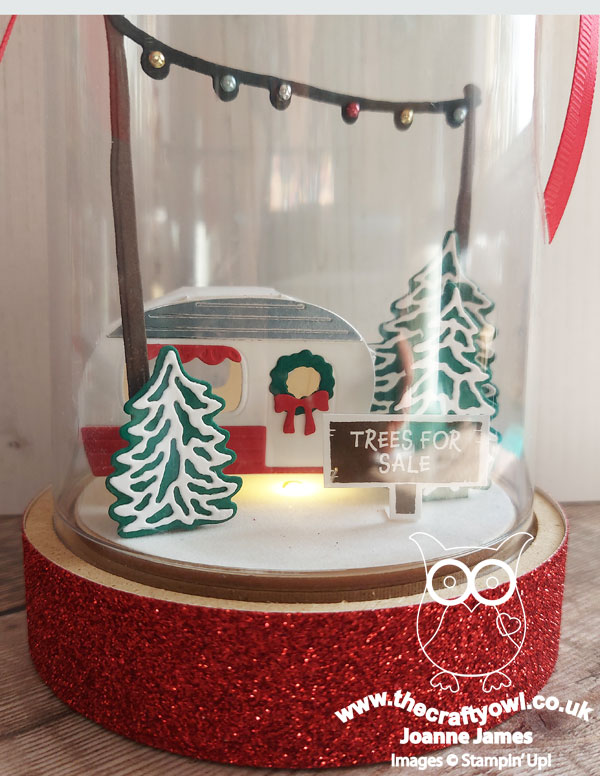
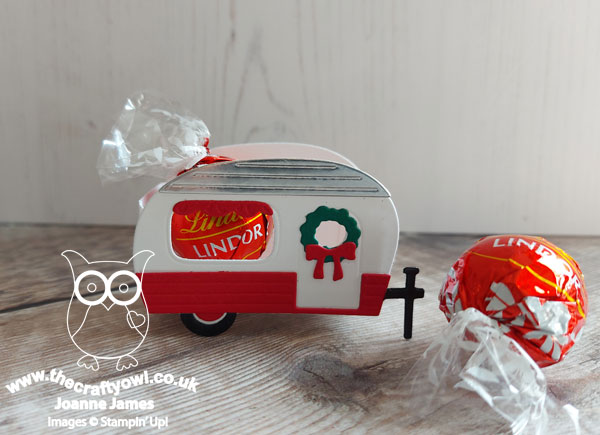
A little tricky to see since I photographed it in daylight, but a nice feature to give a cosy night time glow. In addition to my decoration, which could be used as a table centrepiece, I also created the first of a set of table favours made from the caravan die. These are quite easy to make: just cut two caravan sides, then take a piece of cardstock measuring 4 1/8" x 1 1/2", scored at 1" on each side and 1/4/" on each side respectively, to create the open box shape. They are just big enough to hold two Lindor chocolates or similar:
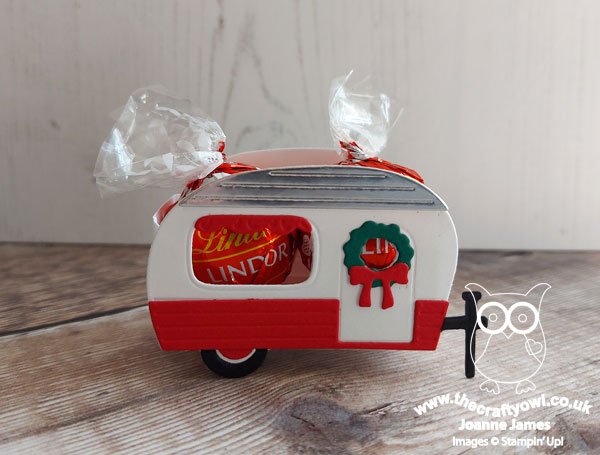
How cute is that?! Both of today's projects are quite easy to make, but I won't lie - there is a time-consuming element, since all of the little pieces need to be cut and glued in place. Worth it though I think - and if you start now, you will have them finished and ready to go when Christmas rolls around!
The key products used on today's project are included in the table below - no visual today.
Here's a summary of our challenge rules:
- Create any card, scrapbooking page, 3D project or packaging project that fits the challenge.
- Please include the challenge graphic and link back to the challenge in your blog post. Turn off word verification so we can leave you lots of lovely comments. Make sure you link the post not the whole blog to the Linky. Use #AYSIXXX when uploading to a public gallery.
- If you’re unsure about ‘the rules’, check the details under the Challenge Guidelines tab on the As You See It Challenge homepage.
- In a Fill in the Blank challenge, complete the sentence in the Challenge Banner with the phrase that is true for you and create your project using the words you used. Tell us what you said in your blog or on your site.
How will you fill in the blank? What are your favourite Christmas In July projects to create? We look forward to seeing your creations in the AYSI gallery.
Enjoy your day and I'll be back tomorrow with another project. Until then, happy stampin'!
Stampin' Up! Supplies Used: