by Joanne James25. May 2023 16:00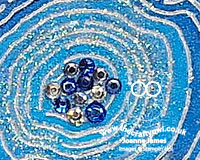
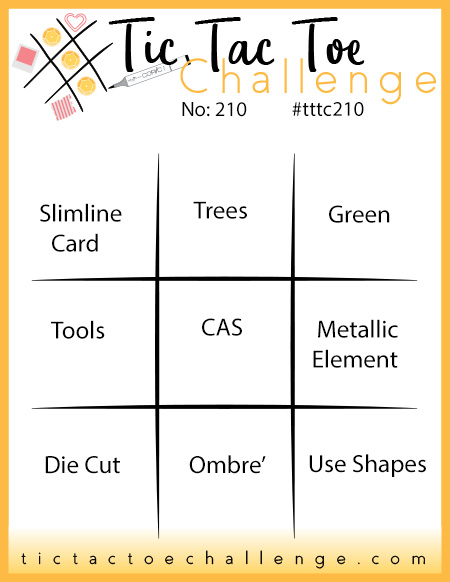
It's Thursday and time for a new challenge over at TicTacToe! It's the turn of Team X to host this week and the lovely Vicky is our featured designer this week. This is the fun board that we are playing along with:


I went across the bottom row with diecut, ombre and shapes to create a masculine card for this week's TGIF Challenge that gave me the opportunity to use some existing product in a whole new way - take a look:
Here's the low-down on today's card:
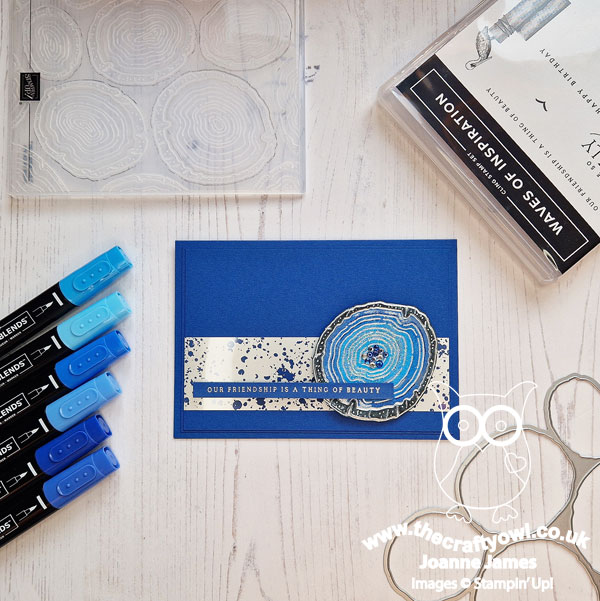
I was captivated by the fabulous blues of the Just Us Girls mood board this week and I was excited to see the geode in the top right photo, as I've wanted to try and create one of these for a while. I saw a card by fellow demonstrator Carrie Button that used the Tree Rings Dies and co-ordinating embossing folder to create a geode and wanted to have a go (here's a link to her helpful video tutorial if you'd like to take a look at how she did it). I made my geode slightly differently so I've included step by step instructions in case you'd like to recreate:
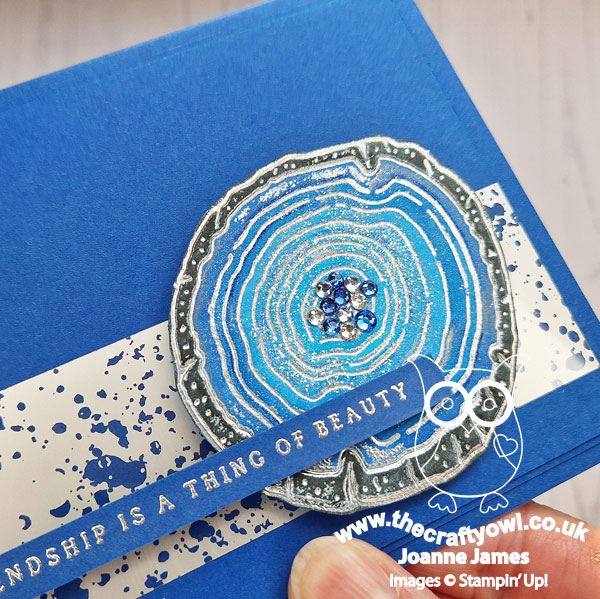
- Take a piece of Tahitian Tide cardstock and run through the Tree Rings Hybrid Embossing Folder, having inked the upper side of the EF with Versamark.
- Heat emboss the embossed tree ring with metallic silver embossing powder and cut out with co-ordinating die.
- Colour the geode: use a Basic Grey Stampin' Write marker for the outside, then use a combination of Tahitian tide, Azure Afternoon and Blueberry Bushel Blends to colour the inner rings.
- Add fine line detail with Stampin' Write markers in the same colours.
- Brush the ombre blue section with clear Wink of Stella, then add some loose (retired) Dazzling Diamonds Glitter to the centre.
- Finish the centre by adhering a combination of blue and clear rhinestone basic jewels (colour them with your Stampin' Blends).
That's it! Check out the sparkly detail - I can't tell you just how awesome this is in real life:
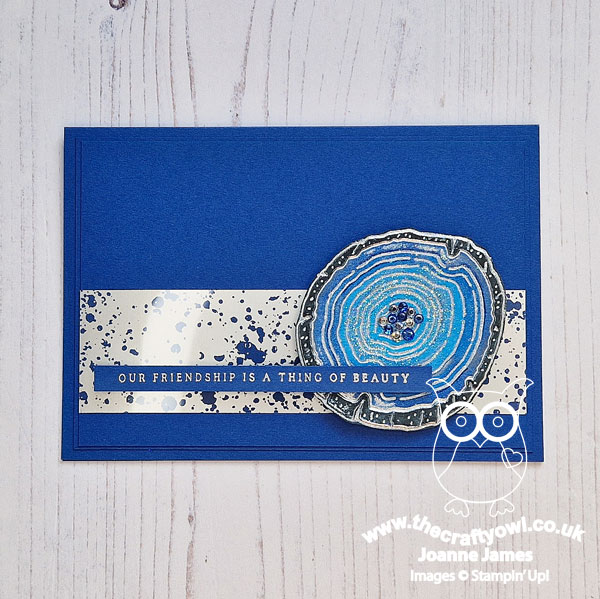
I wanted my geode to take centre stage, so the only other decoration was a strip of (retired) Mercury Glass Acetate that I added to my Blueberry Bushel card base. I used a sentiment from the 'Waves of Inspiration' stamp set as I though this worked well - this geode is most definitely a thing of beauty as far as I'm concerned!
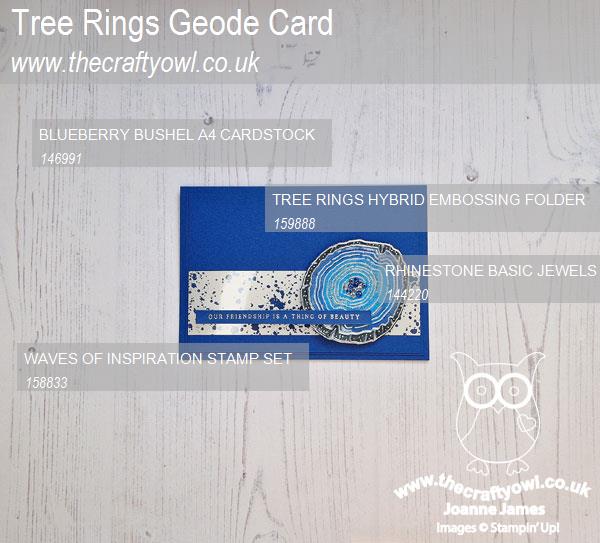
Here is the visual summary of the key products used on today's project for you to pin for easy reference:
You can see all of my Product and 'How To' summaries on my 'How To - Tips and Techniques' Pinterest board in case you've missed any.
A tictactoe board offers so many creative possibilities - how does this week's board inspire you? Why not have a go? We would love to see you in the gallery and who knows - you might be selected for Designer's Choice and be eligible to be a guest designer on a future challenge.
Enjoy your day; today is the last exam day for the James Juniors this side of half-term; we are looking forward to a brief, if revision-filled, respite for the next week, before we start again. The youngest of the James Juniors proudly announced this morning that he has passed the halfway point - ever the optimist, bless him! I'll be back tomorrow with another project. Until then, happy stampin'!
Stampin' Up! Supplies Used:
by Joanne James22. October 2022 10:48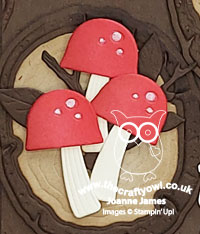
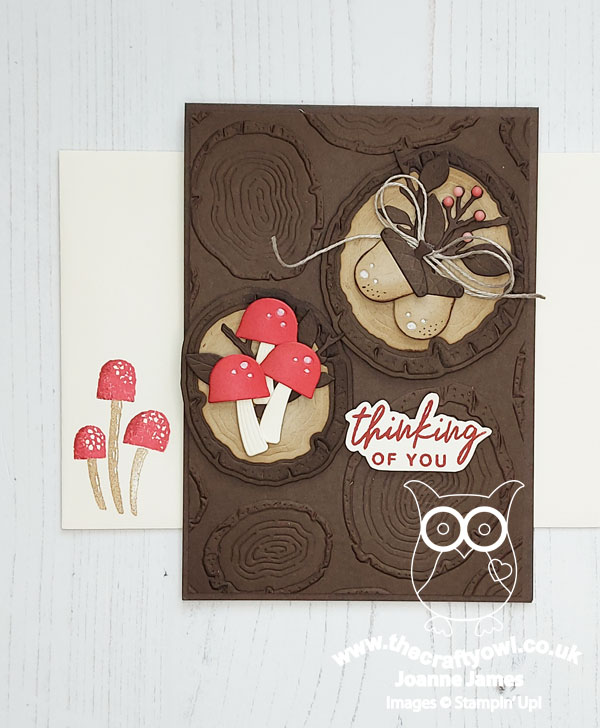
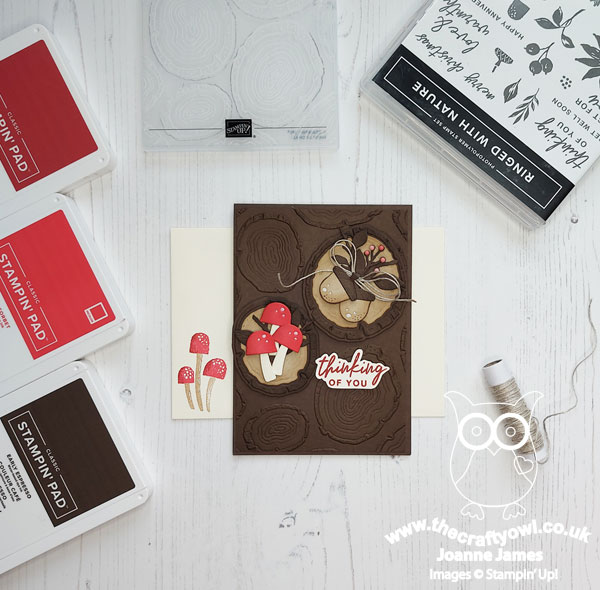
Today I'm sharing the card that pairs with the one I shared earlier in the week using the Ringed With Nature bundle; this uses the same colours, but a different layout - I used the Try Stamping on Tuesday sketch as my starting point (mirrored to work with my embossing folder):

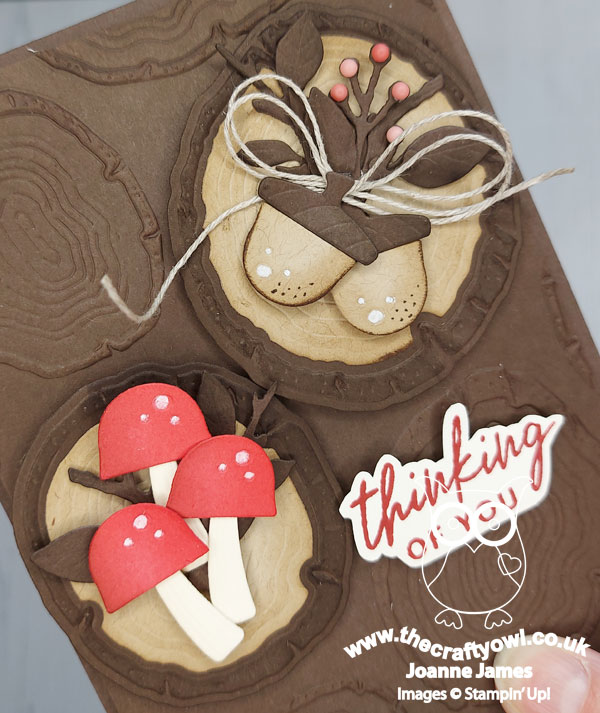
I used the Tree Rings Embossing Folder to emboss the whole of the cardfront, then layered an extra two for the detail, focusing on the dies in the set - take a look:
Here's the low-down on today's card:
I used acorns tied with linen thread, along with some leaves and berries accented with in-colour matt dots for my top circle, followed by a trio of mushrooms for the second circle:
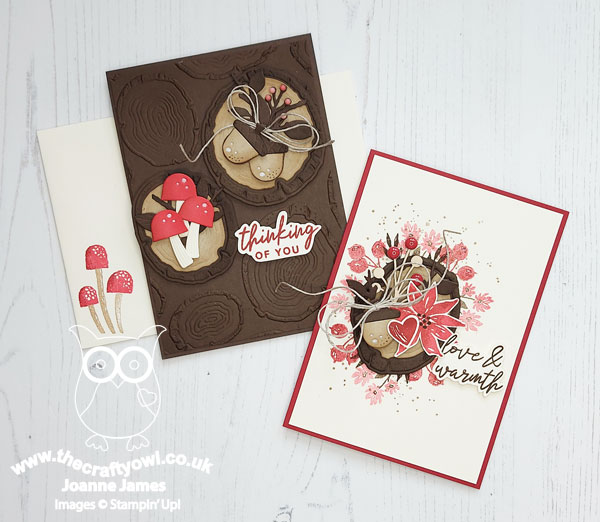
I carried the toadstool design over to the envelope and the inside of my card, which I completed with a 'get well soon' message. This card is already in the post to a dear friend of mine who is definitely in need of a pick-me-up this week, following an unexpected emergency surgery whilst already recuperating from an unrelated procedure. I hope she likes it!
Here's a photo of both of my Ringed With Nature cards together - I think they make a great pair. Which do you prefer? The one that focuses on the stamped images or the dies?
Do leave me a comment below - I'd love to hear your thoughts.
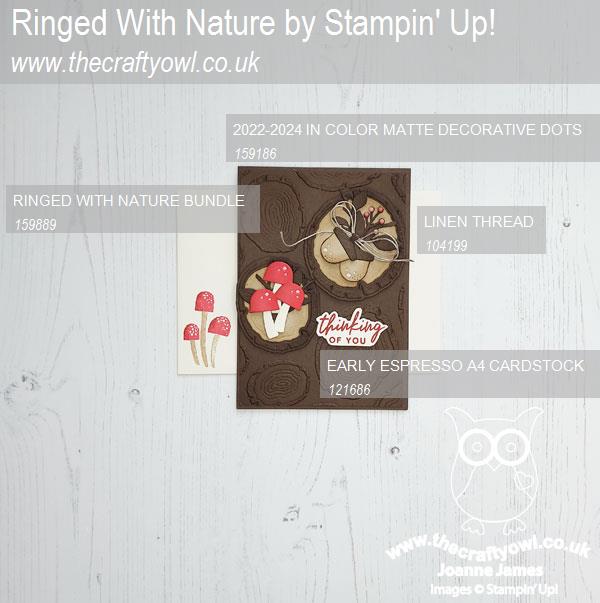
Here is the visual summary of the key products used on today's project for you to pin for easy reference:
You can see all of my 'How To' summaries on my 'How To - Tips and Techniques' Pinterest board in case you've missed any.
Enjoy your day; we had early hockey today with both James Juniors playing at the same time - a rare thing! It did mean I managed to squeeze in an extra post; the rest of my day will be spent getting the oldest ready for a school trip to San Francisco tomorrow and an early night in readiness for the super-early Sunday alarm - well, we can't have everything, can we?! and I'll be back tomorrow with another project. Until then, happy stampin'!
Stampin' Up! Supplies Used:
by Joanne James20. October 2022 16:00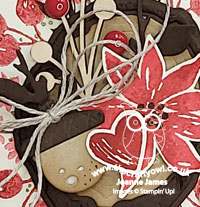
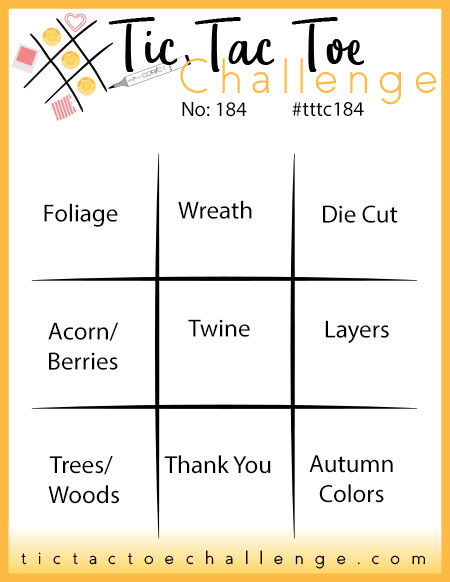
It's Thursday and time for a new challenge over at TicTacToe! It's the turn of Team X to host this week and I am the featured designer. This is the fun board that we are playing along with:


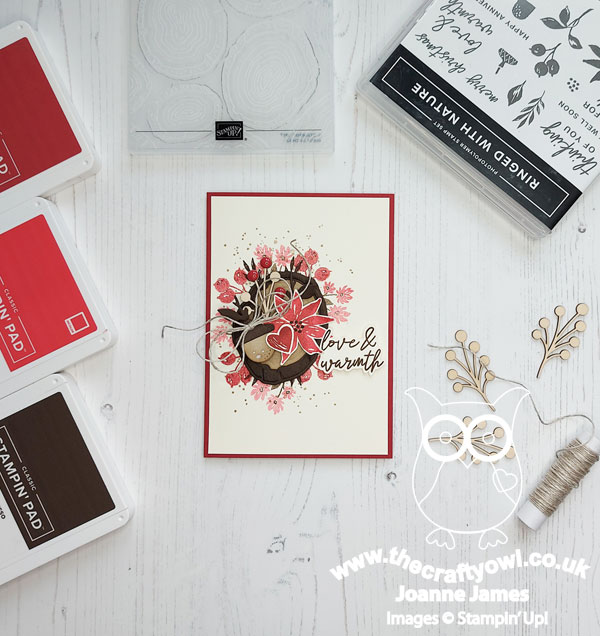
Apologies for the lateness of today's post - life sometimes gets in the way! I used the Atlantic Hearts sketch for my layout and the colours over at Colour Inkspiration and went down the first column of the board with foliage, acorn/berries and trees/wood - take a look:

Here's the low-down on today's card:
I used the Ringed with Nature stamp set and co-ordinating Tree Rings Hybrid Embossing Folder to stamp some leaves, florals and berries onto my vanilla layer (having stamped-off first), along with some splatters, then added a diecut tree ring, layered with diecut and stamped elements that I fussy cut, a linen twine bow and a Textural Elements wooden berry sprig, to which I added a trio of (retired) Cherry Cobbler enamel dots. I stamped and fussy cut my sentiment and added that alongside:
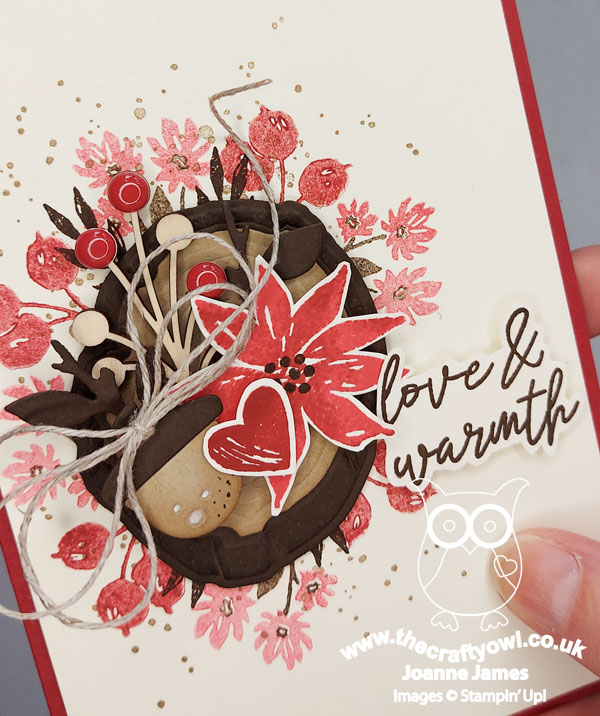
This is one of those cards that just evolved into the finished product as I added and removed bits and pieces until I was happy with it. I love the texture of the diecut elements and by sponging them with additional colour it really adds depth. In fact, I liked the colours so much I made a second card - I'll share that with you on Saturday!
Here is the visual summary of the key products used on today's project for you to pin for easy reference:
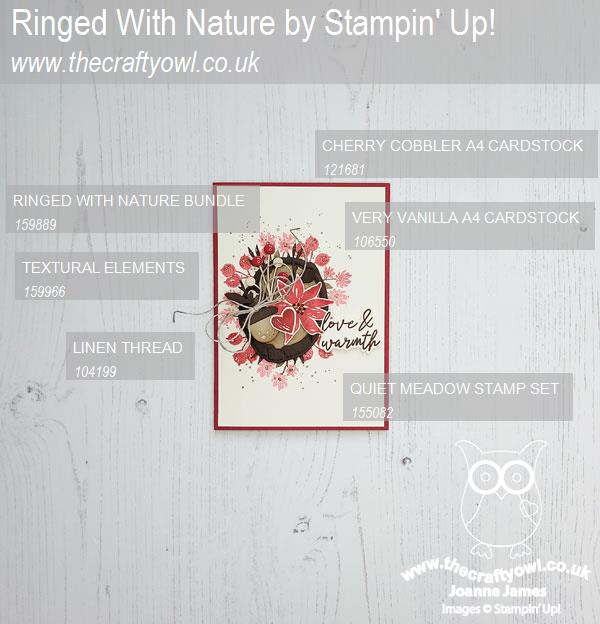
You can see all of my Product and 'How To' summaries on my 'How To - Tips and Techniques' Pinterest board in case you've missed any.
A tictactoe board offers so many creative possibilities - how does this week's board inspire you? Why not have a go? We would love to see you in the gallery and who knows - you might be selected for Designer's Choice and be eligible to be a guest designer on a future challenge.
Enjoy your evening; I'll be back tomorrow with another project. Until then, happy stampin'!
Stampin' Up! Supplies Used:
by Joanne James8. September 2022 16:00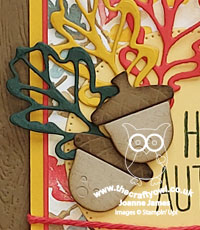
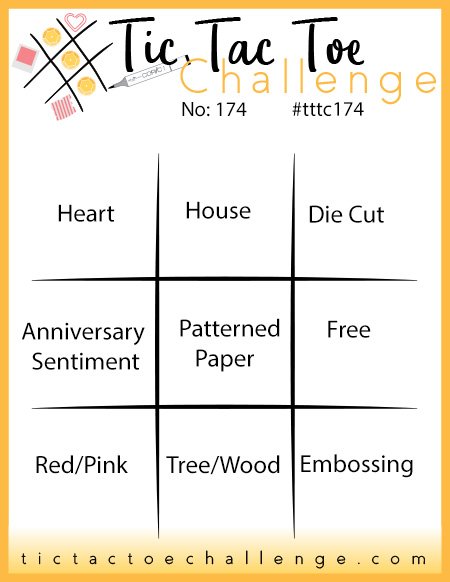
It's Thursday and time for a new challenge over at TicTacToe! It's the turn of Team X to host this week and the lovely Felicita is our featured designer this week. This is the fun board that we are playing along with:
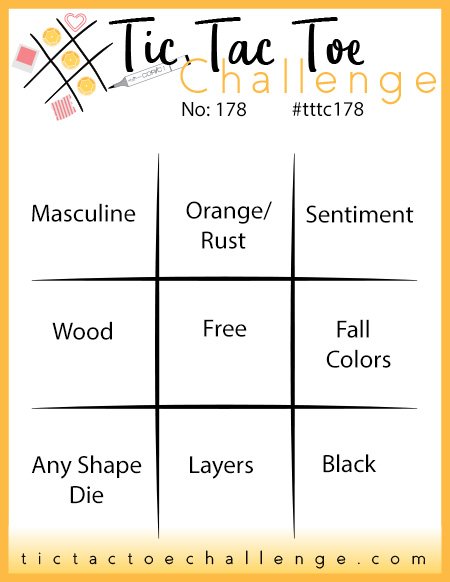

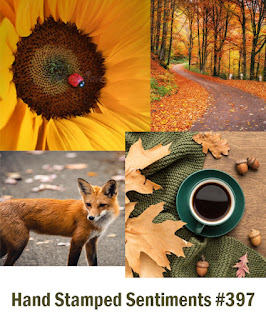
I used the sketch over at Sketch Saturday for my layout and went along the centre row of the board with wood/free/fall colours and incorporated the colours, leaves and acorns of the Hand Stamped Sentiments inspiration photo for my card to welcome autumn - take a look:

Here's the low-down on today's card:
Timber Texture - I ran my card base through the Timber Embossing Folder for my wood element, then added a piece of the now retired Sale-A-Bration Rings of Love designer series paper down the centre - the pattern is perfect to evoke an autumnal feel.
Chic Leaves - I added a sentiment from a retired set to a stitched circle and embellished this with a trio of diecut oak leaves curtesy of the Chic Dies - such a great die set, with something for every season.
An Acorn Pair - I finished my card with a pair of diecut acorns from the Tree Rings Hybrid Embossing Folder and Dies and some retired Poppy Parade thick baker's twine. Here's a closeup of that diecut detail and those lovely autumn colours:
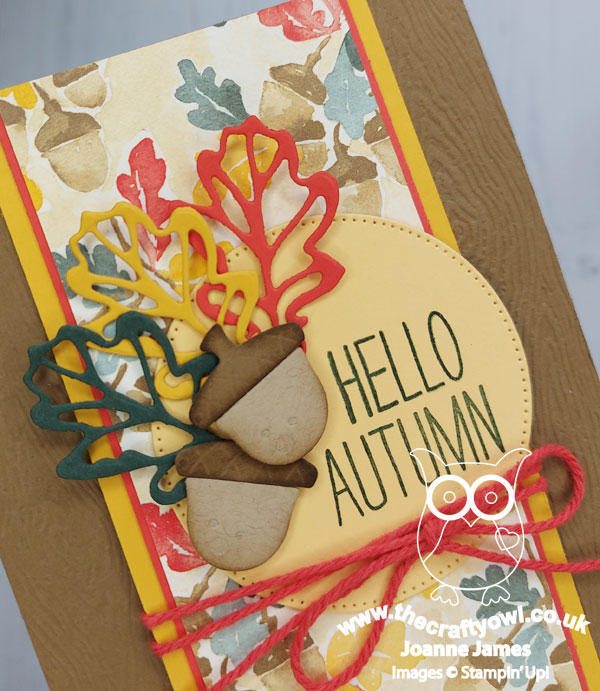
I love the vibrancy that is added by the pop of red from the baker's twine and the additional textures that always seem to accompany my autumn-themed cards.
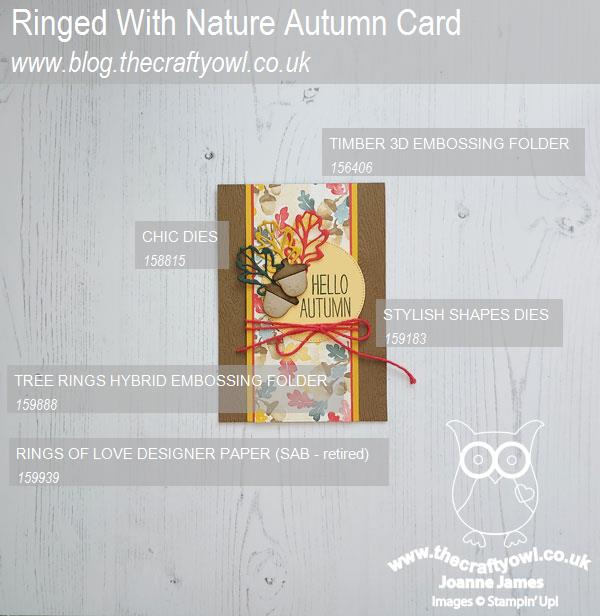
Here is the visual summary of the key products used on today's project for you to pin for easy reference:
You can see all of my Product and 'How To' summaries on my 'How To - Tips and Techniques' Pinterest board in case you've missed any.
A tictactoe board offers so many creative possibilities - how does this week's board inspire you? Why not have a go? We would love to see you in the gallery and who knows - you might be selected for Designer's Choice and be eligible to be a guest designer on a future challenge.
Enjoy your day; I'll be back tomorrow with another project for our new challenge over at As You See It. Until then, happy stampin'!
Stampin' Up! Supplies Used:
7510f0a0-b362-4fee-a886-813cfffec7d2|0|.0|96d5b379-7e1d-4dac-a6ba-1e50db561b04
Tags: Stampin' Up, Stampin' Up Card, Stampin' Up Card ideas, Stampin' Up Supplies, Shop online, Shop Stampin' Up online, Shop Stampin' Up! Online, TicTacToe Challenge, Timber 3D Embossing Folder, Chic Dies, Tree Rings Hybrid Embossing Folder, Stylish Shapes Dies
Cards | Shop Online | Shop Stampin' Up! Online | Stamping
by Joanne James11. August 2022 18:00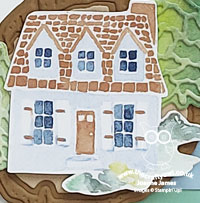
It's Thursday and time for a new challenge over at TicTacToe! It's the turn of Team X to host this week and I am the featured designer this week. This is the fun board that we are playing along with:
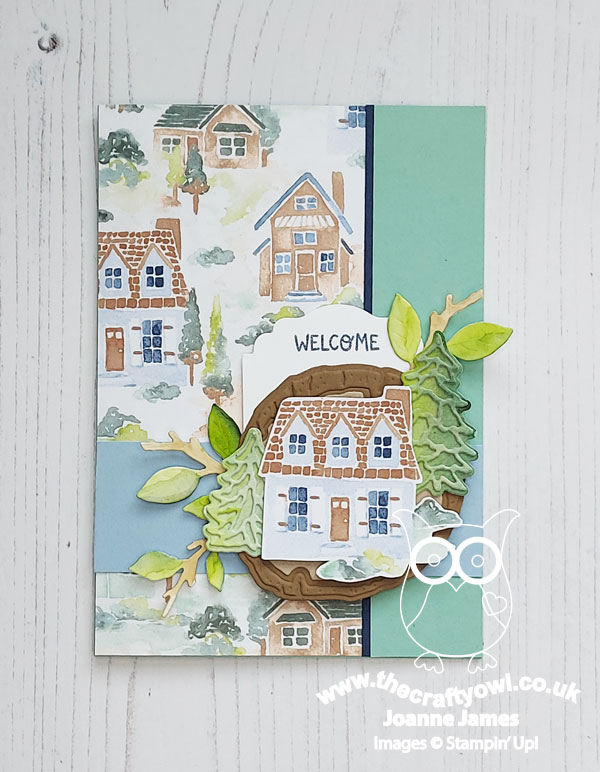
I went down the middle column with house, patterned paper and tree/wood and using the sketch layout over at SUO Challenges decided to make a 'welcome to your new home' card - take a look:
Here's the low-down on today's card:
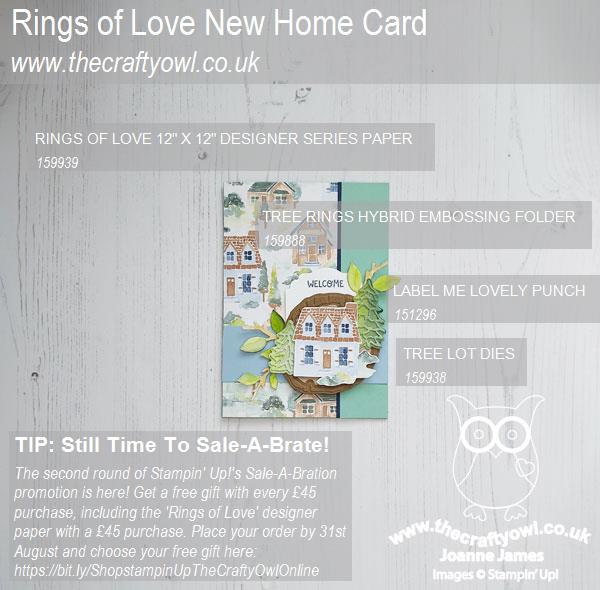
I used one of the house pattern sheets from the Rings of Love designer series paper (free during Sale-A-Bration with a £45 purchase) and added a panel to my Mint Macaron cardbase, whilst fussy cutting another house to form the centre of my clustered focal point. I used the Label Me Lovely punch to punch a piece of white cardstock and added my welcome greeting, then tucked this behind a layered tree ring. You can't fully see the detail on this card, but I just love the new Tree Rings hybrid embossing folder and co-ordinated dies - so much texture and detail! I added some branches cut using other dies in this set that I watercoloured, along with some trees cut using the Tree Lot Dies which I watercoloured to mimic the loose colouring of the DSP and layered all of the elements together:
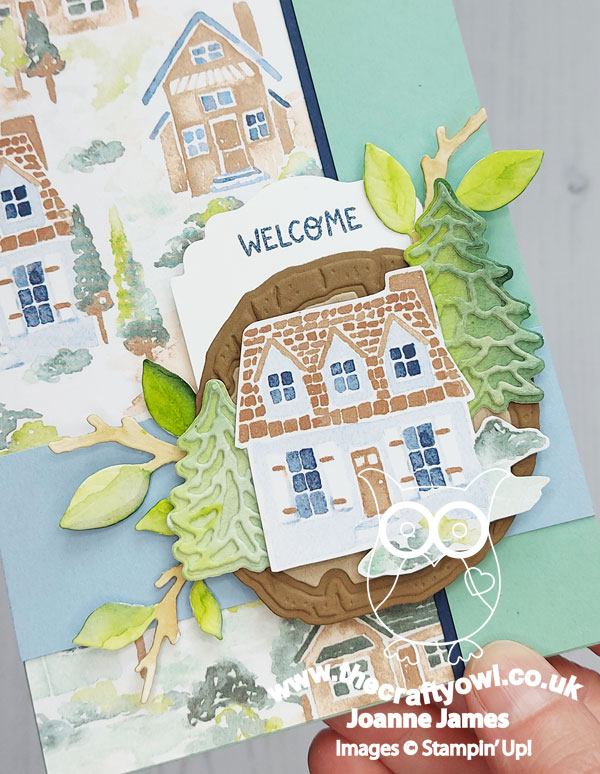
The papers in this pack are great and I think this is one of my favourite designs; it's just perfect for a 'new home' card. Oh, and did I mention it's FREE?! Gotta love Sale-A-Bration!
Here is the visual summary of the key products used on today's project for you to pin for easy reference:
You can see all of my Product and 'How To' summaries on my 'How To - Tips and Techniques' Pinterest board in case you've missed any.
A tictactoe board offers so many creative possibilities - how does this week's board inspire you? Why not have a go? We would love to see you in the gallery and who knows - you might be selected for Designer's Choice and be eligible to be a guest designer on a future challenge.
Enjoy your day; I'll be back tomorrow with another project for our new challenge over at As You See It. Until then, happy stampin'!
Stampin' Up! Supplies Used:
8b7e2f06-a51c-4818-ba11-f711830ebac8|0|.0|96d5b379-7e1d-4dac-a6ba-1e50db561b04
Tags: Stampin' Up, Stampin' Up Card, Stampin' Up Card ideas, Stampin' Up Supplies, Shop online, Shop Stampin' Up online, Shop Stampin' Up! Online, TicTacToe Challenge, Rings of Love, New Home, Sale-A-Bration 2022, Sweet Songbirds, Tree Lot Dies, Tree Rings Hybrid Embossing Folder
Cards | Sale-a-bration | Shop Online | Shop Stampin' Up! Online | Stamping