
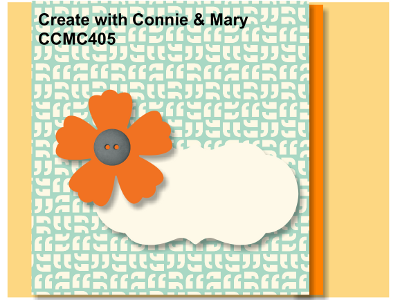
Today it's time for a new challenge over at Create With Connie and Mary and this week we have a sketch for you:

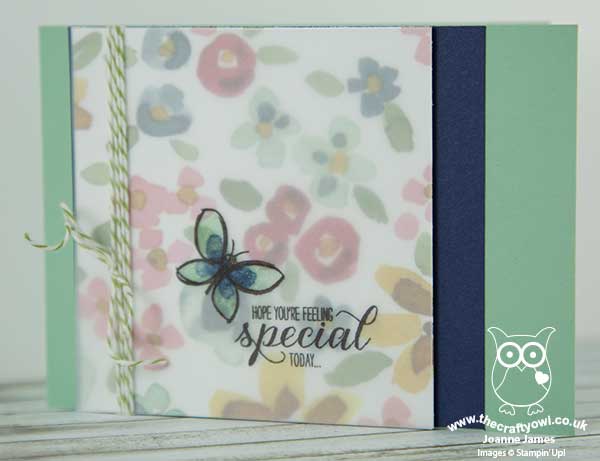
For today's card I decided to go floral - take a look:
Here's the low-down on today's card:
English Garden - I am on a quest to use up my retiring papers so I started my card today with a piece of patterned English Garden Designer Series Paper. There are such pretty patterns in this set and I went for a rather busy one, with lots of colour and pattern.
Vellum Soft - I decided to tone down the vibrancy and business of my DSP by overlaying it with a piece of vellum. This softens it and also gave me a surface to stamp my sentiment onto, which allows it to stand out a little more against the pattern of the background. I took my inspiration from some of the samples on page 119 of the current seasonal catalogue where this technique is used to great effect.
Garden In Bloom - I used the 'Garden in Bloom' stamp set for my sentiment and butterfly, layering two colours for my butterfly wings before stamping with the outline stamp. I also added a liberal does of clear Wink of Stella to the finished butterfly for a beautiful sparkle.
Here is the visual summary of the key products used on today's project for you to pin for easy reference:
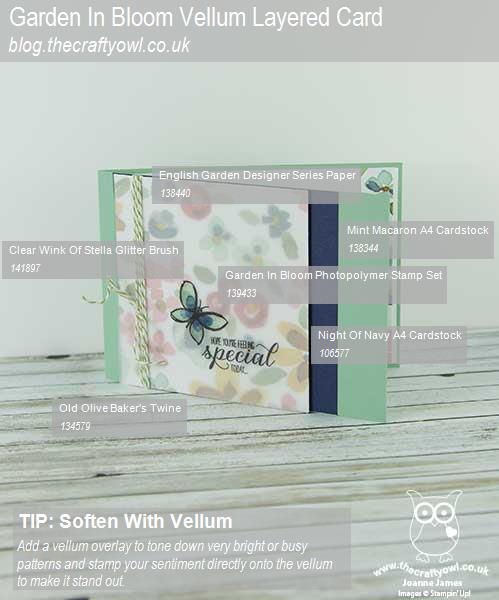
You can see all of my 'How To' summaries on my 'How To - Tips and Techniques' Pinterest board in case you've missed any.
I also made a second card using the same design but an alternative colourway, which I'm linking up with the team over at Stamp Ink Paper where they have a fun tic-tac-toe board. I've also included a sneak peek product on this one too - check out the thick Melon Mambo baker's twine:
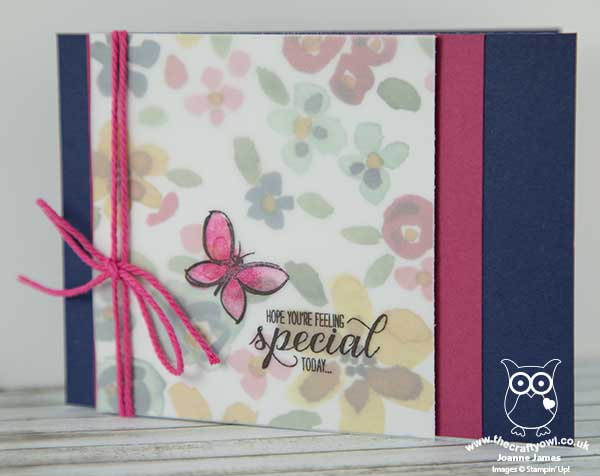
I went across the board, top row - flowers, butterfly, twine - but by coincidence it also fits down the middle too - butterfly, birthday, patterned paper. I think the pink against the navy has a little more 'pop' than the first card, but I like them both; do leave me a comment and let me know which one you prefer!
Do visit the other Design Team members to see what they did with this week's sketch; there's lots of inspiration over on their blogs too!
Enjoy your day and I'll be back tomorrow with another project; until then, happy stampin'!
Stampin' Up! Supplies Used:
- Garden In Bloom Photopolymer Stamp Set
- English Garden Designer Series Paper
- Old Olive Baker's Twine
- Mint Macaron Classic Stampin' Pad
- Mint Macaron A4 Cardstock
- Night Of Navy Classic Stampin' Pad
- Night Of Navy A4 Cardstock
- Clear Wink Of Stella Glitter Brush
- Basic Black Archival Stampin’ Pad
- A4 Vellum Cardstock