Well what a busy few days I've had! All the excitement of the new Stampin' Up! Annual Catalogue launch at the UK event in Telford, followed by the release of the list of products that will be retiring at the end of May. Many of you may, like me, have experienced technical issues with the online store last night; I am pleased to report that these have now been fixed and you should experience no problems at all shopping online. Clearly many of you have managed to do so successfully already, given that some items have already sold out and others are showing low inventory. If you still have items on your wishlist that you want to buy, remember that items on the retiring list are available only whilst stocks last and may not be available until the 31 May. Also, if you are purchasing from my online store, don't forget to use the current hostess code UD3KDWM4 to receive a thank you gift from me at the end of the month.
Today I'm sharing another of the cards from my recent technique class featuring the Rose Wonder stamp set and co-ordinating Rose Garden thinlits dies:
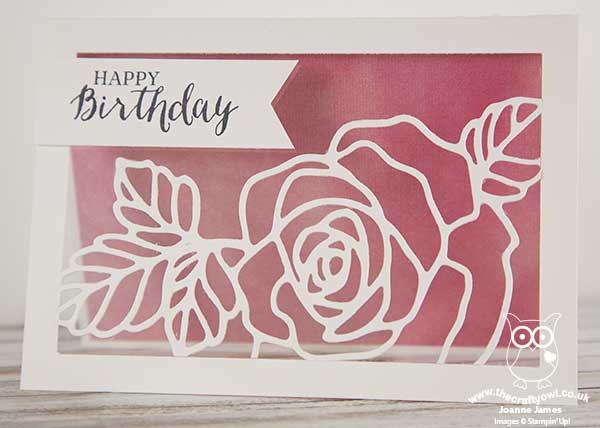
This card is beautifully elegant and not that tricky to create - here's the lowdown:
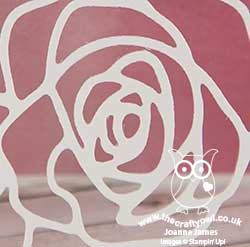
Clean and White - a cardbase of Extra Thick Whisper White cardstock was used for my card and I cut out the window using my trimmer, cutting a 1cm frame in from each side (you could use your Square Framelits for this too). I used the piece I had cut out to cut an outline of the large flower and leaves with the Rose garden thinlits, with the edges hanging off the edge. This rose then aligns perfectly within the frame with no overhang - like an inlaid die cut.
A Window - I could have simply diecut my flower and adhered it to the edge of the frame, but since I chose to inlay it I needed something to attach it to; I simply backed the frame with a piece of acetate and use this to adhere my rose to. I stamped my simple sentiment, used my hexagon punch to flag the end, then adhered this to the outer edge of the card's frame. The acetate makes the card more robust and offers a nice reflective quality.
Perfectly Artistic - I backed the inside panel of my card with some of the now retired Sale-A-Bration paper 'Perfectly Artistic'. I knew lots of my ladies had this paper and would appreciate some ideas on how to use it and the watercoloured wash provided just the right amount of subtle colour needed. If you don't have any of this paper, you could just as easily watercolour a background using your aquapainter or substitute with other decorative patterned paper.
This card proved very popular with the ladies in my class - I'm expecting to see lots more of these with different colours behind once they've had the chance to experiment at home!
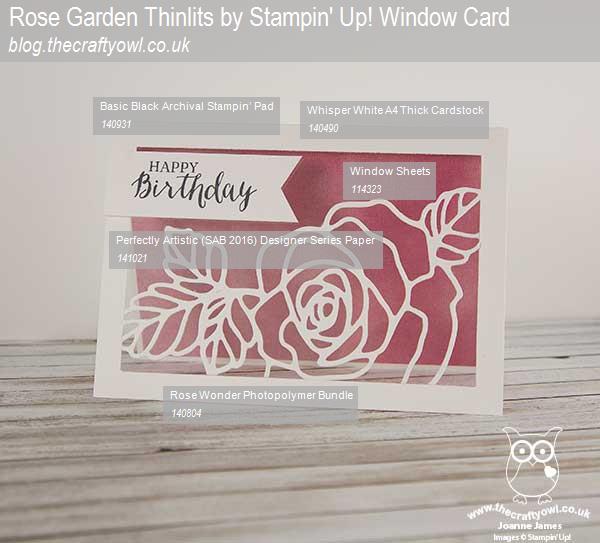
Here is the visual summary of the key products used on today's project for you to pin for easy reference:
You can see all of my 'How To' summaries on my 'How To - Tips and Techniques' Pinterest board in case you've missed any.
I'll be back tomorrow with another project; until then, happy stampin'!
Stampin' Up! Supplies Used: