Hi everyone! Wednesday already? Oh my! I've had a busy start to my week with online card classes which are really starting to take off as we get used to the technology. I had my main class on Monday using 'Beautiful Friendship' one of my most favourite sets (cards to follow). In order to stave off boredom for a lot of my regular crafty ladies, I've been following up each class with a couple of shorter 30 minute sessions that use the same set we used in our class but using different techniques. This is more like a Facebook live but we still use Zoom so that we are in a classroom format and can all see and talk to each other as I'm demonstrating. I don't do many Facebook lives and must confess I much prefer the classroom format. If anyone is reading this and thinking they would like to know more about online classes or these little demo sessions, then do check out my Facebook page or leave me a comment below and I can add you to my group.
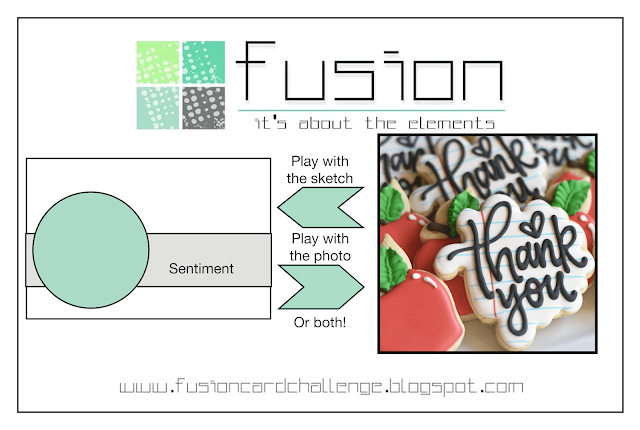
Anyway - time for a blog post! I've had a few server issues with my hosting company earlier this week, so if you popped by and couldn't reach my blog, please accept my apologies - things should all be sorted now I'm told! So today I'm sharing another couple of cards using the #ShareSunshine product giveback download that Stampin' Up! has released to raise funds for Covid-19 related charities - you can read all about it and purchase the download if you are interested in my previous post here. For the first one I used the current Fusion sketch for my layout (great sketch!):
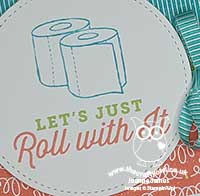
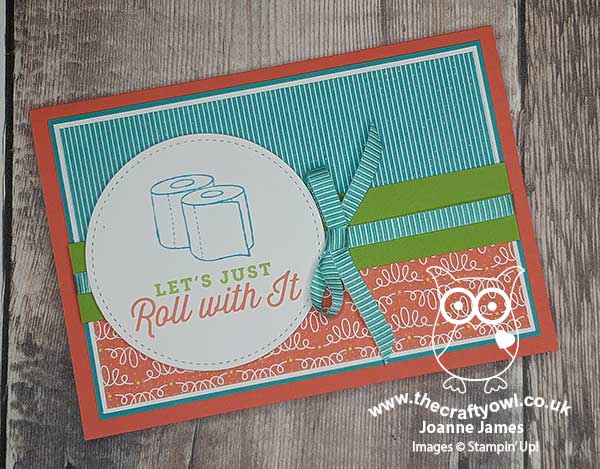
I used the fun loo roll image and once printed die cut it with a stitched circle, and paired it with some retired Bubbles & Fizz Sale-A-Bration papers - take a look:
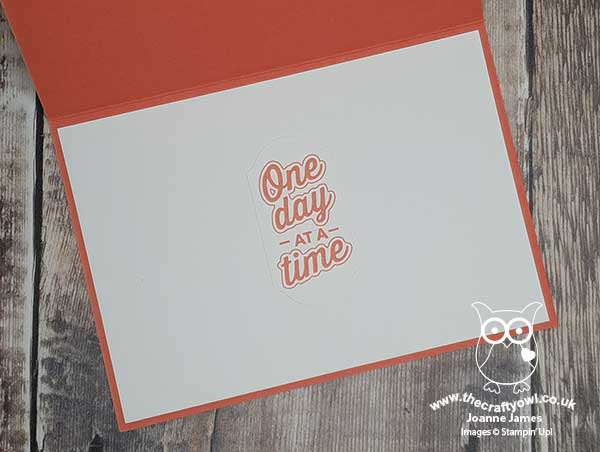
I added some striped Bermuda Bay ribbon and another of the print out sentiments to the inside of my card:
That's pretty much all we can do right?!
One of my lovely customers, Jane, shared some fabulous cards using this download over on my Facebook page and I noticed that she had used some of these papers and they actually match quite a lot of the sentiments and images, so I got to use up some paper too. If you would like to see Jane's cards, you can see them here - thanks for the inspiration Jane!
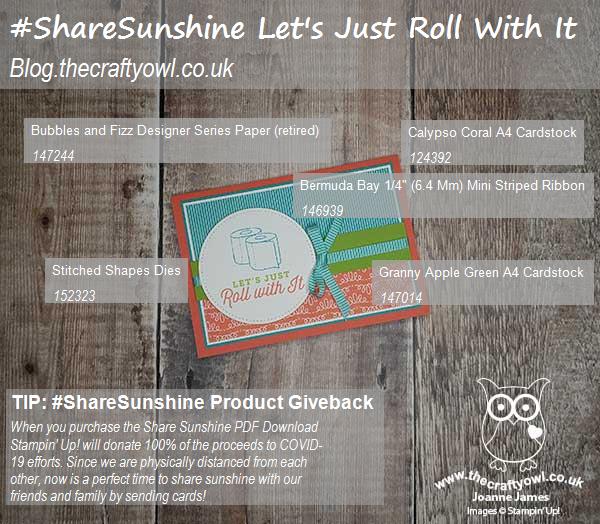
Here is the visual summary of the key products used on today's project for you to pin for easy reference:
You can see all of my 'How To' summaries on my 'How To - Tips and Techniques' Pinterest board in case you've missed any.
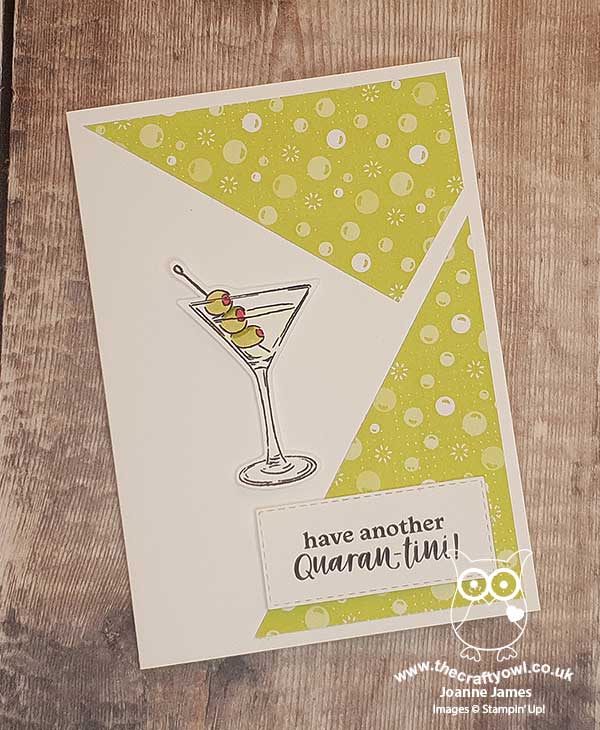
I also managed a quick second card this afternoon, using this week's CAS(E) This Sketch:

I used another or the retired Bubble and Fizz papers and paired it with the martini glass that I coloured with Blends and this fun sentiment:
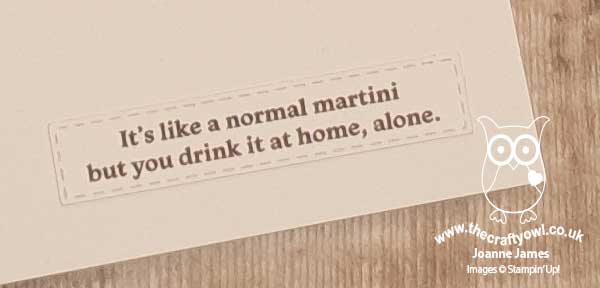
It finishes inside the card like this:
Enjoy your evening. I spent my day editing and uploading some online class videos and enabling my oven repair man to do his job whilst social distancing - why do these things always break down at the most inconvenient times?! I'll be back tomorrow with another project. Until then, happy stampin'!
Stampin' Up! Supplies Used:
#ShareSunshine Digital Download: get yours here