
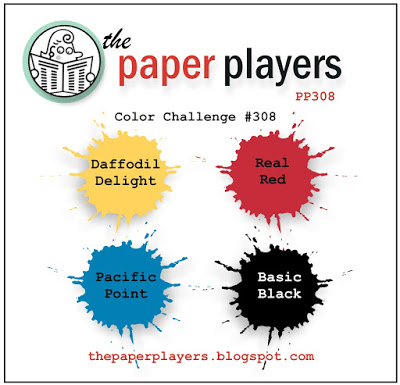
It's Sunday and time for a new challenge over at The Paper Players! It's my dear friend Claire's turn to host this week and she has a great palette of primary colours for you to work with:

These colours are perfect for a back to school project. I actually used these colours for a quick card that I made for this week's sketch challenge over at the As You See It Challenge earlier this week but couldn't link it up as their site is down, so I thought I would instead share it today (edited to add: subsequently back on line now so I've linked):
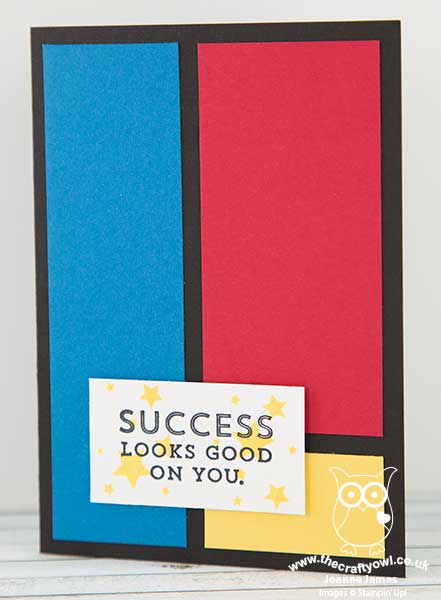
There is so much you could do with the AYSI sketch, but I found myself constantly returning to the idea that it had all the makings of a Mondrian painting - so I decided to create a clean and simple card in that style. Here's the low-down on today's card:
Mondrian Blocks of Colour - Piet Mondrian is a Dutch painter famous for his modern art using bold blocks of primary colours and white, delineated with black lines. My card is a super-simple card in this style; my fellow PP designer, Hannelie Bester, has also made a card with a Mondrian influence this week that is much more intricate and detailed and if you're a fan of this style of art you should definitely check it out.
Suite Words of Success - This message of success comes from the 'Suite Sayings' sentiment set. I've not used this set in a while, but I've used it many times earlier this year and it's one I was so pleased to see carried over from the Spring-Summer seasonal catalogue into the annual. This modern font was the perfect fit for my card today.
Perpetual Stars - Rather than leave my sentiment just black on white, I did break with my colour blocking slightly to add a burst of bright yellow stars to add to the celebratory feel. I used the star stamp from the Perpetual Calendar stamp set for this - such a useful set with lots of small stamps that are perfect for small details.
I know lots of students expecting GCSE exam results this year, so I thought this would make a great exam success card. Maybe one that would work for a boy too - not too 'pretty'!
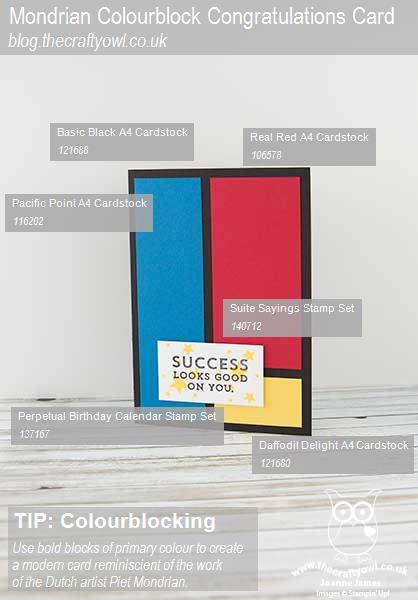
Here is the visual summary of the key products used on today's project for you to pin for easy reference:
You can see all of my 'How To' summaries on my 'How To - Tips and Techniques' Pinterest board in case you've missed any.
Before you reach for your ink and papers, check out what our amazing team has created to inspire you this week:
The Paper Players Design Team
Here's a quick recap of our challenge rules:
1. Create a new paper project
2. Upload your creation to your blog with a link back to us and provide a direct link to the post featuring your challenge submission.
3. Please link your card to no more than four challenges, TOTAL.
4. Have FUN!
I look forward to seeing what you create with our colours this week.
Back tomorrow with another project; until then, happy stampin'!
Stampin' Up! Supplies Used: