Happy Bank Holiday weekend to my UK readers and I hope the rest of you are finding fun (and maybe even crafty!) things to do this weekend. I have managed to squeeze in a little craft time this week so do have lots of new projects to share with you (especially using the items in my Autumn-Winter preorder box, I can't stop creating with them!) but firstly today I want to talk about creative escapes of a different kind!
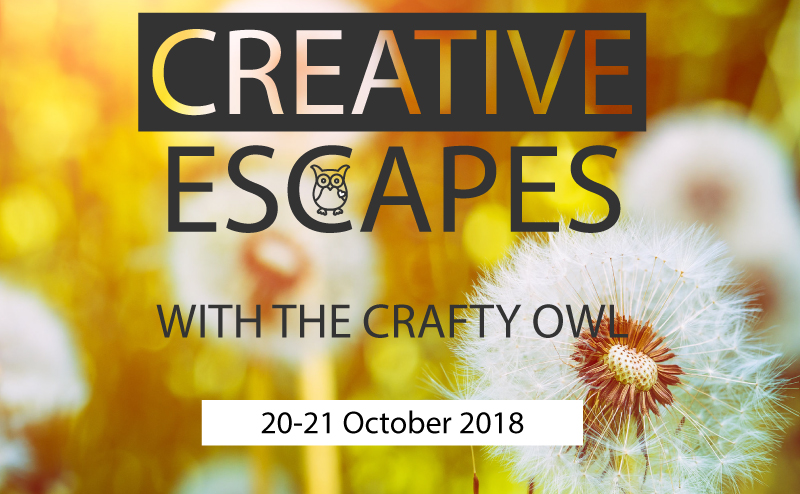
Further to the successful weekend retreat I held earlier this year with my friend and fellow demonstrator Louise Sims, I have another two sole ventures planned. The same venue, more great projects and most importantly a weekend away, full of crafting and good company. If getting away from everyone and everything and having some ME time appeals, then a luxury weekend of crafting and a Creative Escape with The Crafty Owl sounds just the thing for you.
Where is the retreat held?
The venue for the Craft Retreat is the gorgeous 4 star Macdonald Ansty Hall Hotel, conveniently located just off the M6/M69, near Coventry, Warwickshire.
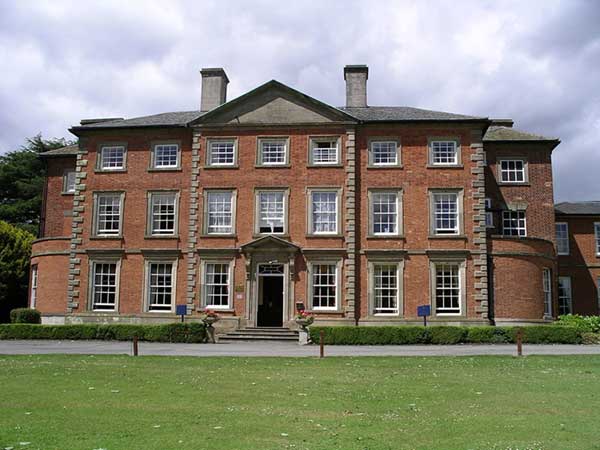
Set in beautiful grounds it is the perfect destination for a getaway; gorgeous surroundings, good food and your own stylish bedroom for the night.
Its central Midlands location just off junction 2 of the M6 motorway means it has easy access from all parts of the country – making it a perfect destination break for you and your friends from afar.
What is included?
The Creative Escape package includes an overnight stay and all food for the weekend, lunches, snacks, evening meal and breakfast together with unlimited tea and coffee. You have 2 full days of crafting with your own table for the whole weekend – no need to tidy away! Bliss!
A goody bag of Stampin’ Up! crafting supplies is also part of the package and will be more than £100 in value. The supplies will enable you to complete the projects for the classes run throughout the weekend and you'll have lots left over to take home too!
The Classes
The classes offered during the weekend are optional. The weekend is yours, so you can choose to keep with class pace or do your own thing. There is no requirement to complete everything, you can do exactly what you want – chat, craft, chill … the choice is yours. Choose to craft at every possible moment, or take a break for a walk or a drink in the lounge – it’s all up to you. Classes are suitable for both beginner and experienced crafters alike - there really is something for everyone.
2018-19 Craft Retreat Dates
Booking is currently open for the following dates:
Saturday 20th October - Sunday 21st October 2018 **LIMITED AVAILABILITY** LAST FEW SPACES REMAINING
Saturday 2nd March – Sunday 3rd March 2019
Fully inclusive price for 1 nights accommodation, with lunch and a 3 course dinner on Saturday, followed by breakfast and buffet lunch on Sunday. It also includes unlimited tea, coffee or hot chocolate & snacks, 4 crafting classes and a goody bag worth more than £100 full of Stampin’ Up! products.
The price of a Creative Escape With The Crafty Owl is as follows:
Single occupancy is £325 per person or
Double occupancy is £305 per person
Early booking discounts for all Creative Escapes apply (£292 pp and £272 pp respectively).
Spaces are limited with booking brisk for next March and only a few spots remaining for this October. I am keen to fill the last few spaces for the October weekend so with this in mind I have a Bank Holiday weekend booking incentive for you:
Bank Holiday Creative Escapes Booking Offer:
** Book and pay in full for your October Creative Escape before 31st August 2018 and you will receive both a free ink pad and early booking rates for next March too. **
Once you've done one, you won't want to miss the next one!
The October Creative Escape will have a distinctly Christmas theme so why not come along and give yourself a head start on your creative makes for the festive season?
How do I book?
Sounds like your kind of fun? Email to joanne@thecraftyowl.co.uk and I will contact you to confirm payment details. If you would like to book a place on the March Creative Escape, you are still able to join my payment plan so you can split the cost into monthly payments. Full terms and conditions are available on the Creative Escape Crafting Retreats page on my website.
If you have any further questions or queries, please do get in touch - I would love you to join me!
I'll be back soon with my next creative project; until then, happy stampin'!