Another week of school summer vacation in the James household this week! Today it's Sunday and time for this week's new challenge over at The Paper Players. It's the first challenge for our returning Paper Players designer, the lovely Anne-Marie Hile, this week so be sure to pop by her blog with a friendly 'hello'. It's the turn of the super-talented Sandy to host this week and she has a clean and simple challenge for us to work with:
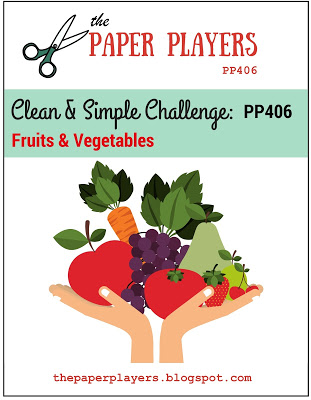

Remember in addition to the theme of "fruits and vegetables", this week is a Clean-and-Simple (CAS) challenge! What do we mean by CAS?
- Minimal layers and embellishments
- Plenty of open space, aka "white" space
- Simple and uncluttered
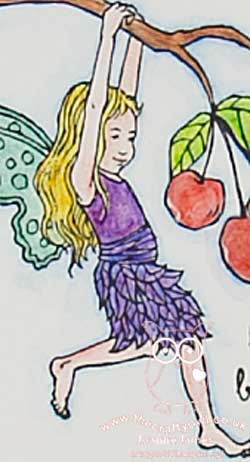
Having trawled through my collection of current stamps, it turns out I have very few with fruit (or veg!) for that matter, so a little creative stamping was called for. I actually found some fruit 'hidden' in the Fairy Celebration stamp set - take a look:
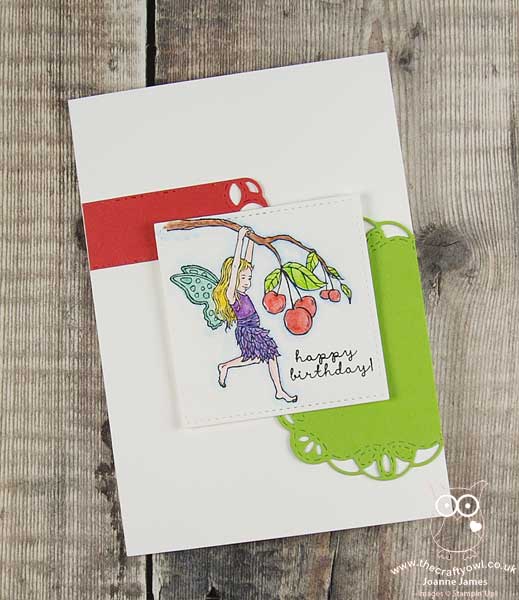
Here's the low-down on today's card:
This little fairy happens to be hanging from a cherry tree, so a little watercolouring using my new watercolour pencils and an aquapainter (I am so happy that we have more of these now, the new colours in the second pack available exclusively this month extend the variety of colours and allow much greater flexibility - don't leave it too late to get yours!) was all I needed to create a focal point for my card. I added some clear Wink of Stella to the fairy wings and some fine tip glue to the cherries to give them a glossy finish - both of which are difficult to see from the photos, but add subtle detail in real life.
I decided to use the sketch over at CAS(E) This Sketch this week for my layout, and used a couple of pieces cut with my Stitched Labels Framelits then trimmed to add interest behind my main image. I have seen these Stitched Labels Framelits used on some fabulous cards elsewhere on the internet and hold my Paper Player team mate LeAnne responsible for me 'needing' to add them to my own collection (check out her blog for some great examples of how to use them!) so thought I would try something a little different with them. The two blocks of colour mirror the colouring on my cherries and leaves and add detail, without encroaching too much into my white space and maintaining my overall clean and simple feel.
And that's all there is to it: clean and simple - done!
Here is the visual summary of the key products used on today's project for you to pin for easy reference:
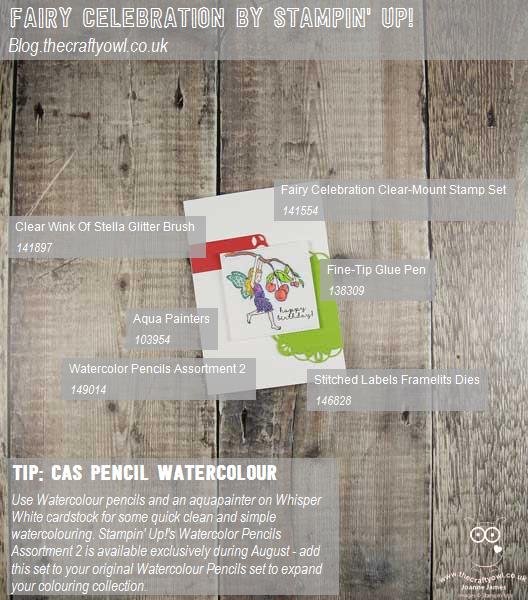
You can see all of my Product and 'How To' summaries on my 'How To - Tips and Techniques' Pinterest board in case you've missed any.
Before you reach for your ink and papers, check out what our amazing team has created to inspire you this week:
The Paper Players Design Team
Here's a quick recap of our challenge rules:
1. Create a new paper project
2. Upload your creation to your blog with a link back to us and provide a direct link to the post featuring your challenge submission.
3. Please link your card to no more than four challenges, TOTAL.
4. Have FUN!
You can see all of my 'How To' summaries on my 'How To - Tips and Techniques' Pinterest board in case you've missed any.
Enjoy your day and I'll be back tomorrow with another project: a Christmas card featuring some sneak peeks of some great new products from the forthcoming seasonal catalogue. Do come back then, you won't want to miss it. Until then, happy stampin'!
Stampin' Up! Supplies Used: