All Is Calm All Is Bright Candles And A Special Announcement

by Joanne James8. December 2020 13:00

Before I get into the body of my post today, a reminder that today is the start of Stampin' Up!'s Year End Closeout sale of retiring favourites! You can read all about it in yesterday's post here - if you have any questions or would like to add to my local order to save P&P, do get in touch!

Today I'm sharing a card for the new challenge over at CAS Colours and Sketches, but this time not as a participant - as one of their new design team members for 2021! It is the final CC&S challenge of the year and they have reached a milestone 400th challenge - what an achievement! I have been invited, along with the other new design team members, Vicky, Bhavya and Jenny - to create a card for this week's challenge. This week's theme is to create a seasonal card with any of the challenge sketches or colour combinations that have featured in their challenges this year:


I actually didn't go that far back to find the challenge I wanted to work with; I missed participating in Challenge 398 only a couple of weeks ago but I loved this sketch and had so many creative ideas, I had to try one of them out for today's card. Here's the sketch that featured in that challenge:


What to do with those vertical lines? I considered a row of festive stockings, but also wanted to try something with another of my favourite Christmas sets this year, 'Sweetest Time'. Take a look at what I came up with:


Here's the low-down on today's card:

All Is Calm Candles - If you know this stamp set (and if you don't check out the image in the shop link at the bottom of the post), it has a stamp that is a trio of candles. I decided to get creative with my masking and with the aid of my trusty Stamparatus, I stamped the central three candles, then masked them with a post-it note before stamping an additional candle either side. I did stamp the outer candles in two parts, as I wanted to shorten them too to reflect the chaging size of the lines, but this wasn't too tricky; the Stamparatus made it easy to line up the stripes so you'd really never know.

All is Bright - I decided to omit the last word of my stamped sentiment from the set and replace it with a feature 'Bright' diecut across the front of my candles, cut with my 'Joy' dies for the perfect statement centrepiece. 

Unconventional Colour Combo - I've a couple of confessions as far as this card goes: I originally made it as a single white base layer, however when complete it looked less 'clean and simple' and more 'bland'. To be fair I think this might have a lot to do with my unconventional festive colour combo of Night of Navy, Petal Pink and Cherry Cobbler that feature in Color Dare's TicTacToe challenge 422 (bottom row). I liked these colours together and thought the bold sentiment would work well with the pale candles, but when finished it was, well, bland. So I cut it up and added some outline borders and a pastel card base, along with some clear Wink of Stella to the candle flames and the Navy 'Bright' diecut - and instantly liked it a whole lot better!

Here is the visual summary of the key products used on today's project for you to pin for easy reference:


You can see all of my 'How To' summaries on my 'How To - Tips and Techniques' Pinterest board in case you've missed any. 

 I think my card is still (relatively) clean and simple, although does now have a few more layers than I suspect my new team members would like. I am looking forward to honing my CAS skills as I work with this lovely group each week - I think that might be my 2021 New Year Crafting Resolution #1 ...

Enjoy your day and I'll be back tomorrow with another project. Until then, happy stampin'!


Stampin' Up! Supplies Used:

Table built using Product Table Builder by The Crafty Owl - Independent Stampin' Up! Demonstrator.

Tags: , , , , , ,

Cards | Shop Online | Shop Stampin' Up! Online | Stamping

It's The Giant Year End Closeout Event - Get Your Favourites Before They're Gone!

by Joanne James7. December 2020 20:11

 This is my second post today and I have business news for you! It's sale time and if you love great deals, our Giant Year-End Closeout event is the perfect time to shop. You’ll get deep discounts on your favourite products from the August–December 2020 Mini Catalogue—and as an extra bonus—you’ll get a peek at the list of items carrying over to the new annual catalogue. The Year-End Closeout happens only once a year, so don’t delay—make sure to check out the details below!


As you can see from the lists, there are some bargains to be had, with some of the Christmas papers up to 50% off - both of the papers that I used in my 2019 Christmas Creative Escapes Weekend Craft Retreat, Brightly Gleaming, and those that I used in 2020, Trimming The Town, are in the sale at half price - yay!

The sale begins tomorrow 8th December and runs until 4th January, while supplies last so be sure to shop early to avoid missing out on your retiring favourites. 

Remember to add the current hostess code 469YSGD2 if you are placing an order online to receive a thank you in the post from me along with a copy of the new 2021 Spring-Summer mini catalogue and Sale-A-Bration brochure.

If you are buying last-minute Christmas presents, please bear in mind that the last date to place orders to arrive in time for Christmas is this week - Wednesday 9th December. Whilst Stampin' up! will not guarantee that orders placed by this date will arrive in time for Christmas, they have stated that any order placed after this date are unlikely to arrive in time for the big day.

I should be back tomorrow with a creative post; until then, happy shopping!

Paper Pumpkin Joy To The World Craft Along Cards

by Joanne James7. December 2020 14:41

Today I have a quick post to share with you showing the outputs from the Paper Pumpkin 'Joy To The World' craft along session I held a couple of weeks ago. If you need a reminder about this fun global kit, you can read all about it in my post here. We made the cards in the kit as per the instructions, then also make some alternative designs, using items from the kit and some additional ink and cardstock. First up - the card designs that come with the kit:


The kit contains supplies to make 8 cards using the above designs, with materials left over. We made the first four cards, then decided to make some alternatives. I added some extra thick white cardstock and Just Jade cardstock, along with some Cherry Cobbler cardstock, 'Tis The Season designer series paper and a Cherry Cobbler ink pad. First up, a trio of Christmas cards:


 Each of these cards uses the stamp set from the kit, along with various bits and pieces, which when added to allow a completely different card. After the craft along session, when making a few more cards to use up the remainder of the kit supplies, I also challenged myself to make some non-Christmas cards using the same element. With a little creative stamping for the sentiments, I came up with another pair of cards:


 This was the first one, using one of the French diecuts, but I figured everyone is familiar with the word 'amour' for love, so would now what it meant! The second card was designed as a birthday card:


 I used the sentiment from 'Beautiful Friendship' on the inside of my card, which has a very similar font so works well:


I think this card would be lover for someone celebrating a winter birthday - I know just the person, so my card will be winging its way to her! 

If you would like to get your hands on a 'Joy To The World' Paper Pumpkin kit, I've included a link the store below. They are available whilst supplies last but at the time of writing are still in stock, so you can still grab one! Great for easy crafting with 8 lovely cards and matching envelopes at the end of it if you follow the instructions, or a few more if you add some extra supplies and get a little bit more creative!


I'll be back shortly with another post with news of the Year End Closeout Sale and Carryover Products list, which go live tomorrow. Until then, happy stampin'!


Stampin' Up! Supplies Used:

Table built using Product Table Builder by The Crafty Owl - Independent Stampin' Up! Demonstrator.

Snowflake Wishes Hexagonal Shaker Box and Matching Christmas Card PP520

by Joanne James6. December 2020 09:00

Today it's Sunday and time for this week's new challenge over at The Paper Players! It's my turn to host this week and I have a timely theme challenge for you to work with:


19 days to go and yes - it's beginning to feel a lot like Christmas, so that is my theme this week! You can share your gifts, cards, packaging - we would love to see your festive makes! I love to make co-ordinating cards and gift packaging at this time of year so I have one such set to share with you today. My post is photo-heavy as I'm going to share both a Christmas card and a rather fancy matching gift box using products from the Snowflake Splendor Suite. I even have a video tutorial for you!

First up - here's my Christmas card, with the hexagonal aperture cut using the So Many Snowflake dies:


I added some diecut snowflakes painted with Frosted White shimmer paint and finished with those pretty Balmy Blue adhesive-backed gems and a pretty Pool Party sheer ribbon bow, with a simple sentiment and snowflake decoration on the inside of my card:


 Check out the effect of those faceted gems - so sparkly!

This card was a variation on one I made in my monthly card class featuring the Snowflake Wishes bundle a few months ago. I liked the card so much, I decided to make a matching box, using the same hexagonal aperture and the Stitched Nested Label Dies from the annual catalogue. I made a simple birthday gift box using these dies previously (you can see that box here if you missed it) and have been wanting to make a video tutorial to show how it was done, so this seemed like the perfect opportunity. Here is my finished box closed:


And this is what it looks like open - the lid and base extend beyond the sides of the box and the top slides off to reveal the inside:


I wanted to step up my box so instead of simply creating an open aperture on the lid, I added some acetate and created a shaker, filled with snowflake sequins and glitter - check out  this out - it's not only the sentiment that's full of sparkle:


I added some Snowflake Splendor designer paper to the sides of my box lid and wrapped and tied it with more of the Pool Party sheer ribbon, to tie it in with the detail on my card - you can see that better below:


Rather than detail exactly how I made this project in words, I thought I would make a video tutorial should you wish to have a go at making one yourself - so here it is:

I am just in love with this set; the box isn't huge, but will hold small gifts such as chocolates, jewellery, a scented candle - lots of options! Here's a final photo of my projects together:


I would love to know what you thought of my video tutorial too; was it useful? Would you like to see more of this type of content. Do let me know - I would love to hear your thoughts!

Here is the visual summary of the key products used on today's project for you to pin for easy reference:


You can see all of my Product and 'How To' summaries on my 'How To - Tips and Techniques' Pinterest board in case you've missed any. 

Before you reach for your ink and papers, check out what our amazing team has created to inspire you this week:

Here's a quick recap of our challenge rules:
 
1.  Create a new paper project
2.  Upload your creation to your blog with a link back to us and provide a direct link to the post featuring your challenge submission.
3.  Please link your card to no more than four challenges, TOTAL.
4.  Have FUN!

You can see all of my 'How To' summaries on my 'How To - Tips and Techniques' Pinterest board in case you've missed any. 

Enjoy your day; I started writing Christmas cards whilst at hockey yesterday and am hoping to crack on with those this afternoon to get them in the post tomorrow, which will be a huge achievement! I'll be back tomorrow with another project. Until then, happy stampin'!

Stampin' Up! Supplies Used: 

Table built using Product Table Builder by The Crafty Owl - Independent Stampin' Up! Demonstrator.

Heartwarming Hugs With Peace and Joy For Christmas

by Joanne James5. December 2020 22:16

Today I have a quick post with the a card for the current colour challenge over at Just Add Ink:

These colours have featured in a few of my projects as they are all in the Heartwarming Hugs designer series paper (and you all know how much I love designer series paper!) this card is one I designed for a class featuring the Peace and Joy bundle - take a look:


 Here's the low-down on today's card:

I layered a trio of banners of DSP onto a stitched rectangle, then added some Real Red sheer ribbon and sprig punch greenery behind my focal point sentiment, with a little stamping on the inside to finish:


Here is the visual summary of the key products used on today's project for you to pin for easy reference:


You can see all of my 'How To' summaries on my 'How To - Tips and Techniques' Pinterest board in case you've missed any. 

Enjoy your day and I'll be back tomorrow with another project (or two!) and a video for my weekly Paper Players post. Make sure to pop by - you won't want to miss it! Until then, happy stampin'!


Stampin' Up! Supplies Used:

Table built using Product Table Builder by The Crafty Owl - Independent Stampin' Up! Demonstrator.

Freezin' Friends Tobogganing Raccoon AYSI 240

by Joanne James4. December 2020 12:00

Today I'm sharing my design team card for our new challenge over at As you See It where it's time for a festive recipe challenge:


I struggled a little with the recipe this week; not because there was anything wrong with the ingredients, I think I’ve just been so busy that my creative mojo had upped and left the building! I decided to have another play with my Freezin’ Friends stamp set and this is what I came up with:


 Here's the low-down on today's card:

Snowflake Splendor - What can I say that I haven’t  already said about this fabulous paper (maybe I’d like the spelling to read ‘splendour’ as a nod to the Queen’s English, but I digress!) Anyway, once again it provided the perfect background and enabled me to tick off ’patterned paper’ and ‘snowflake’ from the recipe, so all good!

Freezin’ Friends - All diecuts are courtesy of this set and I even managed to tick off ‘green’ with my snowy trees. I also added some shimmer white embossing paste to the snowy parts for some textural interest and sparkle:


A Neat Trick - I was wondering how to add ribbon/twine to my design and having decided to feature the tobogganing raccoon it suddenly came to me! When I was little, I spent many hours tobogganing in the snow with my bestie, on a big slope near where we lived (in mountainous Wales where I’m from, snow was a sure thing at some point each winter) and whilst we often made do with a tin tea tray, one year for Christmas my friend received the most beautiful sled, hand built by her father, with wooden slats and a bright red rope handle. It was a thing of beauty - so I thought I’d create one on paper for my raccoon too! I cut some red baker’s twine and secured it behind my image, then threaded it through and glued it to the stamped lines, finishing at the hands. A small amount of twine, but integral to my design:

So what do you think? Does this added detail work? I really like it - thanks for indulging my trip down memory lane today! I'm also linking up with the team over at Festive Friday since today's card ticks off blue - snowflakes - trees on their inspo list this week.

Here is the visual summary of the key products used on today's project for you to pin for easy reference:


You can see all of my 'How To' summaries on my 'How To - Tips and Techniques' Pinterest board in case you've missed any. 

Here's a summary of our challenge rules:

  • Create any card, scrapbooking page, 3D project or packaging project that fits the challenge.
  • Please include the challenge graphic and link back to the challenge in your blog post. Turn off word verification so we can leave you lots of lovely comments. Make sure you link the post not the whole blog to the Linky. Use #AYSIXXX when uploading to a public gallery.
  • If you’re unsure about ‘the rules’, check the details under the Challenge Guidelines tab on the As You See It Challenge homepage.
We look forward to seeing your creations in the AYSI gallery.

Enjoy your day and I'll be back tomorrow with another project. Until then, happy stampin'!


Stampin' Up! Supplies Used:

Table built using Product Table Builder by The Crafty Owl - Independent Stampin' Up! Demonstrator.

Copper and Navy Merry and Bright Christmas Card FMS463

by Joanne James30. November 2020 13:48

Today I'm sharing a card that uses Amy's sketch over at Freshly Made Sketches as its starting point:

I absolutely loved Amy's sketch this week (it's a keeper - thanks Amy!) and could have made a ton of cards with it! Alas time was my enemy so I chose my favourite idea and ran with it! It uses one of my favourite festive combinations inspired by the patterns of the Brightly Gleaming designer paper I used for my rectangle background - take a look:


Here's the low-down on today's card:

I made the paper the star of the show and paired it with a stamped and diecut sentiment from the 'Peace and Joy' bundle, using vellum for the base layer to soften the panel but allow the pattern to shine through. I used a bunch of retired diecuts for the trio of background 'sticks' (they are actually cut using the candle die from the 'Doily Wishes' set!) and added a copper star in place of the dot on the 'i' in 'bright' for a little something extra - check it out below:


I added a copper bow from some leftover twine from a retired card kit to complete my card.

Here is the visual summary of the key products used on today's project for you to pin for easy reference:


You can see all of my 'How To' summaries on my 'How To - Tips and Techniques' Pinterest board in case you've missed any. 

I made another card using the 'Peace and Joy' dies for another card over the weekend which I will hopefully be back to share with you later; right now I'm against the clock so have to dash!! Enjoy the rest of your day and I'll hopefully be back later with another project. Until then, happy stampin'!


Stampin' Up! Supplies Used:

Table built using Product Table Builder by The Crafty Owl - Independent Stampin' Up! Demonstrator.

Poinsettia Double Fan Fold Christmas Card PP519

by Joanne James29. November 2020 09:00

Today it's Sunday and time for this week's new challenge over at The Paper Players! It's the fifth week of the month and the turn of the amazing Anne Marie to host with a fun TicTaToe challenge board for you to work with:


I decided to go all-out with a fancy fold card today and originally was aiming for the central column of the board with diecut - fancy fold - embellishment; by the time I'd finished my card, I had inadvertently covered every square except 'colouring tool'! This card (almost!) has it all - take a look:


Here's the low-down on today's card:

Double Fan Fancy Fold - I chose to make a double fan fancy fold card today as I've seen lots of these doing the rounds this season and for a fancy fold, they really aren't that tricky. I did a little bit of internet searching for a template, but in the end decided to make my own. My card measures 8 1/4" x 9", scored on the vertical at 1 1/2", 3", 6" and 7 1/2" and then scored on the diagonal as shown below. The basic outline is really straightforward - cutting the mats and layers to decorate was a little more time consuming, but worth it as they look lovely when finished. The card then has space on the reverse for the panel that would otherwise have been on the inside:


Poinsettia Showcase - I chose my favourite holly paper from the Poinsettia Place pack for my panels and chose to create a single layered poinsettia for my centrepiece. I cut a three layered flower from red velvet paper for my poinsettia using the poinsettia dies and added some holly leaves and gold berry sprigs. The red velvet paper is gorgeous and perfect for a showcase flower such as this - I wish you could feel the texture of it; it embosses beautifully too, as you can see on the close up below:


Pearls and Shine - I added a beaded pearl embellishment to the centre of my flower for the perfect finishing touch. Combined with the velvet paper, touches of gold foil and twine and gold embossed sentiment, this makes for quite a special Christmas card.

I'm linking my card up over at TGIF Challenges where the theme is 'Have a magical Christmas' (my sentiment was the perfect choice!) and over at SUO Challenges where the theme is also Christmas.

Here is the visual summary of the key products used on today's project for you to pin for easy reference:


You can see all of my Product and 'How To' summaries on my 'How To - Tips and Techniques' Pinterest board in case you've missed any. 

Before you reach for your ink and papers, check out what our amazing team has created to inspire you this week:

Here's a quick recap of our challenge rules:
 
1.  Create a new paper project
2.  Upload your creation to your blog with a link back to us and provide a direct link to the post featuring your challenge submission.
3.  Please link your card to no more than four challenges, TOTAL.
4.  Have FUN!

You can see all of my 'How To' summaries on my 'How To - Tips and Techniques' Pinterest board in case you've missed any. 

Enjoy your day; for the first time ever whilst still in November, I think we are decorating the house for Christmas this afternoon. The James Juniors have been pestering me all week and to be honest I think we could all use a little festive cheer, so decorations it is!  I'll be back tomorrow with another project. Until then, happy stampin'!


Stampin' Up! Supplies Used: 

Table built using Product Table Builder by The Crafty Owl - Independent Stampin' Up! Demonstrator.

Ombre Watercolour Christmas Tree Trio

by Joanne James25. November 2020 09:00

A quick post from me today! Today I'm sharing a card that was inspired by the current challenge over at Inspired By:


I love those colourful bottle brush trees and decided I would do a spot of watercolouring to create my own ombre trio - take a look:


Here's the low-down on today's card:

I diecut the trees from watercolour paper using the Majestic Mountain dies, watercoloured them and popped the middle one up on a foam adhesive sheet. I paired it with a heat-embossed sentiment from 'Itty Bitty Christmas' and embossed my white background panel with the Tasteful Texture embossing folder for some added texture.

Finally I added a sprinkling of clear and irridescent sequins to finish:


Here is the visual summary of the key products used on today's project for you to pin for easy reference:


You can see all of my 'How To' summaries on my 'How To - Tips and Techniques' Pinterest board in case you've missed any. 

Enjoy your evening and I'll be back tomorrow with another project. Until then, happy stampin'!


Stampin' Up! Supplies Used:

Table built using Product Table Builder by The Crafty Owl - Independent Stampin' Up! Demonstrator.

Curvy Christmas Buffalo Check Christmas Card

by Joanne James24. November 2020 21:57

Today I'm sharing a card using the current sketch over at Paper Craft Crew in a card that was inspired by the fabulous photo over at The Card Concept to create my clean and layered card:

 Vertical Sketch Challenge   

I was inspired by the red and black buffalo check pillow, green ribbon-tied foliage and the white of the rocking chair of the Card Concept photo; this is what I came up with:


Here's the low-down on today's card:

I used the foliage stamps in the 'Curvy Christmas' set to create my tied foliage and stamped this on a stitched scallop square; no curves on the front of the card, but I did use one of the curved stamps to decorate my envelope and the inside of my card:


I paired this with a panel of Real Red cardstock stamped in black with the Buffalo Check background, a banner of green gingham ribbon and some rhinestones and pearls to decorate, along with a sentiment snipped from one of the stamps in the 'Itty Bitty Christmas' stamp set.

Here is the visual summary of the key products used on today's project for you to pin for easy reference:


You can see all of my 'How To' summaries on my 'How To - Tips and Techniques' Pinterest board in case you've missed any. 

I absolutely love that inspiration photo and combined with the sketch am really pleased with how this card turned out.

Enjoy your evening and I'll be back tomorrow with another project. Until then, happy stampin'!

Stampin' Up! Supplies Used:

Table built using Product Table Builder by The Crafty Owl - Independent Stampin' Up! Demonstrator.

New Online Exclusives

There are new products available exclusively in the online store from 5 November - check them out here.

Latest Kits!

Stampin Cut and Emboss

The Layered Landscapes Kit and Nature's Paintings Kit are the latest kits in the online store - get yours here!

Shop Online

Access my online shop 24 x 7, 365 days of the year:

Current November hostess code:

9NKXDTTR

Shop Online

Mini Catalogue

BROWSE THE CATALOGUE

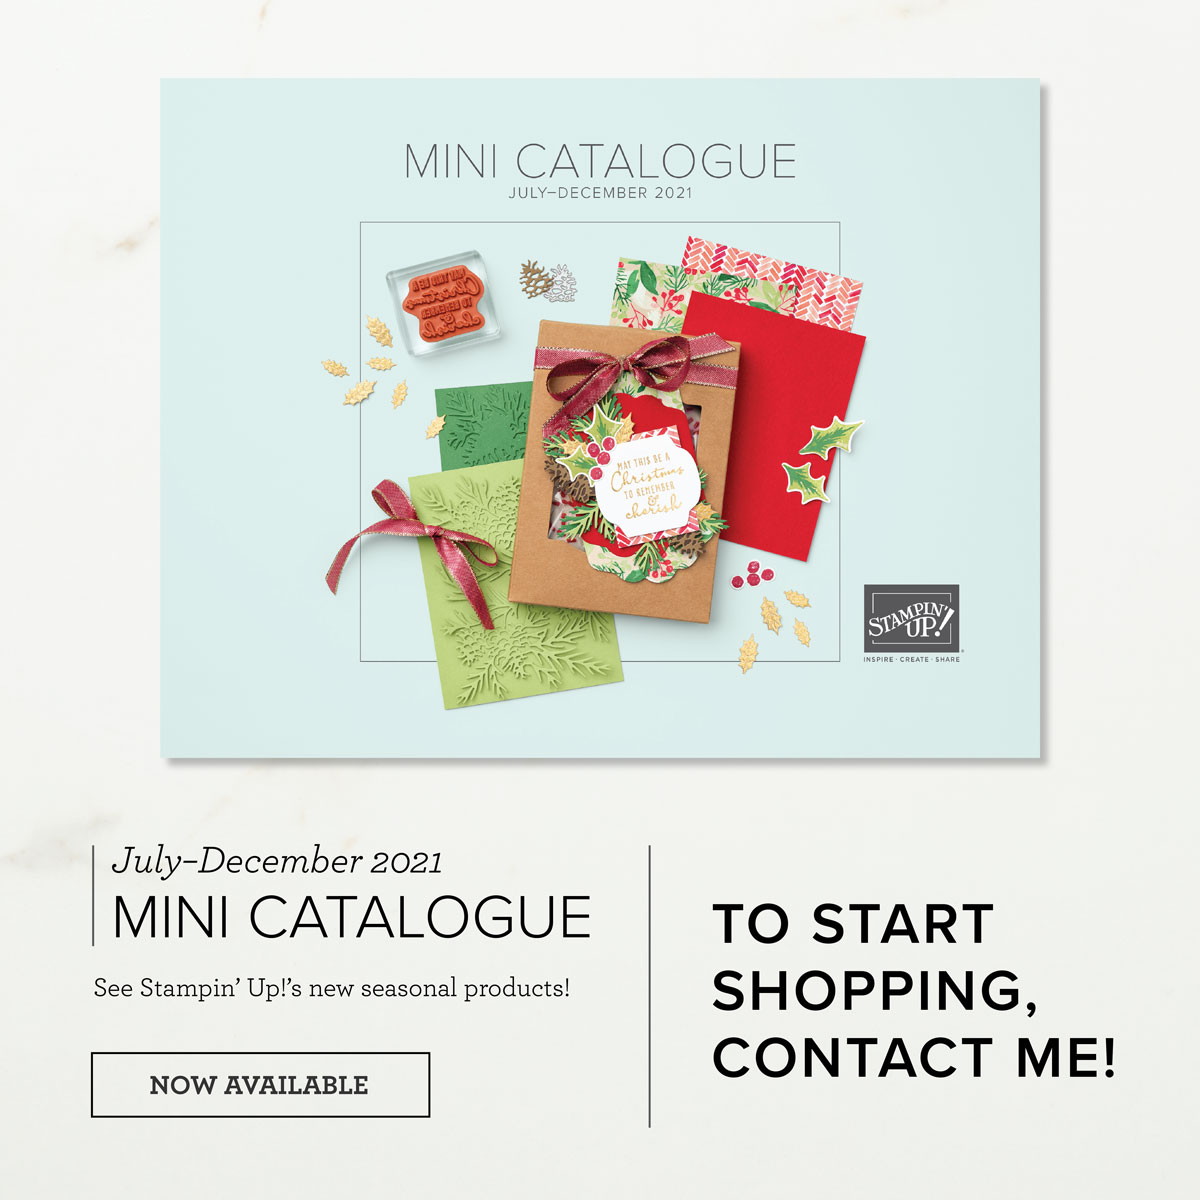
'Tis The Season - the new Stampin' Up! Mini Catalogue is here! For more details and to download your copy click here

Scrapbooking

Stampin' Up! has introduced a new range of 12x12" scrapbooking product and kit - the full range is now available to purchase online. To download a copy of the new digital Scrapbooking Catalogue click here.

2024-25 Annual Catalogue

BROWSE THE CATALOGUE

Click on the image to download your copy of the 2024-25 annual catalogue. For a full list of current SU! supplies, go to my online store. If you would like any help or advice, please drop me a line at joanne@thecraftyowl.co.uk or give me a call on 07773 421446 - I'd be happy to help.

Join My Team

It's always a great time to join Stampin’ Up! New team members can get £130 worth of products for only £99 + free business supplies + free shipping + all the fun being a part of Stampin’ Up! Stampin' Up! has something for everyone: join my growing team and benefit from my support to enjoy Stampin' Up! however you choose.

If you're interested, call me for a chat to understand how I can help you realise your goals. Alternatively, if you have already decided to sign up and you just can't wait, please click here for the link to the online form where you can sign up and order your starter kit right away! 

About Me

Hi I'm Joanne and live in Northampton and when I'm not looking after my husband and two beautiful children, am an avid crafter with a passion for all things Stampin' Up!

I must confess that I have never been a big rubber stamper - until I discovered Stampin' Up! that is. I love the fact that I can get such great results with co-ordinating stamps, inks, papers and punches - the possibilities are endless! Join me on my stamping journey as I share the things I love and be inspired to create amazing things yourself!

Follow Me

Monthly Newsletter

Box Builder

Click the button above to use Box Buster to create your custom box design using the Envelope Punch Board!

Kits Collection Now Available!

Stampin Cut and Emboss

The new Kits Collection from Stampin' Up! is now available!

Click here to see the current kits available and order yours online today.

I Design For


Stampin' Up Stuff

This is my personal blog and is not endorsed by Stampin’ Up! I hope you find it a plentiful source of ideas and personal inspiration but please don't copy my designs for contest submission or use for classes, publication or sale without express permission.