Today it's Sunday and time for this week's new challenge over at The Paper Players! It's my turn to host - it's Clean and Simple Week and I've made it festive for you:
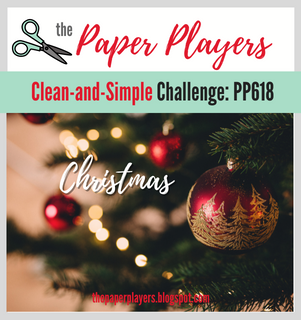


I am properly in festive card making mode now, so I chose CAS Christmas! Your project can be any kind of Christmas card, as long as it's clean and simple. What do we mean by clean and simple? Your project must:
- have minimal layers and embellishments
- have plenty of open space
- be simple and uncluttered
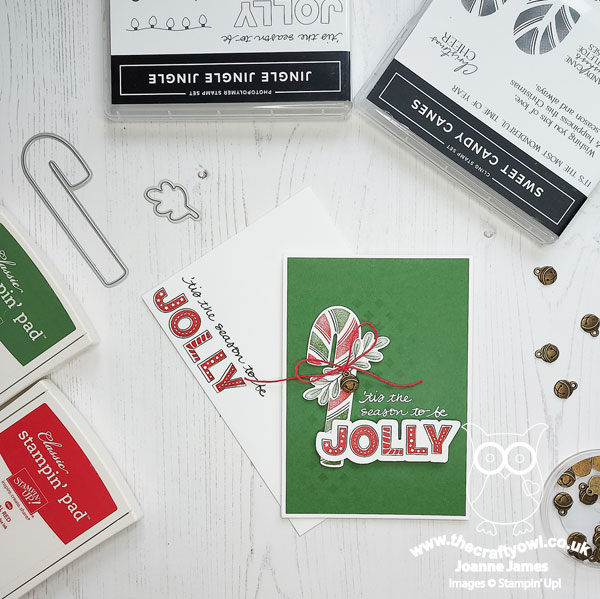
I used the lovely Kim's sketch over at Freshly Made Sketches this week and in contrast to last week's card, today I'm using the Colour Hues palette of scarlet red and green for a traditional festive affair - take a look:

Here's the low-down on today's card:
For the vertical element on my card, I stamped and diecut a candy cane using the Sweet Candy canes bundle, creating a two-tone effect by using my Stamparatus and inking first the red sections with sponge daubers, stamping then cleaning my stamp and adding the green stripes. For the horizontal elements, I used a combination of a heat-embossed white sentiment stamped onto my Garden Green card front and the word 'jolly', both from the 'Jingle Jingle Jingle' stamp set, which I stamped in red, outlined in green, and fussy cut and popped up on dimensionals overlapping my candy cane.
I added a couple of simple green sprigs and a flat jingle bell trinket tied with twine to complete my card:

Simple, colourful and fun - and I repeated the sentiment on the envelope too for a little extra pizzazz.
Here is the visual summary of the key products used on today's project for you to pin for easy reference:
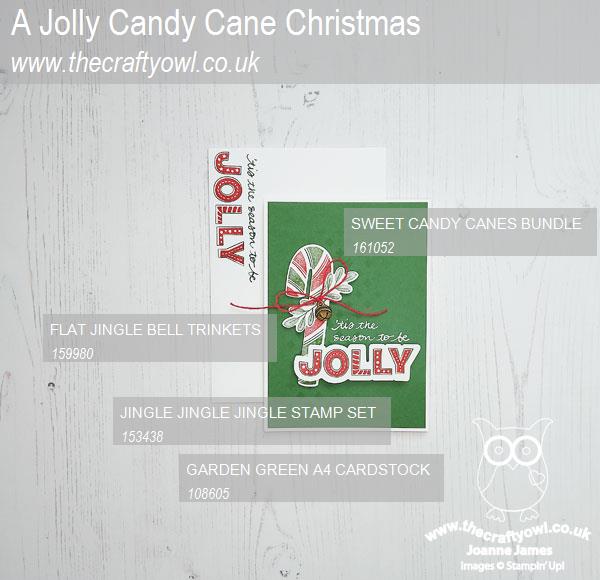
You can see all of my Product and 'How To' summaries on my 'How To - Tips and Techniques' Pinterest board in case you've missed any.
Before you reach for your ink and papers, check out what our amazing team has created to inspire you this week:
The Paper Players Design Team
Here's a quick recap of our challenge rules:
1. Create a new paper project
2. Upload your creation to your blog with a link back to us and provide a direct link to the post featuring your challenge submission.
3. Please link your card to no more than four challenges, TOTAL.
4. Have FUN!
Enjoy your day; today we are at home with both of the James Juniors spending the day catching up on homework, having spent most of yesterday out on the hockey pitch (one win 8-1, one loss 5-0 - I'll leave you to work out which score belongs to which!) I shll be cooking, ironing and hopefully fitting in a little crafting too (fingers crossed!) I'll be back tomorrow with another project. Until then, happy stampin'!
Stampin' Up! Supplies Used: